I have a Scary Basement… and you probably do too. It’s a poorly lit Laundry Room and an all around space where your junk piles up. Unfinished Basements haunt most old homes, but it can actually be a place you look forward to visiting rather than dreading and I’m going to show you how!
This is Part 1 of The Scary Basement Laundry Room Makeover Project. Part of an ongoing series sponsored by The Home Depot. Affiliate links will be included.
The Scary Basement
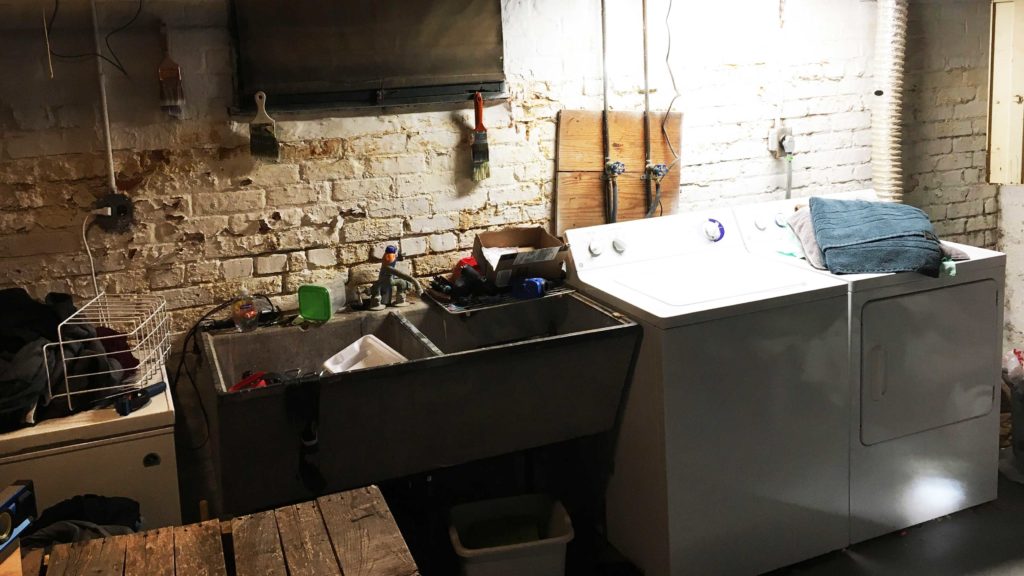
I’m going to own this Unfinished Basement in all its glory. It’s dark. It’s damp. And when it’s time to do laundry my wife and I both run downstairs quickly, switch the loads and then scurry away before the monsters get us. The brick walls took a lot of water damage before we had the gutters replaced so the chipping and staining just adds to the ambiance.
The small capacity washer and dryer came with the house and are pushing their limits of longevity. In fact, as this project kicked off the washer shuttered its final death rattle. Appropriate for a basement that could be housing something spooky in its dark corners.
Seeing Through The Clutter
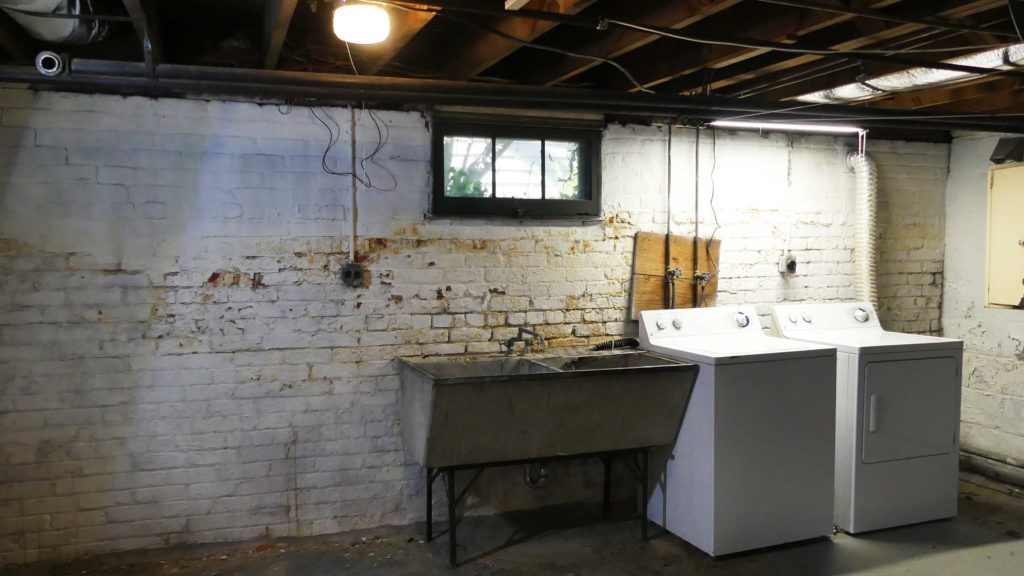
Believe it or not, there is a plan. It’s hard to be enthusiastic about a space when you can’t set foot in it. We needed to define what the space was going to be used for and ultimately that goal is to have a Laundry Room we weren’t afraid of.
I took time off work and spent the better part of the weekend purging that part of the basement. A combination of trash runs, curb pick ups and Goodwill Donations dominated the agenda. I kid you not… I found almost three dozen bath towels? WHY? WHERE DID THEY COME FROM??? The basement monster knows…
Basement Water Damage
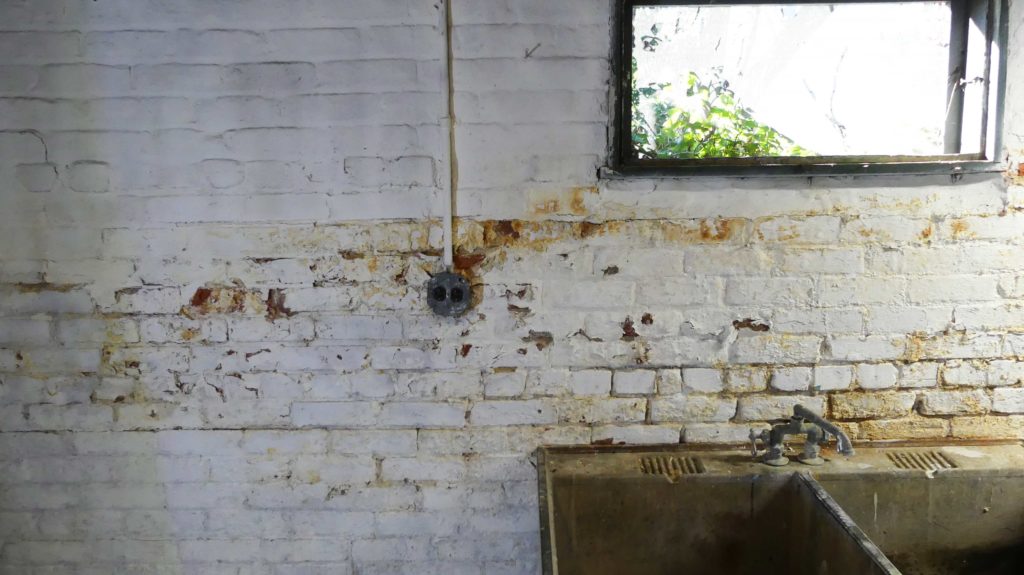
When we were running through home improvements last year, one of the top priorities were new gutters. The old ones were mosquito factories that poured water into our foundation. Where we live water in the basement is sort of the norm, but that didn’t mean we had to make it worse.
As you can see in the pics… the walls are showing a bunch of superficial staining and peeling with a little bit of build up. After making sure there weren’t any structural issues it was clear the issue was. We got duped when we bought the house in that someone painted the entire basement but didn’t prep when they did so. When you paint, if you don’t scrape the old stuff off, your paint job won’t hold.
Repairing The Walls
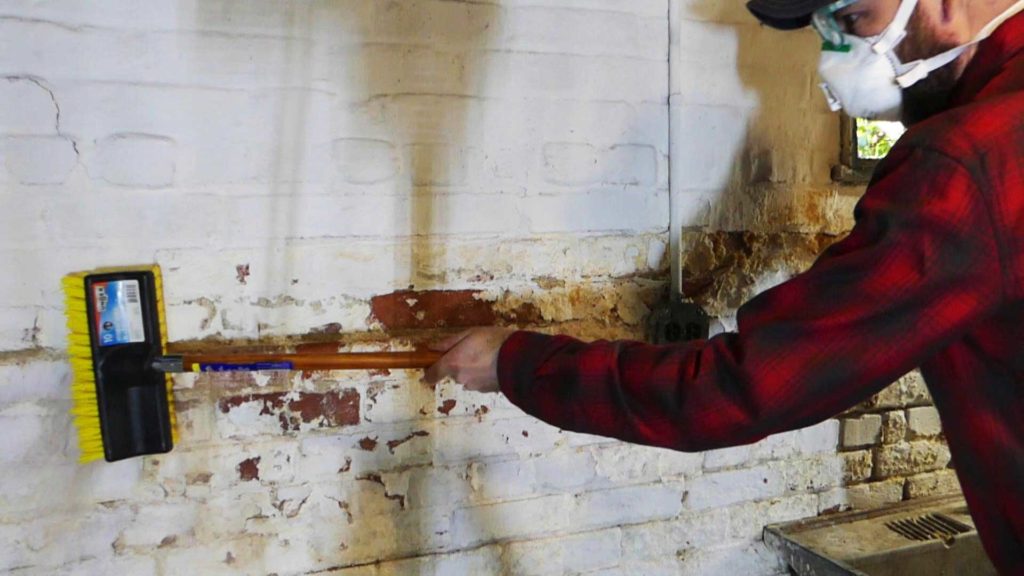
For the clean up and prep I first took a bucket of of soapy water and a stiff bristled brush and scrubbed the first layer of debris off the walls. With one brush stroke I could see all the way to the bare brick in a lot of areas. After another dry brushing I used a painters tool to chip and scrape away any trouble spots.
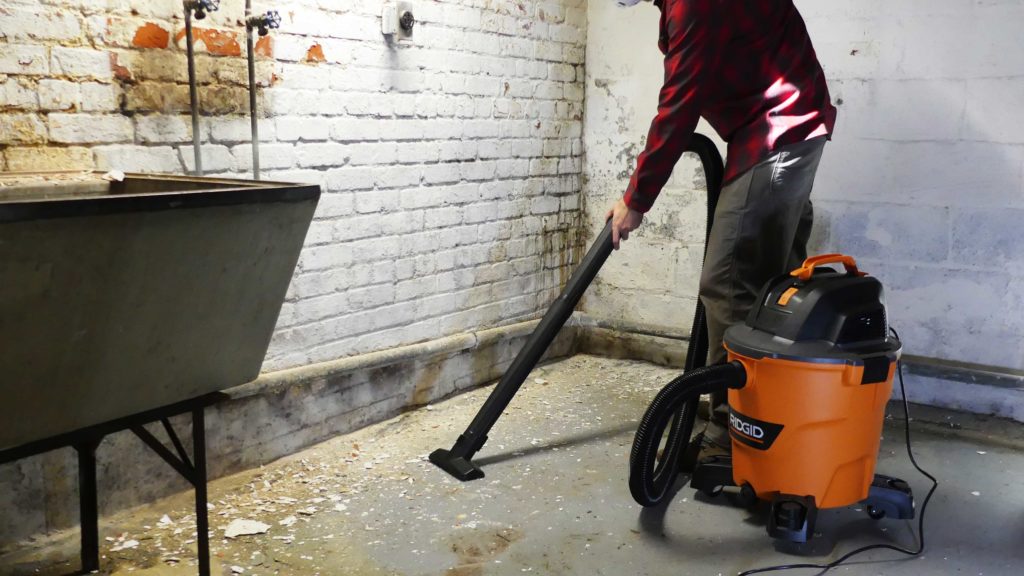
I then applied Drylok Etch which is supposed to help clean and prep masonry for paint and avoid further efflorescence build up. This also gave me an opportunity to test out the newly redesigned RIDGID NXT 12 Gal Wet Dry Vac to clean up the mess. Shop vac accessories that don’t fall off during use? Yes please.
A Clean Basement Canvas
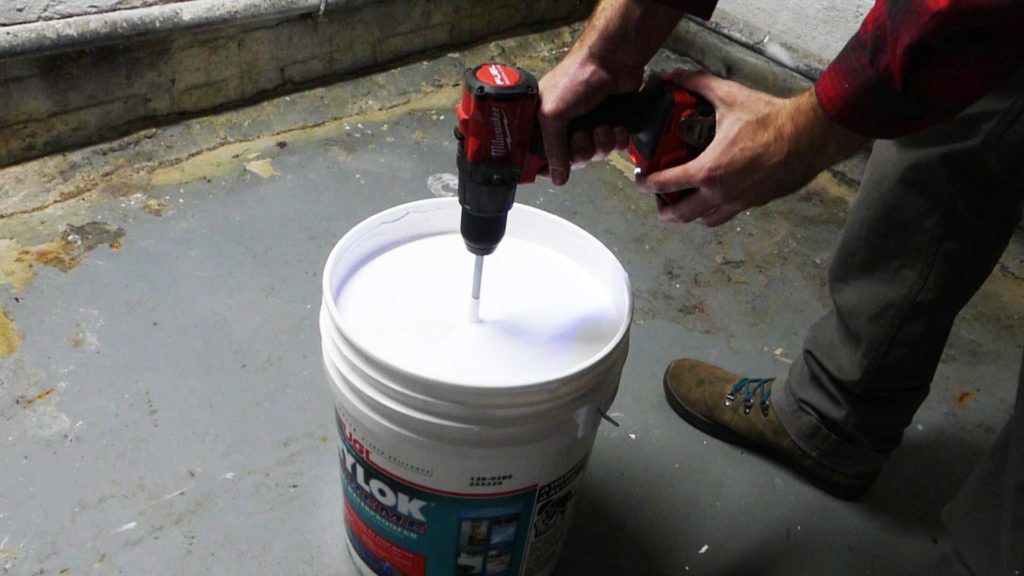
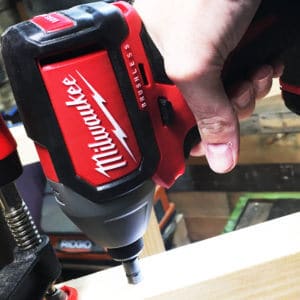
To seal the walls back up I picked up a 5 gallon bucket of Drylok Extreme Masonry Waterproofer. This stuff goes on thick and should provide a nice barrier for years to come. You really need to mix it up though so I grabbed a paint mixer and put it on the new Milwaukee M18 Fuel Hammer Drill Kit I’m testing and gave it a spin.
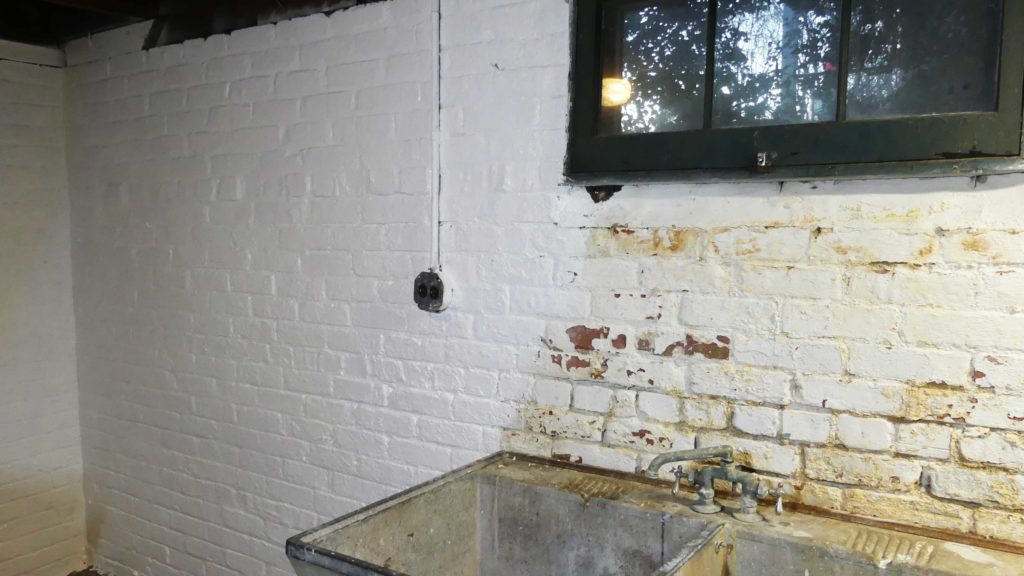
Silly me thought I could apply the Drylok with a masonry paint roller but that was a laughable attempt. When it came down to it I had to brush it on to really get in all the nooks and crannies of the masonry, but wow what a difference it makes!
More Head Room
I’m 6’5″ on a non-slouchy day so head clearance when walking through the unfinished basement is at a premium. We have a treadmill on the other side of the room and it has to be positioned strategically through floor joists so I don’t concuss myself. But then there are all of these old pipes running through the basement slightly lower than everything else that don’t attach to anything…
Turns out these are from the old radiator heating. I followed each of the pipes and sure enough they aren’t attached to anything. The radiators are long since removed but the previous owners left these in place. Even worse, when I followed the pipes into the crawl space it became clear the pipes were once wrapped in asbestos insulation. Now what?
Safe-ish Removal
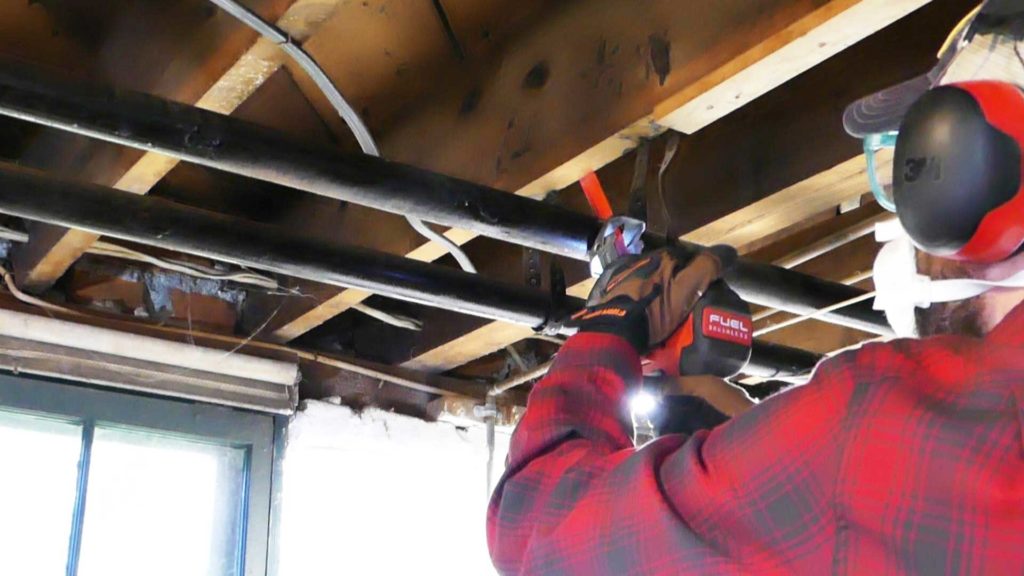
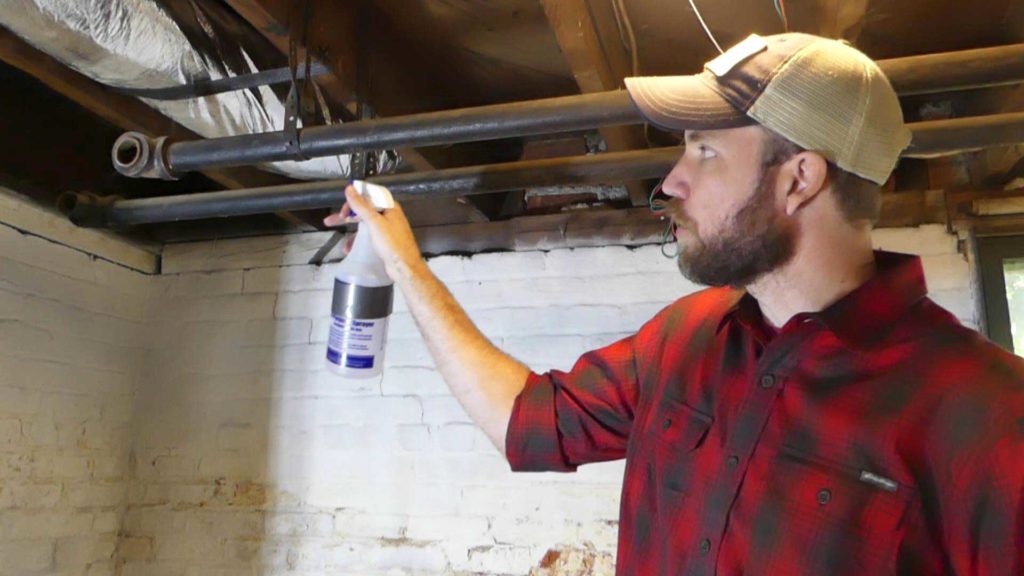
Because the pipes in the unfinished part of the basement no longer had the asbestos wrapping, I could remove them myself. However, there was surely going to be residual dust sitting on them so I needed to take precaution. Before any cutting I grabbed a spray bottle and made a quick mixture of soapy water. I then sprayed the entire length of radiator pipe to control the potentially hazardous dust.
With each section adequately saturated I pulled out a reciprocating saw and cut the pipes out while wearing a respirator mask just in case. The end result immediately cleared up a ton of head space, especially right in front of the washer and dryer. There’s an extra 8 inches of room that wasn’t there before!
What’s Next For the Basement Makeover?
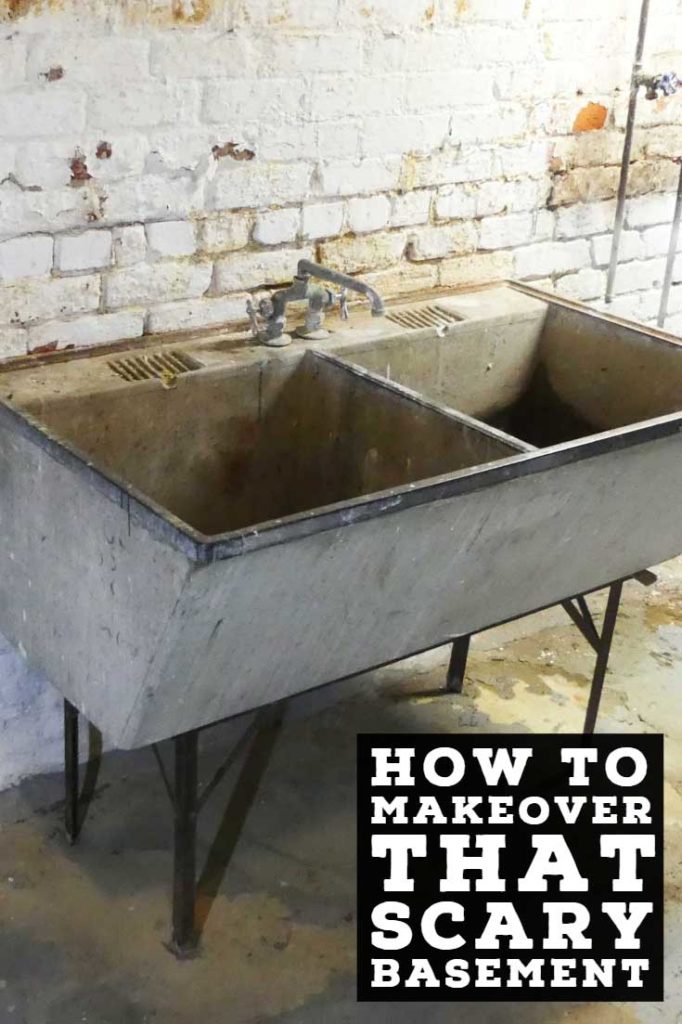
There’s a lot more in store in a short amount of time so keep checking back for the final reveal. We’ll be restoring the old soapstone wash basin, painting a faux tile floor and most importantly… revealing the final look on The Home Depot Blog with the new laundry fixtures and appliances!
*Update – to see the rest of the Basement Makeover, check out the round up of posts here!
~Lazy Guy
Like this post? Share it to Pinterest!
*This project has been sponsored by The Home Depot. Appliances, fixtures, products and some of the tools used have been provided by The Home Depot in exchange for this post series. My opinion on these products is my own.


It’s clear you did some kind of treatment to the basement floor, but I don’t see any indication as to what that was, can you expound?
Strictly scrub and hand scrape the loose paint off the floor. Then with everything dry I resealed with with high traffic exterior floor paint.
Hi! Can you share what brand and type of paint you used on the floor? How long have you had it down and how is it holding up?
Sorry I was having website issues when you posted this and missed it! I used Behr Premium High Traffic Floor and Patio paint and it’s held up beautifully. We still get a little water in the basement and we’ve had no issues with it coming off. Here’s more info on my post: https://lazyguydiy.com/how-to-add-a-floor-stencil/
What about scratches or General wear making paint come off?
Because we used the high traffic, exterior patio paint, with two coats down, it looks as good as it did when we first painted it. It’s held up beautifully.
Did you rehab the concrete sink? If so, how? Thanks!
Here’s the post: https://lazyguydiy.com/how-to-restore-a-vintage-concrete-laundry-sink/
We lucked out and did not have to repair any of the inside of the concrete. It was in pretty good shape, as well as the plumbing. Basically this was a beauty overhaul for a sink that had lived a rough basement life. Ha!
Where is part two of the post? Must I subscribe to read the following parts?
Full round up is over here: https://lazyguydiy.com/the-scary-basement-makeover-reveal/
Somehow the click through link fell off, sorry about that!
Thank you for a real life makeover. Its hard to find posts that deal with the realities of an old home, an unfinished basement, a tight budget and a busy life. Most basement makeovers are all or nothing – if you can’t afford tens of thousands spent on waterproofing and finishing, then do nothing. We need more real life makeovers for real life budgets and real life schedules! We have a scary basement too. A small investment in pendant lights has made a world of difference. Twenty bucks and an hour of time has taken it from dark and dungeony… Read more »
Ha! The cobwebs just means the spiders are taking care of all the other stuff you don’t want to know about! Lighting makes ALL the difference in spaces like that for sure.
Hi,
We have this exact sink in our basement, I’m about ready to start to rehab it. My question is, what should I use on the bottom of the sink bowls, they both have a bit of water damage, the concrete has worn away. Should I try to patch it or should I just waterproof it?
Thanks!