How do you make an otherwise drab looking space a little more fun? Add a pop of color and design with a Floor Stencil! If you’ve been following along with our Laundry Room Makeover you’ll know our Scary Basement was… well… scary. See how we changed that with a floor Stencil in this tutorial!
Several of the tools in this tutorial were provided by the Home Depot Pro-Spective tool review in addition to a Stencil provided by Stencil revolution. Affiliate links to follow.
Floor Surface Prep
In the case of our basement, we had a lot of clean up on top of wear and tear. I ended up having to scrape off a lot of the old paint that was coming off as well as give everything a good scrub down. With the floor prepped, it was time to paint.
I used Behr Premium Porch & Patio floor paint for the base gray (also what I had tinted for the stencils). It’s perfect for a high traffic area that comes into contact with water. If the floor or tile you want to paint already has a clean surface, I’d still recommend putting down a new base color just to make your stencil pop and hold up over time.
A Block Of Color
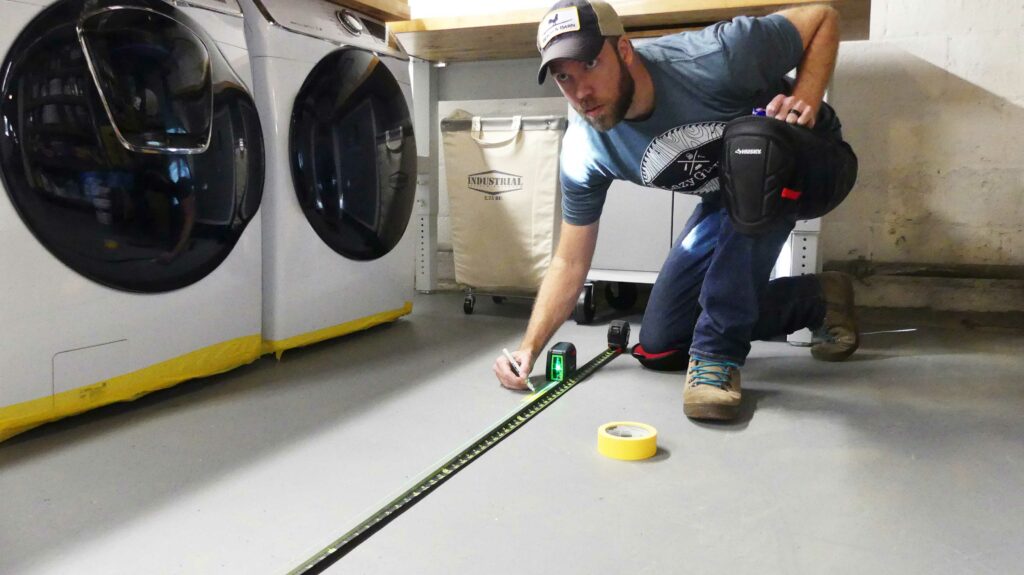
Because of the occasional flood that runs through our basement… putting a rug down just wasn’t going to cut it. But we wanted to continue to spruce up our space and make it a little more enjoyable to visit. So we came up with the idea of making a faux rug in it’s place. For that we needed to block out a big and relatively accurate rectangle.
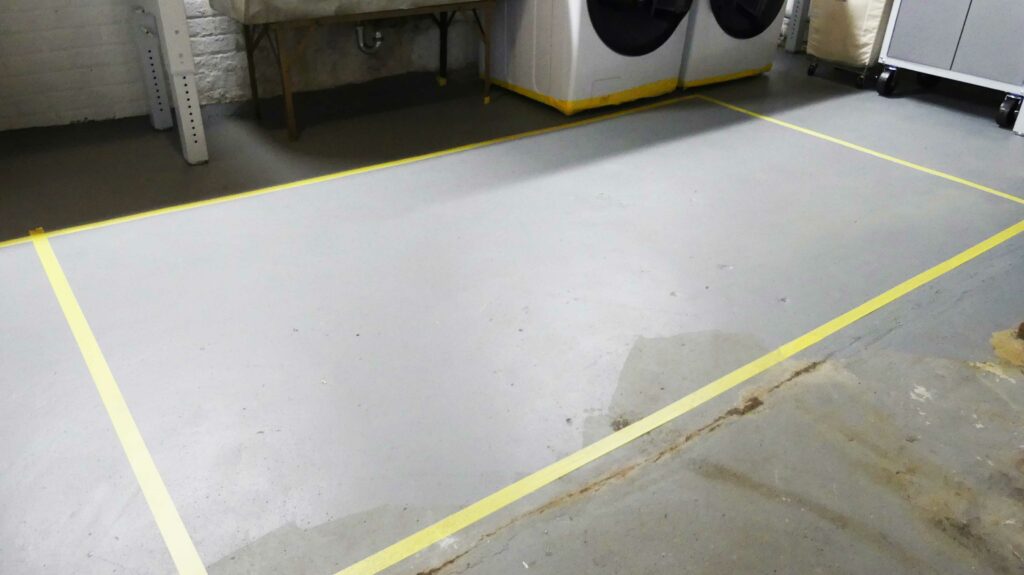
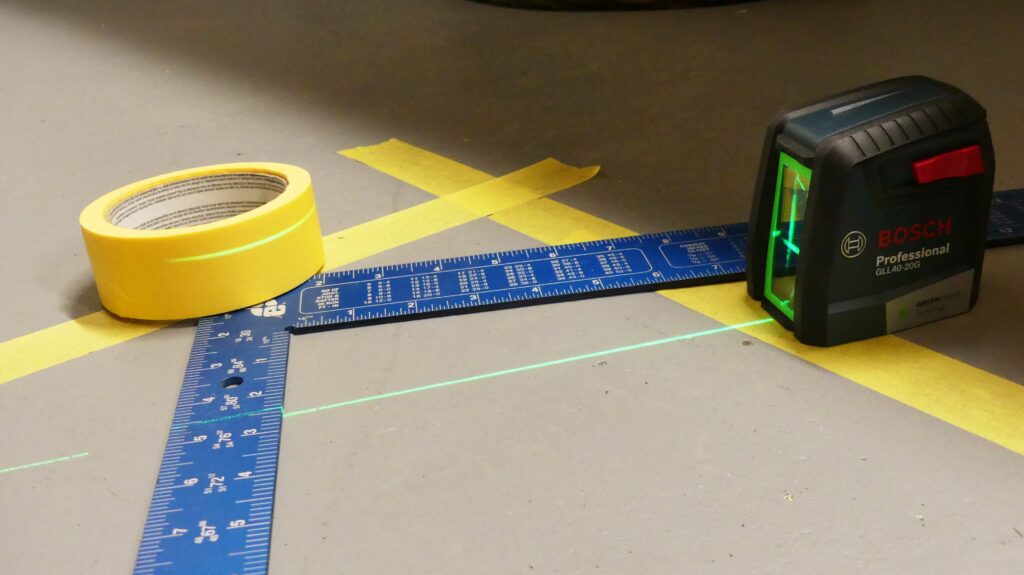
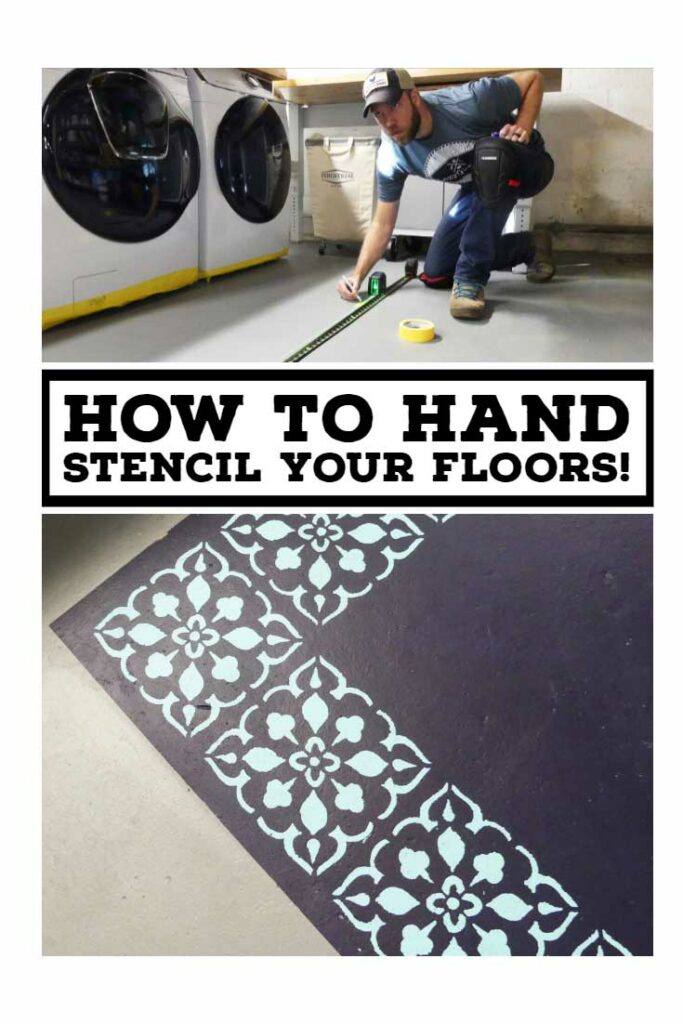
I just so happened to be testing out the Bosch Self Leveling Cross Line Laser and it turned out to be a perfect tool for the job. While this model is a little more expensive because of the green laser, Bosch has multiple models that start at around $50 I’ve tested before that will work just as well. Just drop a line parallel to the wall, mark your borders and start laying down painters tape even with the laser line.
Floor Stencil Prep
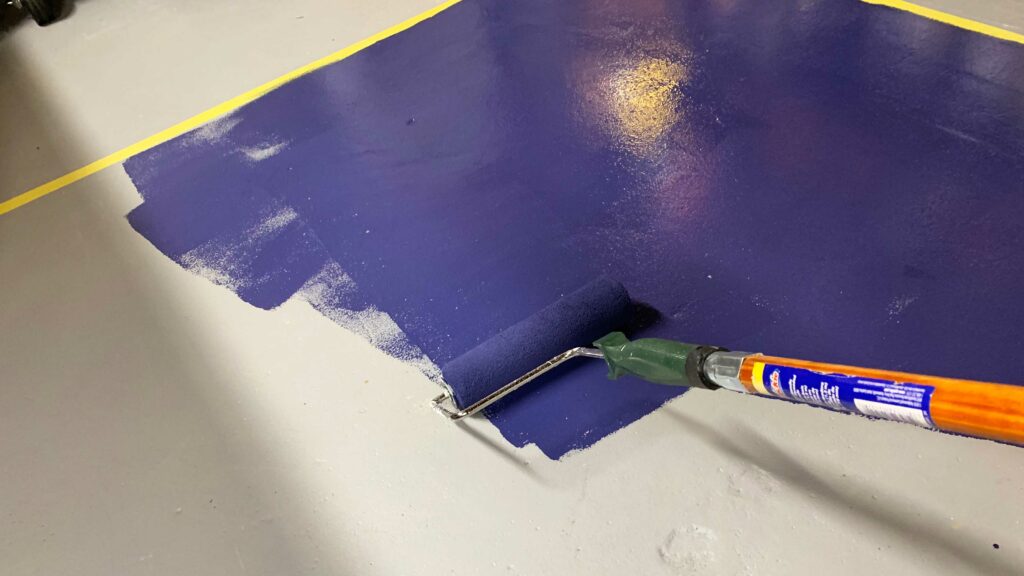
Unfortunately, this isn’t as quick as a DIY project as you might want because you absolutely want to make sure that base color is dry first. In the right temperature range you’re looking at about 24 hours before you can start the Stencil phase.
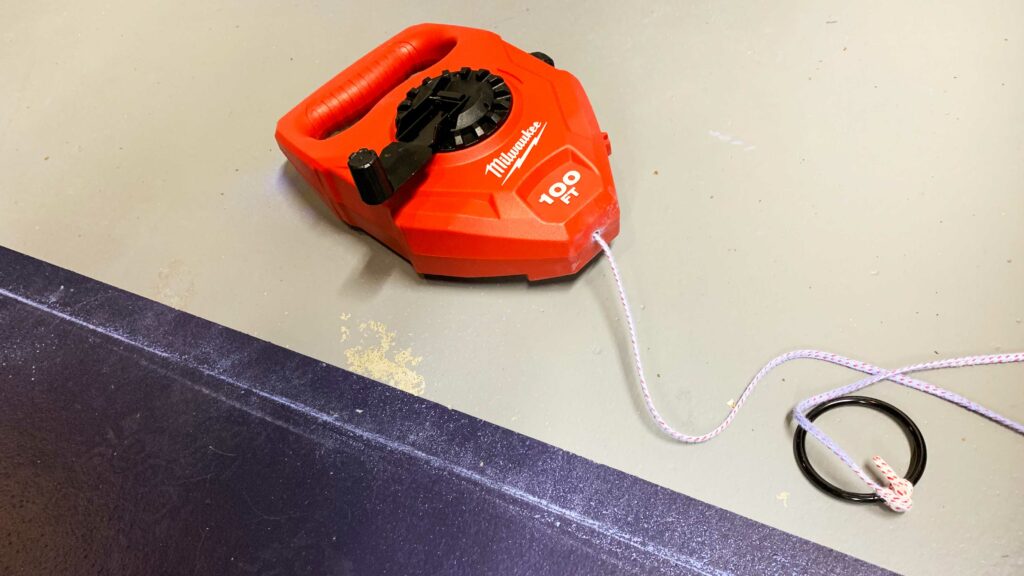
I should mention that at this point we had already received our 8″x 8″ Lydia Stencils from Stencil Revolution. We did a little measuring and then a little mathing (my wife did… not me) to figure out how big our pattern would be. Then that’s how we decided how big the color block beneath would be. Because we needed a 1″ border around the edge, I brought out the laser again and this time, used a chalk-line like this one from Milwaukee to run a temporary guideline.
Floor Stencil Monotony
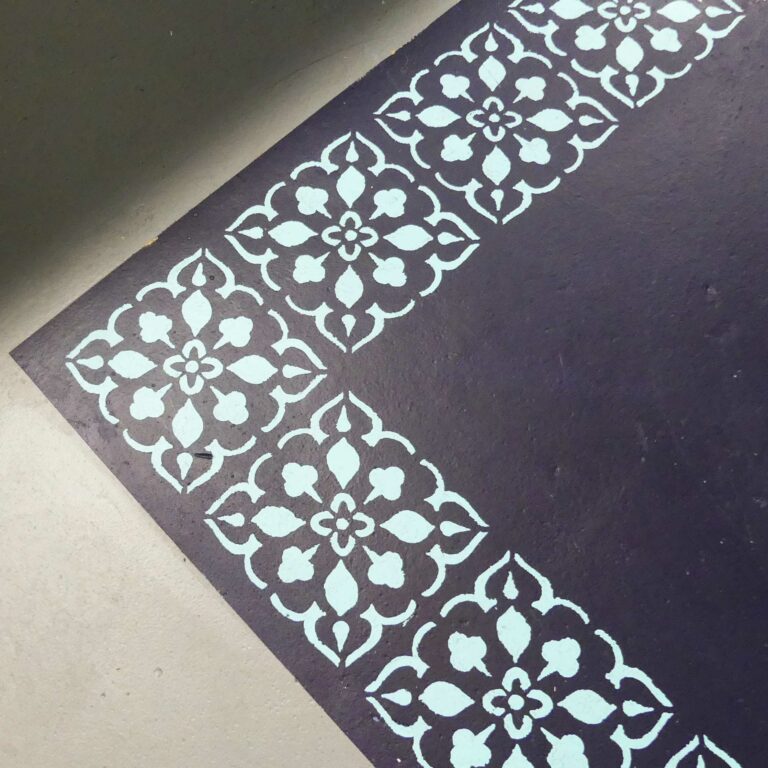
Drop on some good tunes or a solid stream of podcasts because you’re going to be a here a while. I started at the corner, lined up my first section, secured it with painters tape and then used a paint roller to apply my first stencil. *$#&$#! It didn’t go well. No matter what I did, too much paint would leak through and made the whole thing blobby. Maybe a smaller or larger stencil would work with a roller, but for this one, I ended up grabbing a round brush from my daughter’s easel and started stippling.
The trick here is to have at least two stencils (watch the video above). The have overlay cut outs to connect the pattern to the next stencil, but you want to make sure you paint the side with the overlay first. That allows a minute or so of dry time so you don’t have to worry about smearing paint on the second stencil. Alternate between the stencils and pat it dry with a paper towel between paint applications. I’m not going to lie… this took a few hours to apply and I was instantly thankful for the Husky Soft Gel Knee Pads I was wearing.
Final Notes
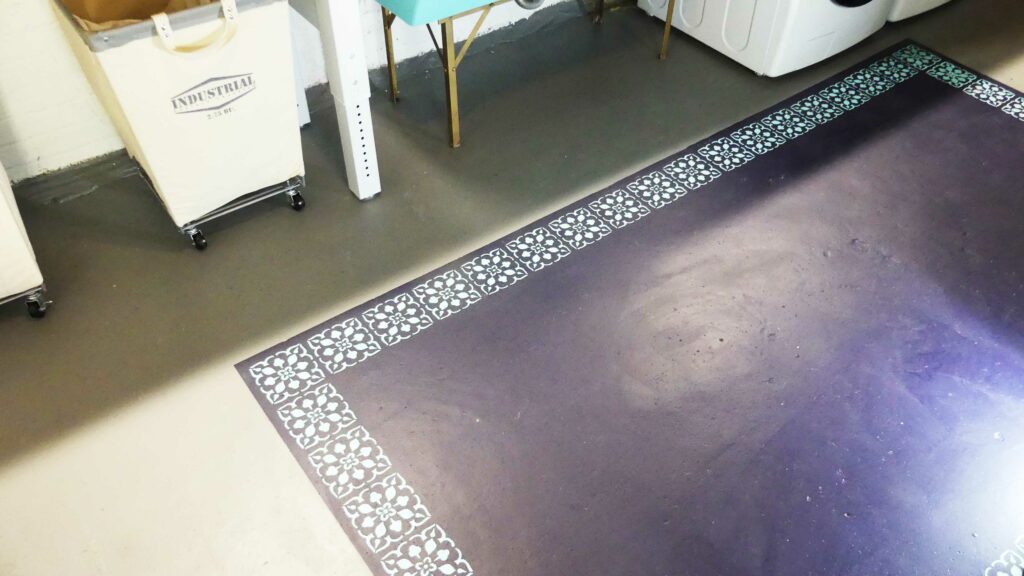
We originally wanted to add a different bigger stencil in the middle area, but realized it might be a little too busy. Plus, the monotony of the little stencils had me worn out. Make sure you order at least two and if they will sell you a double of the pattern it will speed the process along. All in all it’s a great way to add a little personality to a space and in this case our floor. But this is also an application that you can use on single tiles, walls or other smaller projects.
~Lazy Guy
Like this project? Follow along with the other updates from the Scary Basement Laundry Room Makeover!
Don’t forget to Pin this Project to Pinterest!



Hi! The key to a better result for using the roller is to offload some of the paint before rolling it on. Otherwise, it bleeds under the stencil as you saw. Hope that helps with your next stencil project. FYI, this should be done if you use a stencil brush as well. There should be very little paint on the stencil brush. It’s a dry-brush technique. You may need a second layer if you want it to be darker but it’ll NEVER bleed under if you offload the paint.
Thanks for the tip!