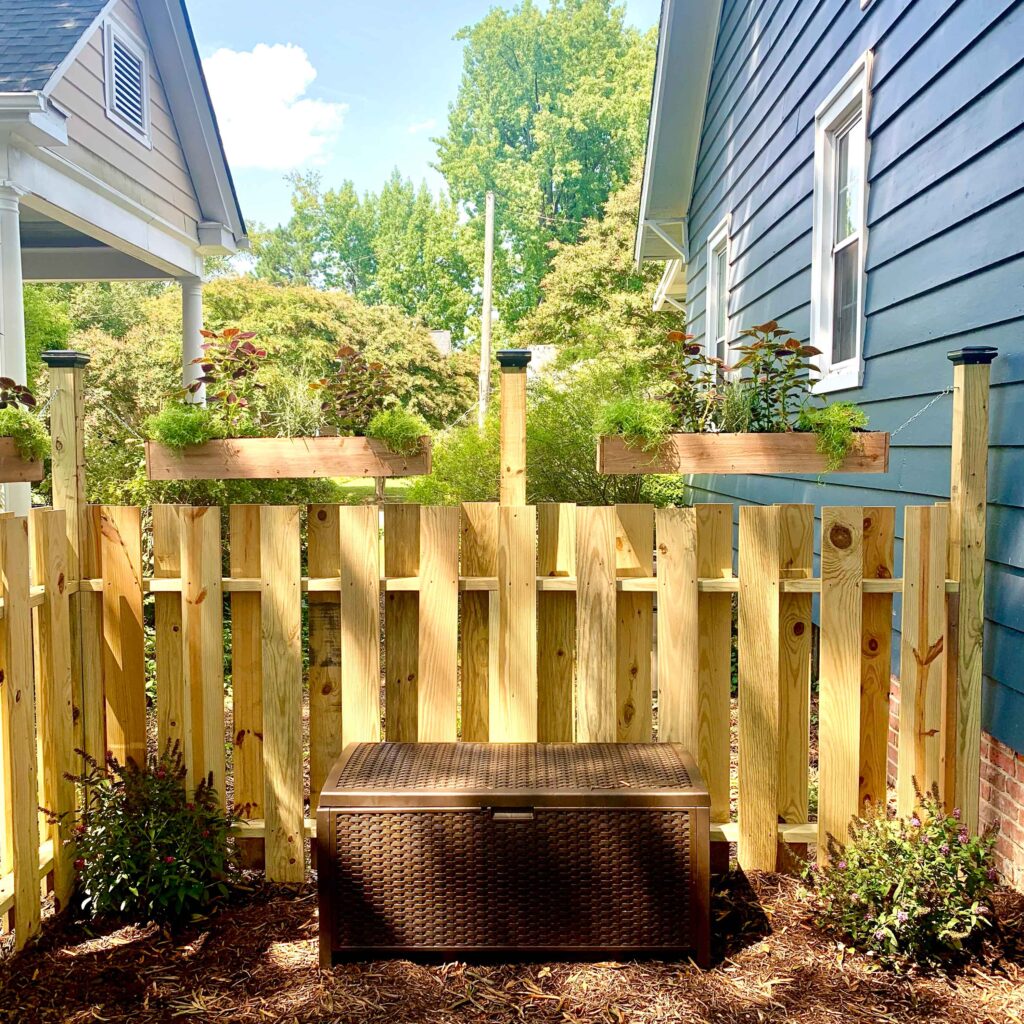
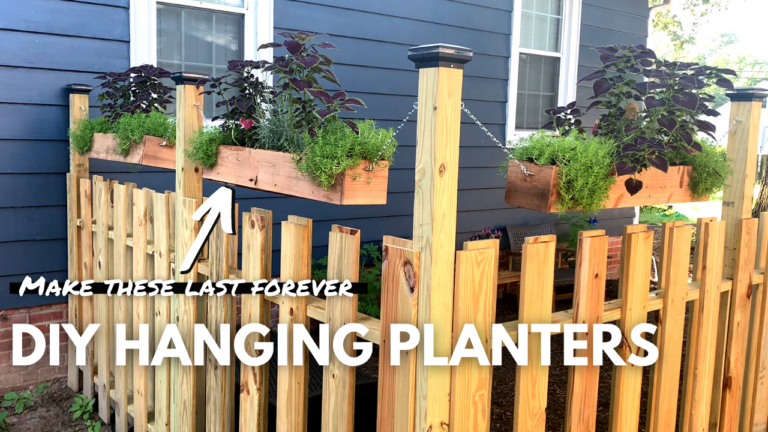
The funny thing about outdoor woodworking projects is that they generally have a pretty quick shelf life. Throw in a lot of dirt and daily watering (sometimes I wet my plants) and then you’re playing with fire. Err… I guess not fire, but maybe degradable organic material saturated on the regular? I don’t know. But recently I learned a secret on how to prolong the life of outdoor woodworking builds. In this case, how to make these cool hanging planters last a lifetime!
Before we get started though, you really should watch the video. For real. Just hit play, walkaway, comeback, maybe restart the video, get a drink, comeback, subscribe to the Lazy Guy DIY YouTube channel and then watch it again and give a thumbs up.
Okay, now that you’ve watched the video (did you???) let’s talk specifics here.
Hanging Planters Materials
- Cedar Fence Pickets (don’t get pressure treated)
- Stainless Steel U-Bolts (2 per planter)
- Zinc Eye Screw (2 per planter)
- 1-1/2″ S Hook (4 per planter)
- 90 lbs. Load Zinc Chain
- Plants and dirt
Hang Planters Tools & Supplies
- Saw (miter saw or circular saw will work)
- Drill & Driver (I used the DeWALT Atomic Combo Kit)
- Tape Measure (I used the new DeWALT 25 ft Tough Body)
- Brad Nailer
- Clamps
- Wood Glue (Titebond III is great for outdoor projects)
- MAS Penetrating Epoxy (this is the secret ingredient use code LAZYGUYDIY for a discount)
How To Build The Hanging Planters
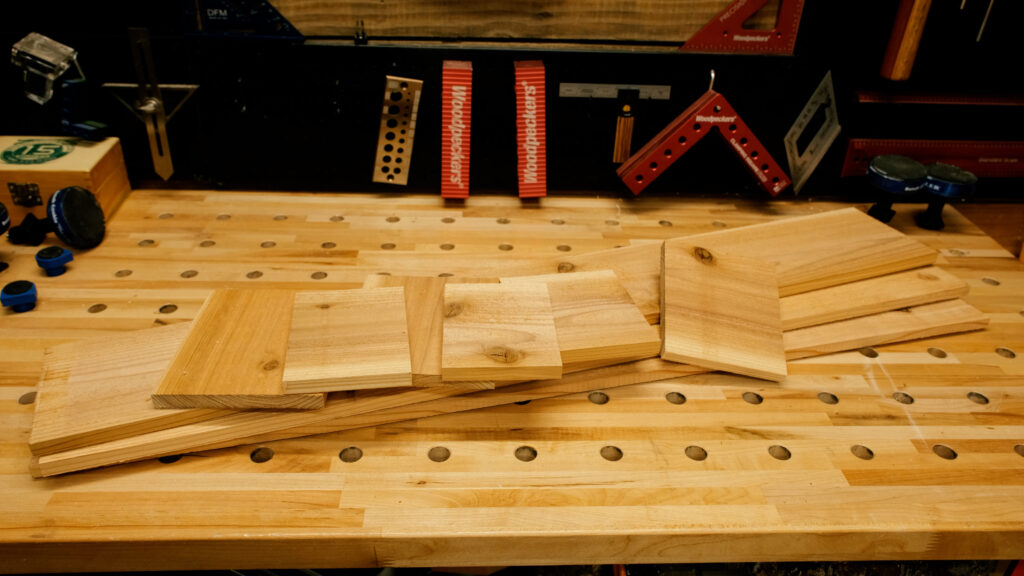
So get on with the build right and give you a step by step tutorial on how to build these things? Well that’s not what we’re doing here. My build is specifically related to the distance between the fence posts in my yard. Like a snowflake, my fence post distance is unique. But that doesn’t mean you can’t recreate this. With three cedar fence pickets I could make one planter.
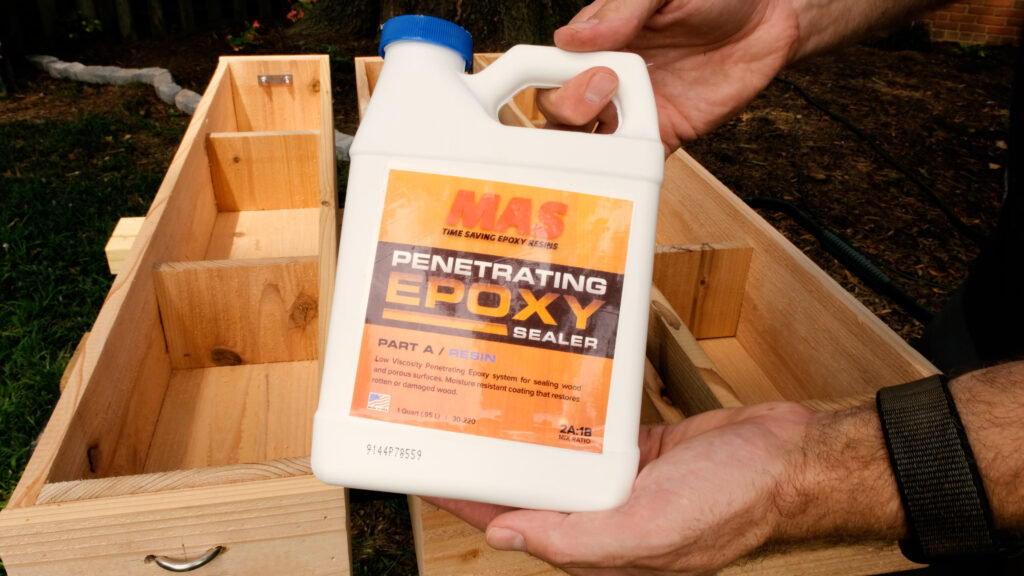
Why cedar? It’s excellent for outdoor builds because it holds up well to the elements. Also… it’s really porous and soaks up… MAS Penetrating Epoxy. So here’s the trick. Penetrating epoxy is great for stabilizing woods. Think areas with rot that need to be repaired or maybe some really cool, but wormy burl wood that would make for a great build. Penetrating epoxy soaks in (it has a low viscosity) and then dries to make a hardened protective layer inside and out. So while you could just use a normal exterior grade epoxy to coat the outside, I’d rather soak all the way through! But if you still want that additional protection, you can also try a UV Urethane Varnish like MAS Bristol finish that will keep the cedar looking new and hold up to the sun.
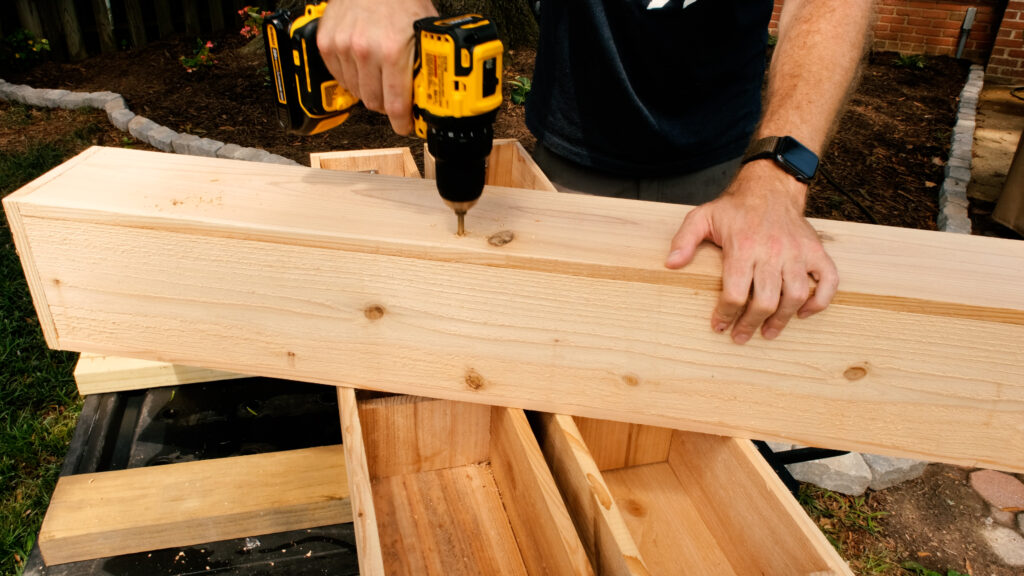
Last tip I’ll give you when building this very basic planter box, is to add drainage holes. But don’t drill through the bottom or too close to the bottom edge. Give yourself about an inch or two so water can still sit to keep your plants happy without drying out completely. Also, make sure you apply your epoxy into the holes you drilled as well so it’s protected.
~Lazy Guy
