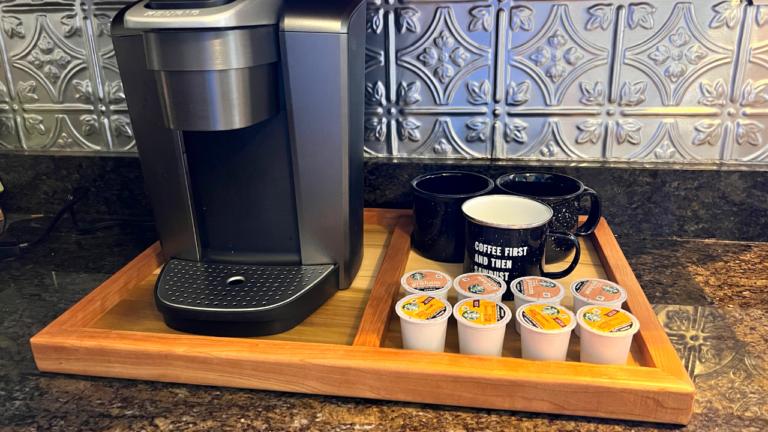
Being under-caffeinated is a real problem. For instance, I built this entire countertop coffee tray and never once did it occur to me to wear my “Coffee First and then Sawdust” t-shirt. It’s a travesty and the direct result of not having a proper supply of my caffeine filled lifeblood. For that caffeine, I keep a single serve coffee maker on my countertop that just sort of sits there and annoys my wife. So I decided to make this poplar and cherry wood tray to spice things up a little bit. More importantly, I partnered with my friends from Krylon again and used their Spray Lacquer to make a durable, java command center.
This post has been created in partnership with Krylon Brands.
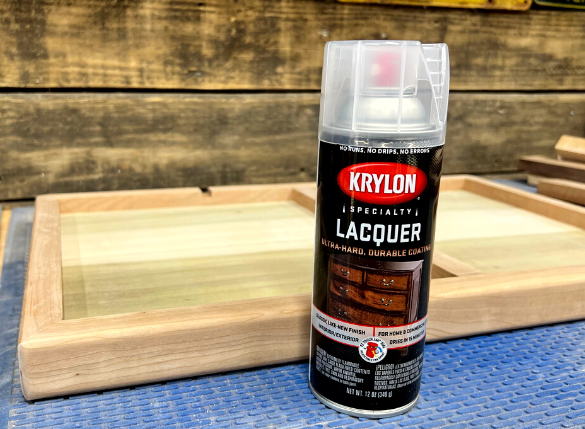
Spray Lacquer you say? Honestly, as an avid woodworker where finish matters, I was skeptical at first too. So I tested Krylon’s Spray Lacquer on a different project and was extremely happy with the results. The application went on smoothly and dried within minutes. In fact, it’s dry to touch in 15 minutes and dry to handle within an hour. You can also go back and add additional coats quickly. The reason I chose a spray lacquer on this project was because I knew there were going to be little nooks and crannies that were going to be tough to get into with traditional, brush on finish methods. Also, a lacquer is a great protective finish for a wood project that is going to be in the splash zone for coffee where you won’t have to worry about water damage.
On to the build!
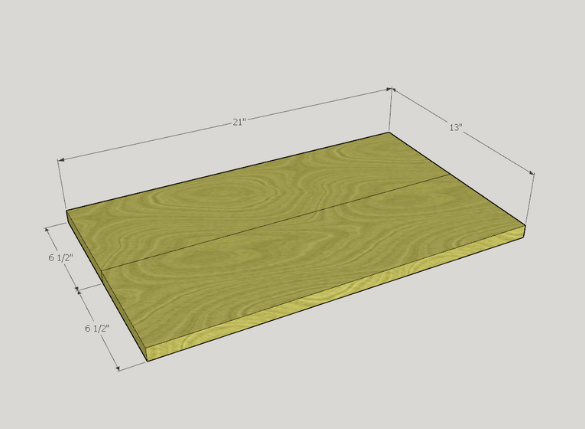
I mentioned above that I was using poplar and cherry for this build. You can honestly use whatever material you have lying around. I just happened to have a few scrap pieces I wanted to use up in my shop. For the base, I ripped a piece of poplar down to a pair of ¾” thick to 21” long to 6-1/2” wide boards.
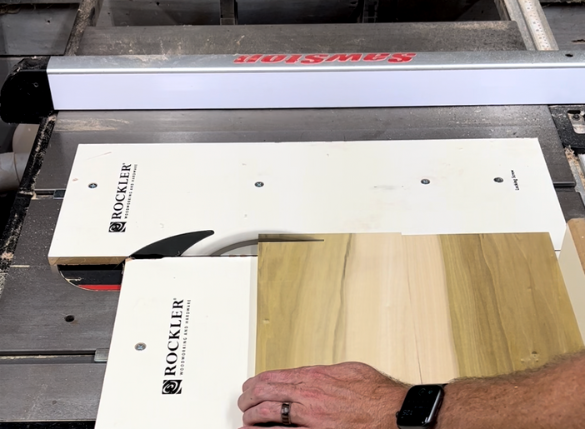
In fact, I cut them a little bit longer so I could grain match the two pieces. I then glued them up with a basic butt joint and then trimmed them down to the 21” length later.
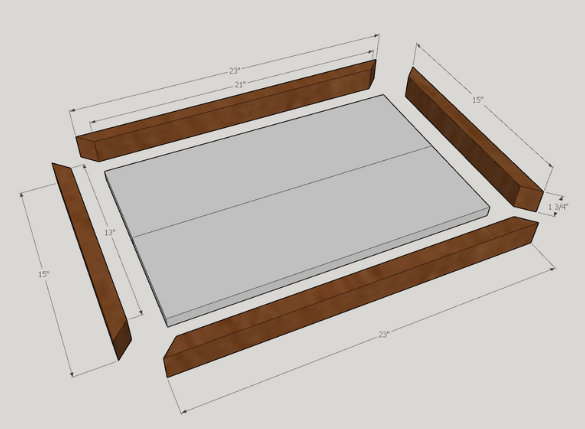
For the frame of the coffee tray, I had some 1” cherry that I ripped down to 1-3/4” wide. I then cut those pieces a little longer than needed as I was going to miter the edges at 45 degrees for assembly.
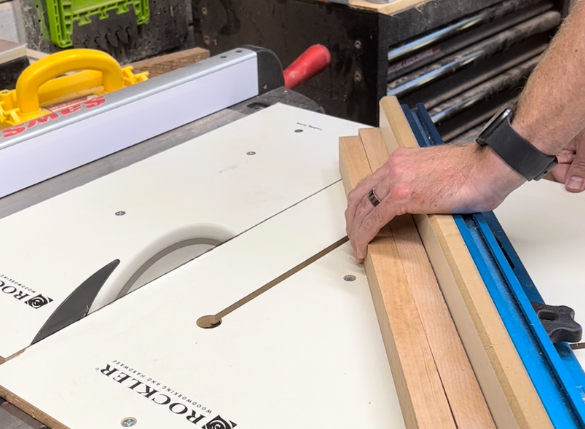
Ultimately, the shorter edges will be 15” on the outside and 13” on the inside of the miter while the longer pieces will be 23” on the outside and 21” on the inside. I used my table saw with a sled for this cut, but you can just as easily make the same cut with a miter saw.
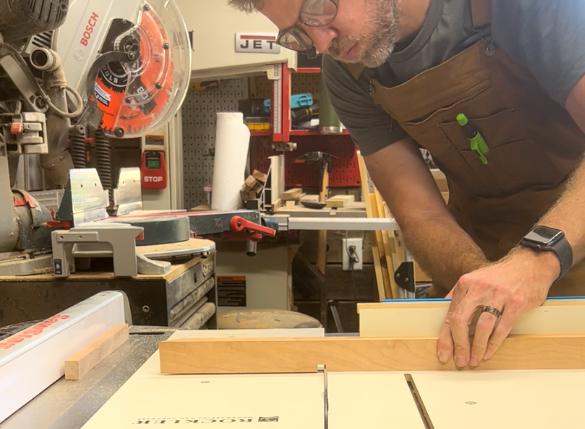
On one of the longer pieces that will be serving as the back piece, I used my table saw to make a few passes to create a dado groove. I added this specifically for the power cord of the coffee maker so it would be able to sit flat. Or because I like cutting dados.
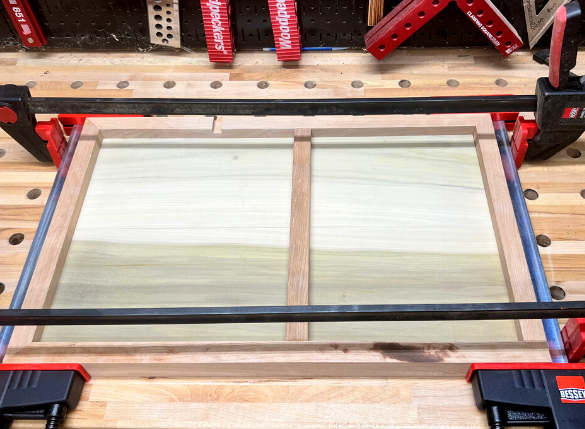
With all the pieces cut and sanded, I used a combination of wood glue and clamps to assemble the tray. You’ll notice there’s an extra piece in the middle too.
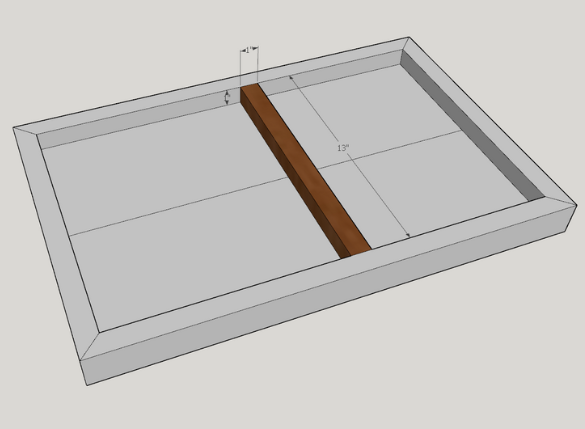
That’s a divider I added just in case there’s ever a spill. That was scrap piece of cherry from my cutoffs I ripped down to a 1”x1” by 13” long. I left a spacing a 11” from the side to make sure it fit the coffee maker on the surface and then glued it into place as well.
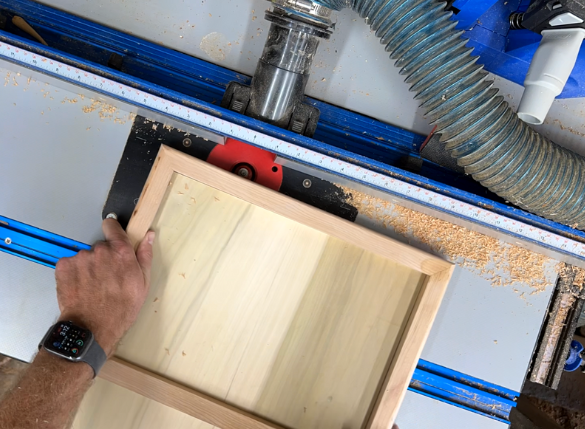
Once the glue up had dried, I hit all the edges with a round over bit with my router. In this case I used my router table, but any handheld router will do. If you don’t have a router, you can just sand the edges to break the sharp edges so it’s smooth to the touch.
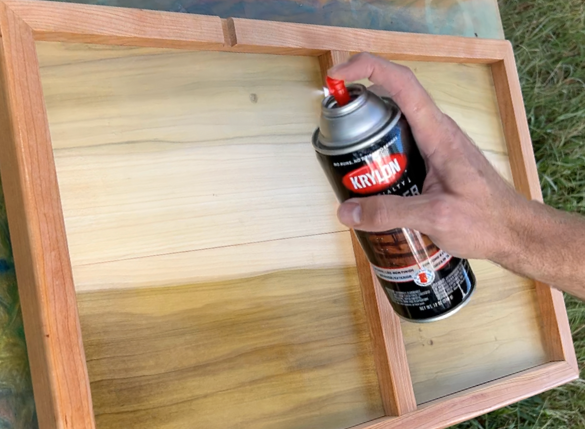
After shaking the can, I applied the Krylon Spray Lacquer to the tray. You know that moment of truth when you apply a finish and see the grain pop on figured wood? That same action happens with spray lacquer. The coverage is durable, generous and consistent from the applicator so with just a few passes I hit all surfaces.
As the lacquer dried (15 minute dry time!), I had expected little textured inconsistencies that come with most spray applications, but in this case, it was smooth to the touch. So, I applied a second coat for good measure and called it a day.
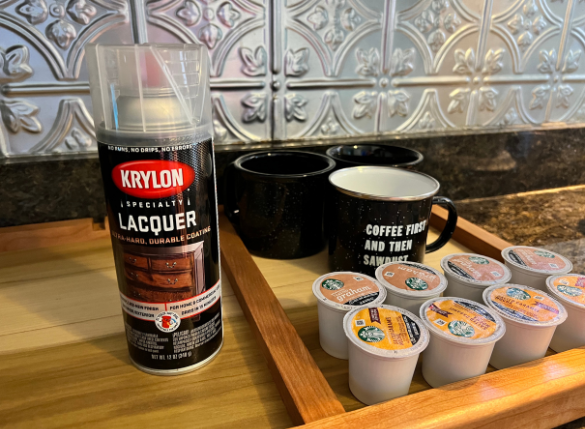
Now the only thing left to do is to load the tray up with all the coffee fixings. As you can see there’s a slight gloss to the surface like there would be with any lacquer application. If you’re looking to tone that down a little bit you can lightly sand the surface with a high grit sandpaper to dull out the finish.
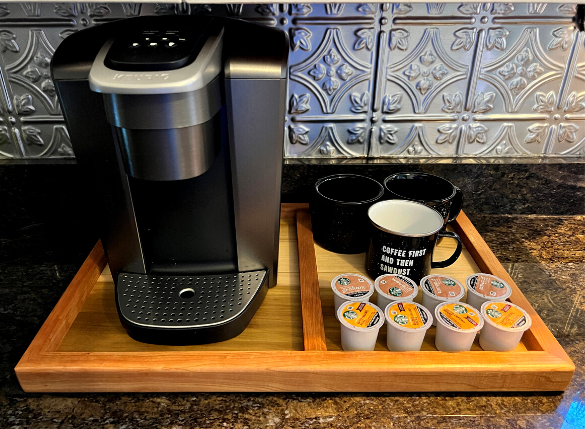
As you can see, this was a great little project that makes a huge difference in organizing what could otherwise become a cluttered space. Even better, who doesn’t love a scrap wood project that adds to your coffee habit? If you’ve ever used a spray lacquer before out of a can, I would love to hear your experiences in the comment section below.
~Lazy Guy

