If you’re a guest at someone’s house, there are usually three instances that strike fear into the hearts of any person while using the bathroom: a toilet that won’t flush, an empty toilet paper roll or an exhaust fan that won’t turn on when you need it the most. While I can’t help you with the plumbing emergency or even how to use the alternative “three seashell method” I’ll give you a little tip today for a home improvement upgrade for your bathroom exhaust fan “in loo” of another bathroom related panic. BATHROOM PUN!
This post is part of an ongoing Smart Home Series brought to you by The Home Depot. All affiliate links will be noted with an *
We’ve got one full bathroom in our house and when shower time rolls around it’s a full on blitz of heat and humidity hitting that little room. Which means having a bathroom exhaust fan that actually runs is a must. The problem is… you flip the switch to our fan and there’s a good 10 to 15 minutes of screeching like an old car’s fan belt just to get it turning. And then I’m not really sure it’s pulling any air when it does run (more on that later). Plus… it’s RIDICULOUSLY LOUD when it does run. My wife and I both like to listen to podcasts when we get ready for work in the mornings, but when the fan is louder than the speakers on your phone going at full blast then not only are you missing out on audio goodness but it’s loud enough to wake the rest of the house. So let’s kill two birds with one stone here… how about we upgrade the old fan with the Home Netwerks Bluetooth Stereo Speaker Exhaust Fan* (with LED light!)?
So for those counting, that’s a new fan that runs quietly, is a bluetooth speaker AND has a built in LED light? Too good to be true? A difficult upgrade? I’d rank this as a medium skill level install only because of “old house problems” and anytime electrical work is involved I like to err on the side of caution. If you have a newer house or upgraded wiring, this should actually be a breeze, but if you’ve got a house that’s closing in on the century mark like us I’ll show you exactly how the worst case scenario isn’t all that bad. But first… turn your existing fan and light on… then turn your circuit off on your panel to absolutely make sure you have no power going to what you’re about to work on.
Removing The Old Exhaust Fan
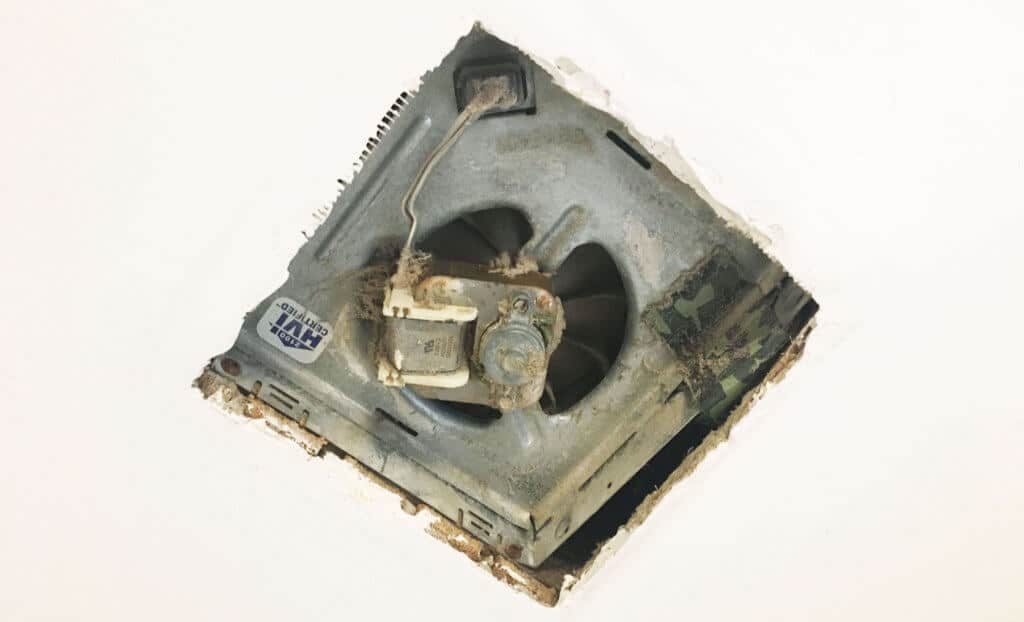
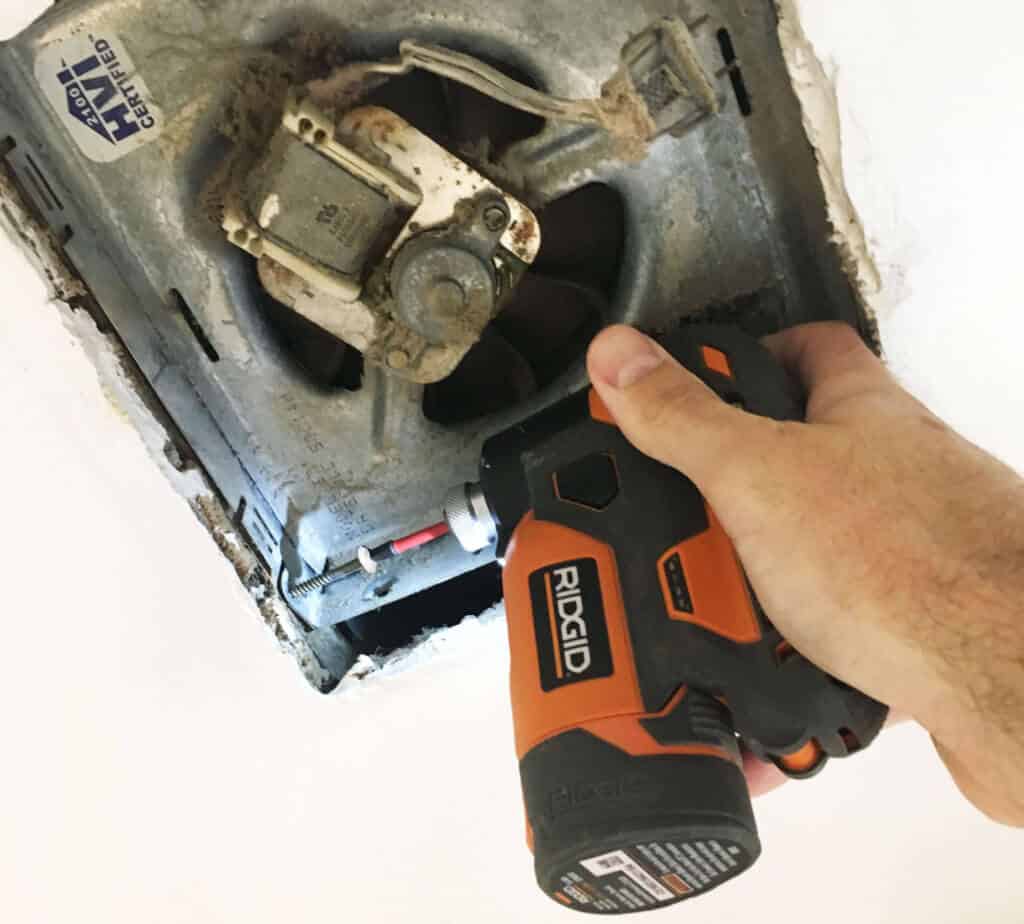 Now that you’ve triple checked that the power is off to the old fan, it’s time to take it out (and not for a nice dinner and forget to call it later). Typically these fans are screwed into a floor joist on only one side, so locate those screws and remove them. That should give you the ability to shift the fan around a little bit to either start to pull it down through the original hole or push it up enough to start disconnecting the ventilation hose and potentially the electrical running to the unit.
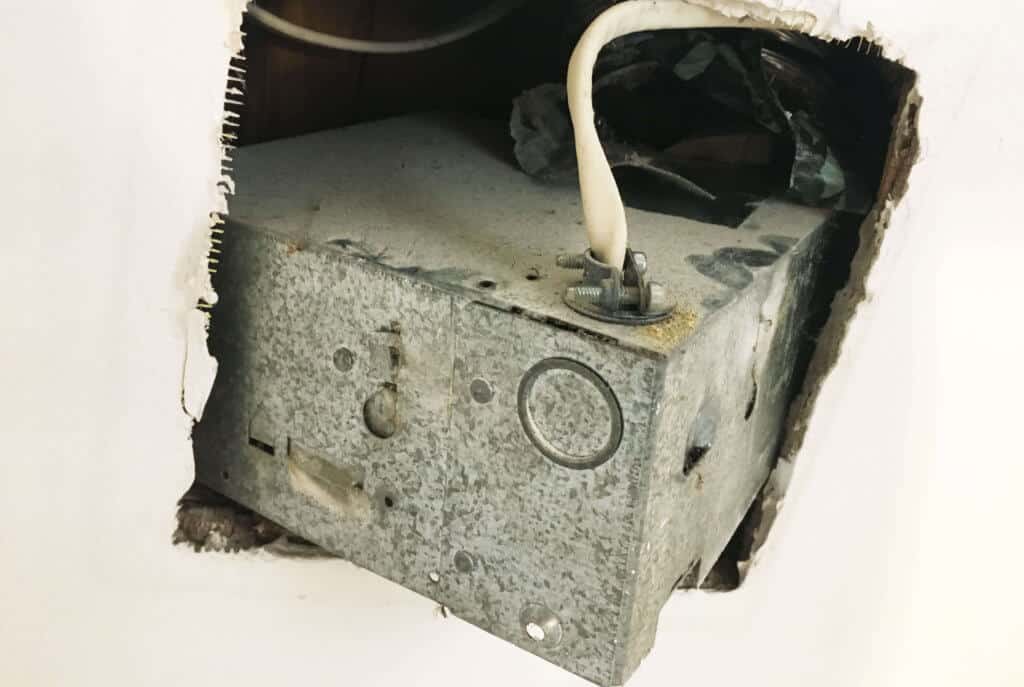
This is where I got the fun surprise that not only did the previous vent hose not fit the out feed of the old fan, but it had also been badly MacGyver’ed with camouflage athletic tape. CAMO ATHLETIC TAPE!!! So all that moisture from the shower was just going up into the space between the floors instead of actually being taken outside. Sometimes you just need to laugh at what previous homeowners do when pressed with making a decision to do it right or do it conveniently like the plumbing in my house. This had to have been a panicked repair because…
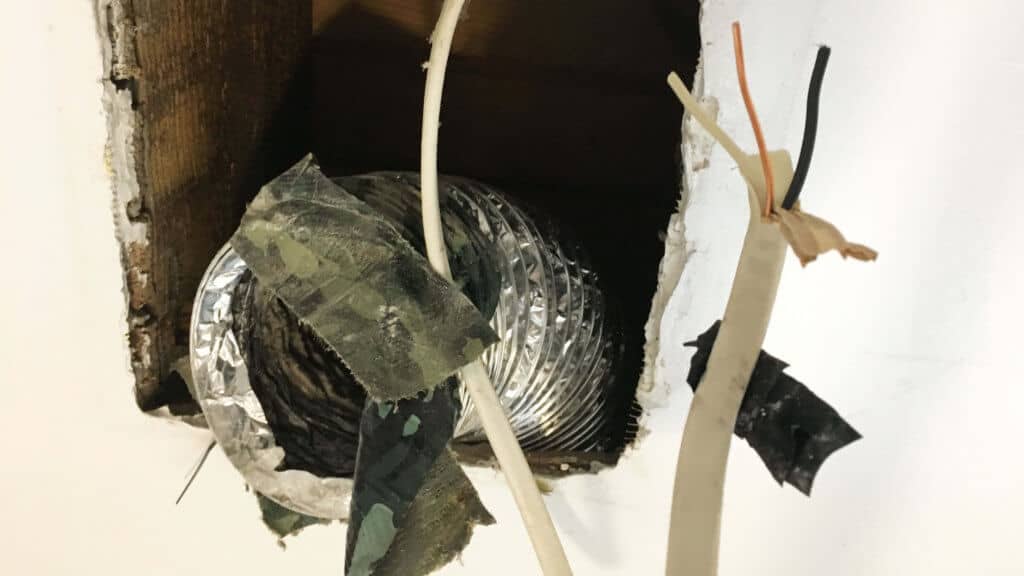 The electrical work was hardwired into the fan and done by a professional. There was no way to disconnect the wiring without disassembling the fan which was impossible with it still up in the ceiling. So I had to straight up cut the wiring off where it entered the housing… and that’s okay.
Installing The Upgrade
This is where our paths might split depending on how your home is wired and if you have a separate switch for the light and the fan. For me, I opened up the main wire and split and stripped the three wires. Black is the “hot” wire, White is the “neutral” and Green is the “ground”. Even in older houses, inside the line you should have at a minimum those three. If not… run while you can to get out of that fire hazard.
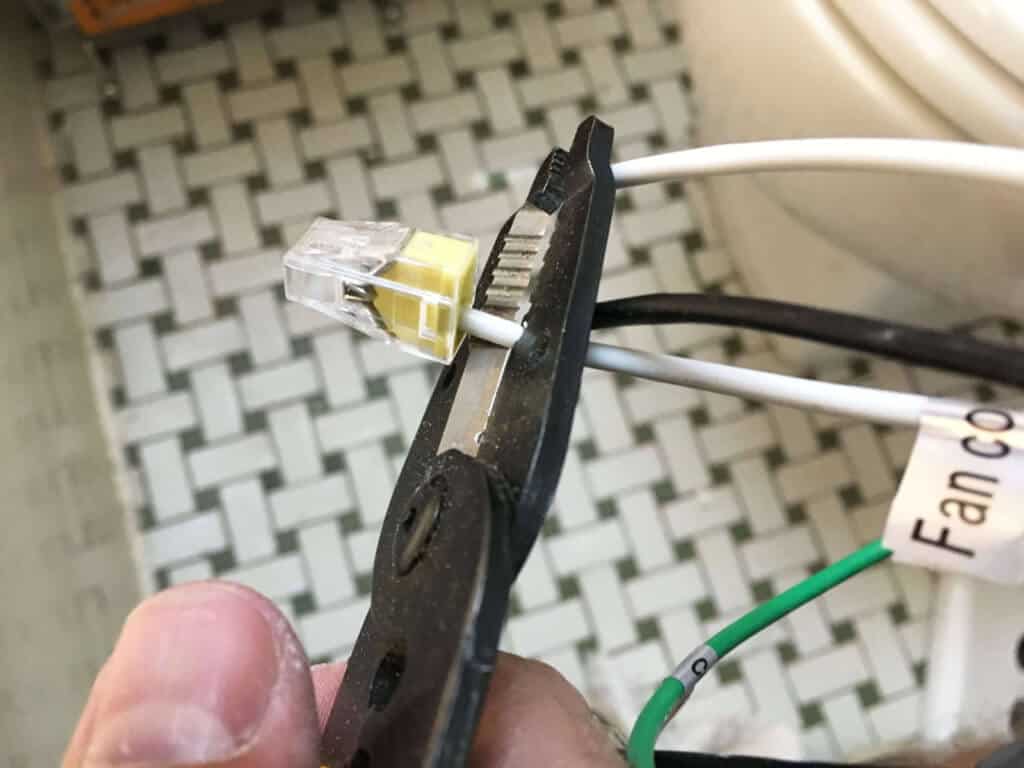 Before we jump to the next step… make sure the new fan fits into the old hole. If it doesn’t, you’re going to need to widen it to fit (with a dry wall saw) plus have enough room in the space to hook up electrical and the vent hose. We have old plaster walls and ceilings so I had to pull out my reciprocating saw to cut through the wood lathes behind the plaster material too. Don’t cut the hole wider than the new vent cover… or that’s another thing you’ll have to repair. The new fan does have a removable connector for the ventilation hose so I went ahead and connected that and attached it with tape that wasn’t camo or used for taping up ankles.
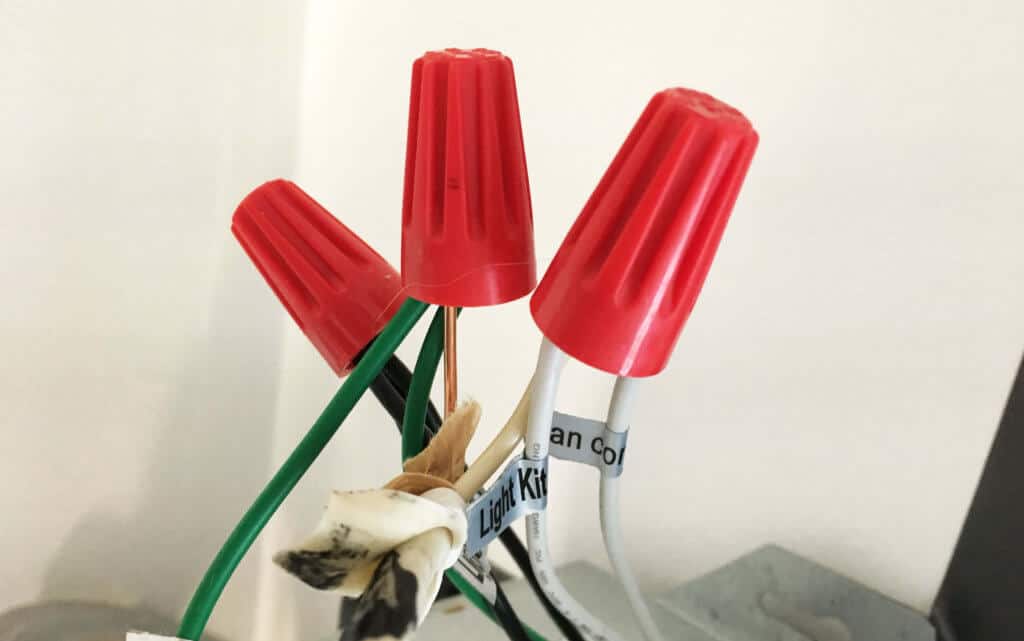
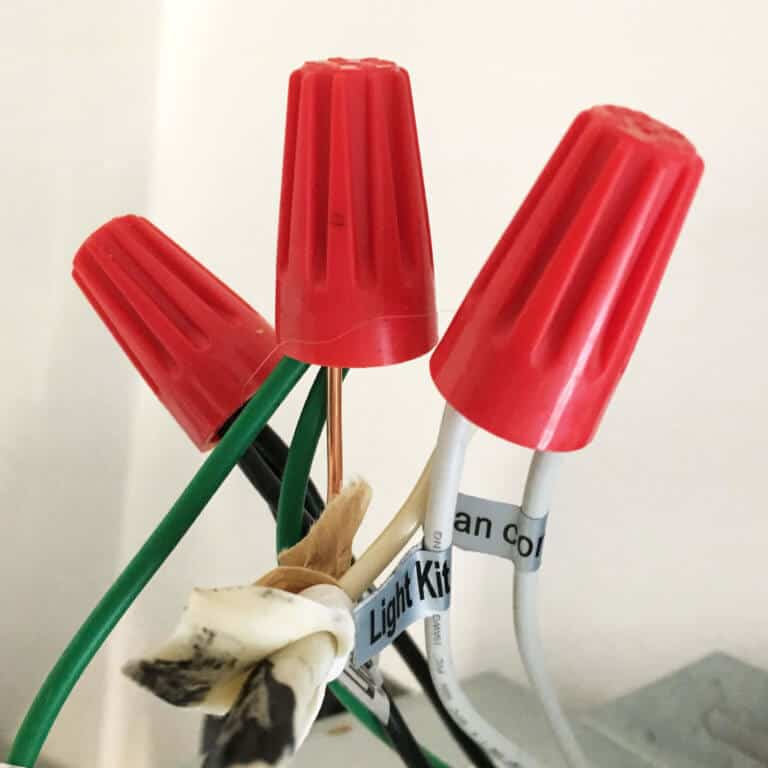
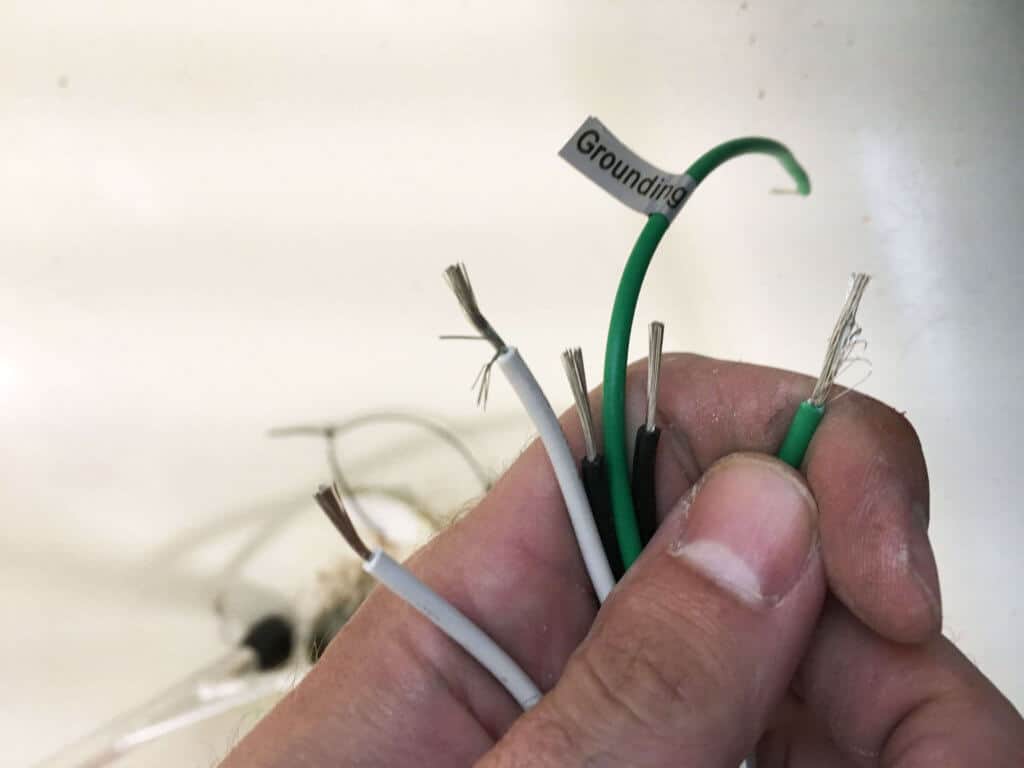 The new exhaust fan is set up to be used with a two switch system (light on, fan on) to begin with, so for me, I had to cut off all those nifty little heads for my one switch wiring. Then it’s a matter of matching the colors together (and the green to the ground) and capping them off. What’s awkward about this is there’s NO WAY to wire the new exhaust fan from the bathroom before you secure it to the floor joist. The wiring connects on the outside of the housing. If you’re able to do this in a crawlspace above the bathroom… pfffttt to you. I ended up physically duct taping my new exhaust fan to the ceiling beside the hole so I could connect the wiring on the short leash of wire length I had.
 With the wiring connected and the ventilation hose hooked up, you just slide the exhaust fan into the hole and attach it to the floor joist that the old fan was attached to. Full disclosure, I couldn’t use the manufacturer’s pre-drilled screw holes and hit the floor joist, so I pre-drill my own where I knew they’d hit and added a washer for good measure to each when I screwed it in.
Sight & Sound
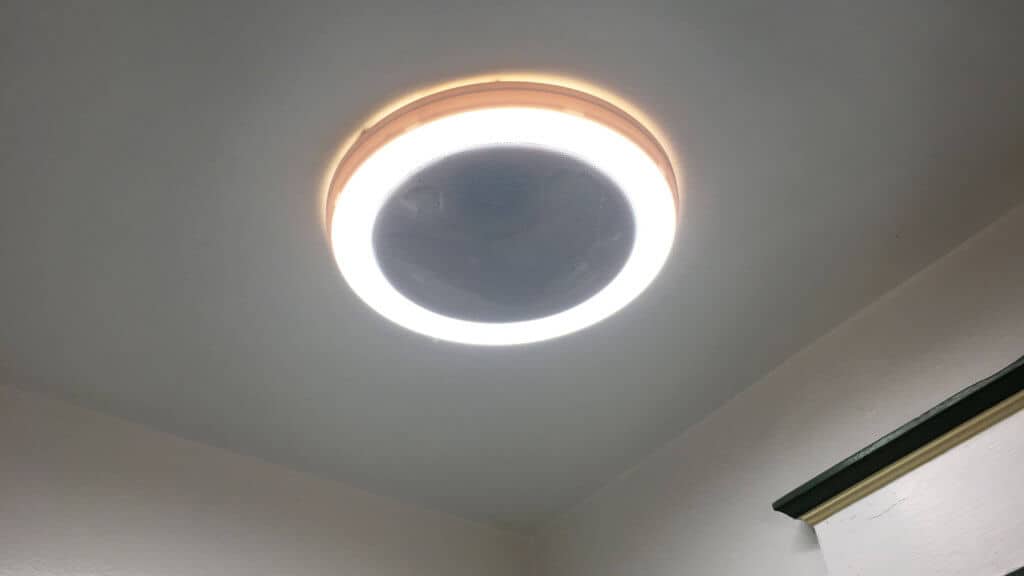
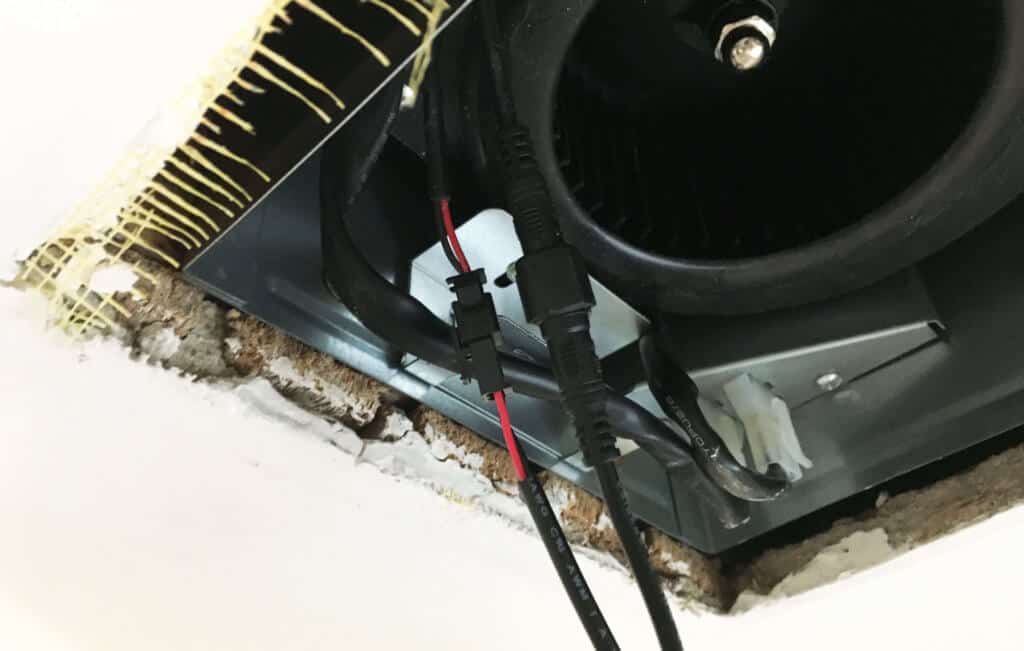 The Vent/Light/Speaker cover attached with two wires (and one that securely connects by threading it on) so I hooked those up before I put the cover on for good. With that, I ran down to the panel box, flipped the switch and listened carefully for the sounds of explosions, screams or fire outbreaks. Instead, I heard a little musical jingle and was greeted by a soft white light and a quietly humming fan when I entered the bathroom. Once I got over the shock that my electrical work actually held, I popped the cover on and got ready to test out the bluetooth.
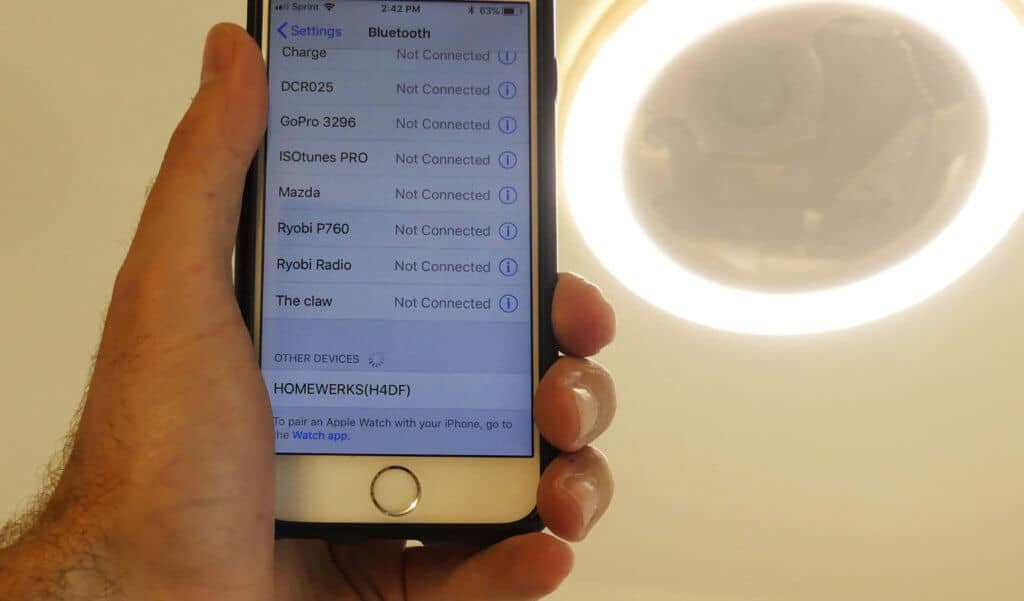
 Not all connected devices are easy to set up. This was pretty darn easy. Turn on the switch, listen for the jingle and then go to the bluetooth menu on your smart device. Click the Home Netwerks option and pair your device. Ready to go. Now every time you go into the bathroom and turn the fan on, your device will pair and be ready to play. The range on the device is fairly concentrated for a reason. Imagine I’m listening to the Made For Profit Podcast while on my computer and my wife is listening to Stuff You Missed In History Class in the shower. We don’t need a fight for bluetooth supremacy raging on every time we turn on the bathroom fan.
 As far as final impressions, the light is plenty bright and is a good addition over the top of our shower that was weirdly dark when the curtain is closed. The fan itself is so quiet that I sometimes have to double check it’s still on. I’m already skeptical because of my wiring job, but just to make sure it’s their product doing its job and not me screwing up. As for the speaker, it does a pretty good job considering it’s paired with a light and a fan. I’m not going to shake my house with thundering bass, but for listening to music or podcasts in the morning and adding a little more oomph to the “Brushy Brush” video my daughter watches when she brushes her teeth it’s a great addition.
The Home Netwerks Bluetooth Stereo Speaker Exhaust Fan* is available now at The Home Depot.



“The Claw”? Details, please. And if they’re boring, feel free to embellish with your own style! 🙂
Hahaha! Crap. You caught me. I’m just glad the bluetooth pairing that says “Bat Mobile” wasn’t showing or I would have totally blown my cover.
Those are your bathroom nightmares, amature…. Built may own emergency relief shut off for the overflow which is always in the path of your last deposit. Ok light/Bluetooth fan question. We need enough light to put makeup on, enough fan to truly vent, and the light fixture will be sitting over the sink and mirror which matters most. How much light is given off? Can we tweeze eye brows, check for roots and apply mascara in a delicate and precise way? The speaker, if the bathrooms central to the house can we hear pleasing gentle music or rock the neighbors… Read more »
Ha! All important questions that I definitely should have covered in my post! For brightness, you get 600 lumens with the LED, which is the equivalent of a 60 watt bulb, but in more of a bright white. So while I’ve never applied mascara in a delicate and precise way or a heavy handed and careless manner… because the light will be overhead I don’t think it’s bright enough for what you’d need it for. For the sound level, for better or for worse, your neighbors and their BBQ will be safe. With the volume all the way up it’s… Read more »
Hey we just did it at home, and didn’t wait for the handy man, but the thing is this appt is built in an odd way, like there were 2 red wires connected to the old fan and 1 white one we assume it’s ground, we tried different combinations and nothing really works out correctly , like the fan works but not the light or speaker, and we have a separate light fixture that used to turn on from a different switch and now we have to turn both switches on to have the light fixture and fan turn on
I have a 1 switch system as well and it’s the connection of the switch that has me stumped. The new panel has 4 wires (green, black, white, red). What come out of my wall for the switch is 3 wires (black, white, copper). How the heck do I hook this up??
Full disclosure, electrical isn’t my strongest area. Let’s see if the hive mind here has suggestions.
I just did this! Your white wire is neutral and should be wired together with your other neutral wires. Your black wire is your ac power and should be wired into your incoming hot wire. Green is ground and should be wired into your other ground wires (in some homes these will be the bare copper bundle). The red wire is your fan power, and should be wired to your old switch that operated your Old fan, if you had one. If you only have one switch to begin with you will have to turn on both original light and… Read more »
Hello.
question: how did you get the fan through that small whole? I have the same issue and I Can not get to it from the attic without removing a lot of my HVAC system. Yes, the HVAC is in the damn attic.
Annoyingly, I had to disassemble enough of the thing to fit and then reassemble it inside the hole. Which is not easy on a ladder.
Oh ok.
im gonna have to do the same. The space in the attic is very very right, I can hardly fit in there. I’m gonna give it a shot tomorrow amd see if I can disassemble it.
thank you for replying.
I realize I am late to the discussion. I just bought this fan and had it installed. I did not realize the light and speaker must be on simultaneously. The light is way too bright and I am wondering if there is a way to wire this so that the light, fan and speaker can all be operated individually. I have the smaller version and the light cannot be dimmed. I currently have the light/speaker on one switch and the fan on another.
You would have to rewire and run a secondary switch from the light/fan to the box, which means more wiring. It would be cheaper to buy a new light with those options unfortunately.