Our friend Chris, from Cow Dog Craft Works is back with another great project with modern flare with this Metal and Wood End Table! This build is Chris’ take on The Builders Challenge Season 7 Design I worked on with Wood Magazine. My own End Table went off the deep end with a Mid Century Modern Design you can find here! But this isn’t about me, this is about Chris… take it away!
About The End Table Build
The Builder’s Challenge End Table from 2019 was one of my favorite builds of the year. And I made a lot of stuff. This is a modern industrial design that melds black, hot rolled plate steel, with traditional woodworking joinery. There’s not set plans to this, but rather, I hope you walk away with some solid techniques to apply to your own builds.
Check Out The Build Video
To get started you’ll need some basic woodworking tools like a table saw and have some plywood around to make some simple jigs. I used a domino to bring everything together (ohhhh he’s using a domino… boooooo!) but you can use dowels to join or a plunge router to make floating tenons. Joinery in this build is all at right angles so use what you like, just make it look dope.
In any event, as far as source material, hardwoods are preferred. I built this using three white oak 3×4’s and a few scrap pieces laying around the shop. It’s not really a science. Just find what you got and use it. I milled my lumber from rough sawn, but there’s nothing that should keep you from using dimensional lumber either.
End Table Build
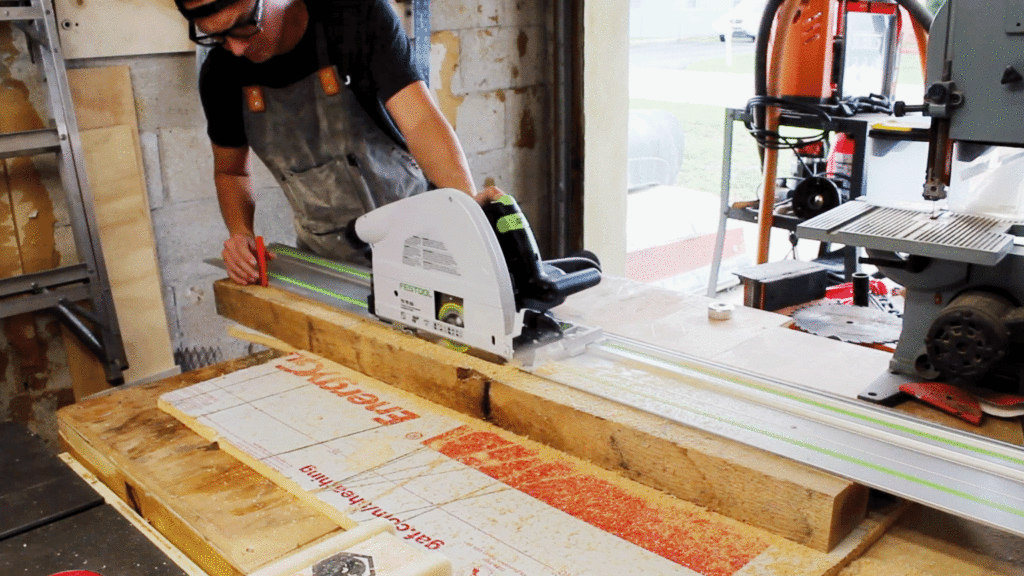
I started by reclaiming white oak skids I found at the steel yard and getting them split relatively straight with the track saw. They were rift sawn and holding a ton of tension so I went with multiple passes as it would pinch my blade from time to time. I also had to use some wedges, in my case a pencil, following the cut to keep the curving wood from clamping on the blade. I also needed to square one face and one edge so I went to the table saw and set up the fence for some basic rips and checked for square.
With that done, I brought the pieces to the lunch box planer and used my flat face down to skip plane the rough surface, running all the pieces to even thickness about a thirty second (maybe even 1/64) of an inch at a time until everything was even. When that was done I brought the pieces back to the table saw and ripped the last edge to get my stock squared and surfaced on all four sides (S4S if you will).
Leg Day
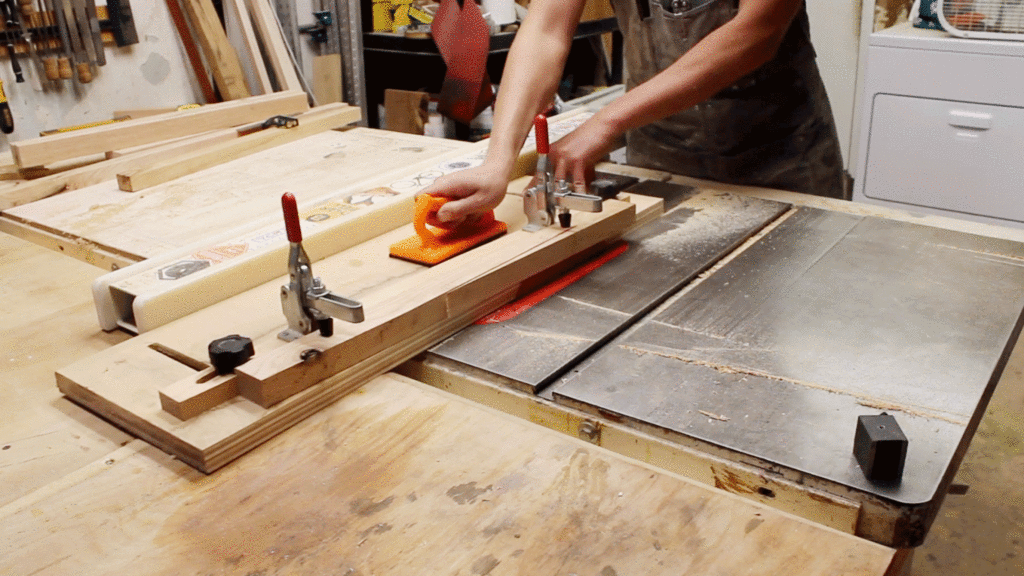
I cross cut the stock for the legs to length with the miter gauge and then ran them on my taper jig to get a subtle taper for the insides of the table’s legs. Using my marking gauge, I marked the depth for the mortise and tenon of the bridle joints that connect the legs to the carcass stretchers. I then used my tenon jig to make a cut on the stretcher before flipping it to ensure that my tenon was even and then used the miter gauge to cross cut the waste off. This was done on both ends of each stretcher.
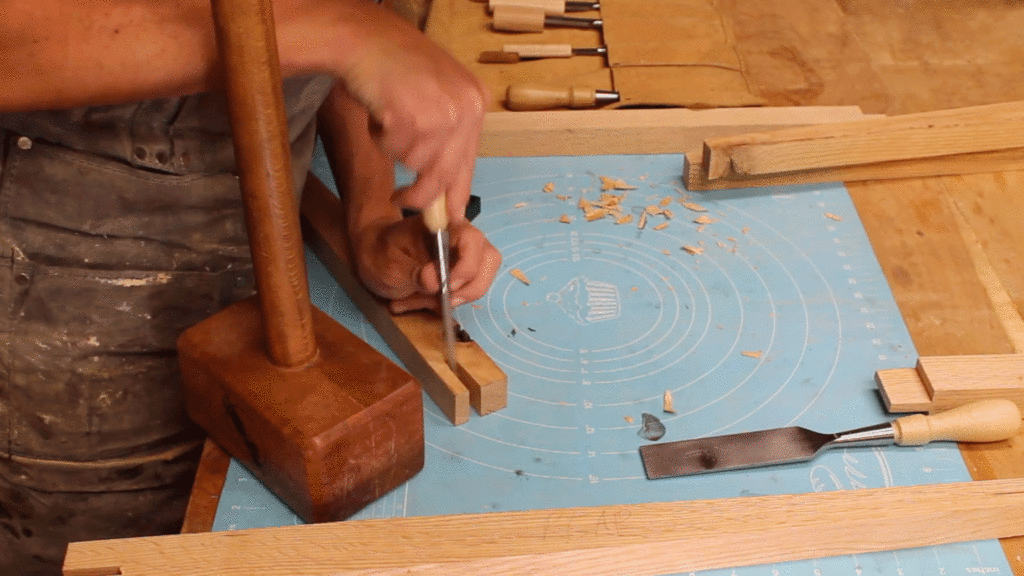
After marking the mortise on the leg using the tenon on the stretcher, I cleared out the waste in the mortise with the tenon jig again, being sure to stay on the inside of my line and repeated it on all the legs. With that being done, I broke out the chisels and cleaned up the shoulders on the tenons, all the mortises, and worked it real good until I had a solid dry fit. Best tip for folks is to always work with sharp chisels to prevent tear or chip out. Frankly it’s just safer too.
I went with big box store five minute epoxy and mixed it with black pigment to stabilize the knots and cracks. After cure, I used a block plane to take down the excess and then card scraped it flat.
End Table Carcass
For the sides of the carcass, I went with my table saw and a bevel jig, aka a really tall fence, to re-saw the 5/4 stock since my bandsaw doesn’t have capacity, being sure to take small bites out of it by raising the blade just a touch on each pass. After the split I passed it through the planer and trimmed it up to size.
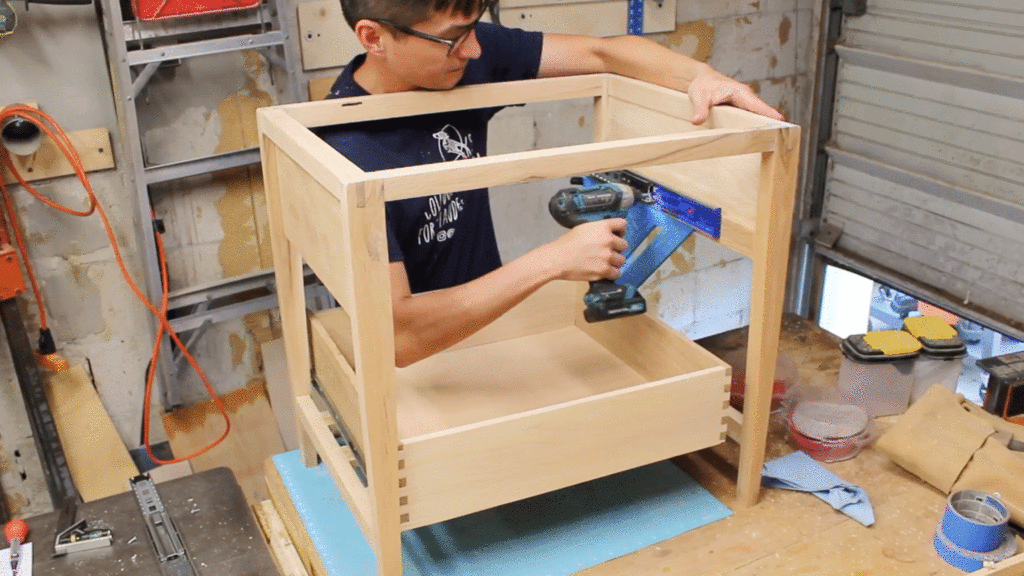
There’s going to be lower rails of sorts that will accept some stretcher strips for a shelf, and I’m bringing those together with dominos. Instead of a solid shelf, it’s going to be slotted so I cut some strips to set that up and cross cut them to identical length before taking the domino to those as well. Then I dominoed the top stretchers which connect the left and right leg assemblies to actually pin the bridle joint with the floating tenon.
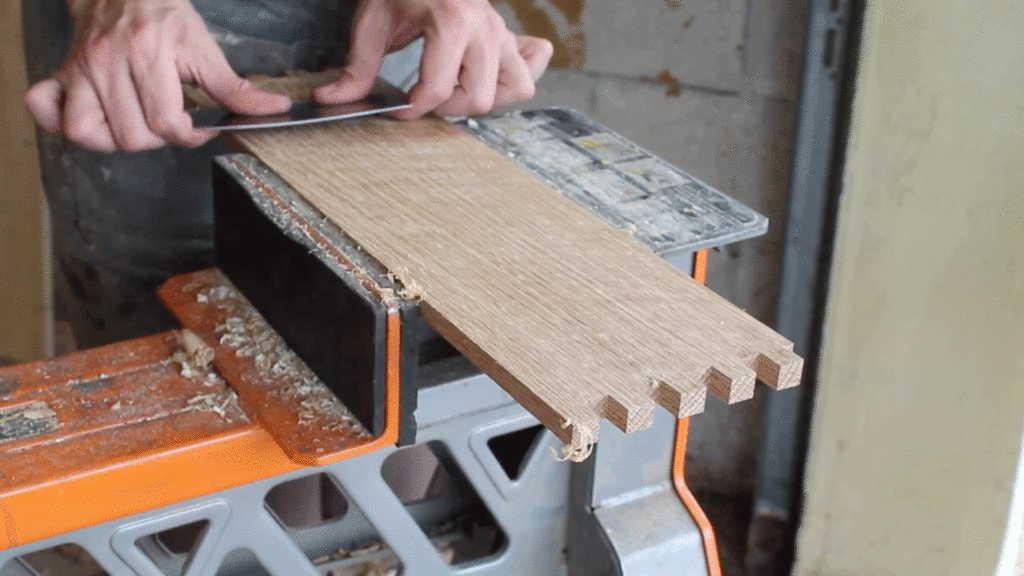
With that done I went ahead and glued and clamped everything together. After, I sanded everything down to clean up all my surfaces and joints and card scraped the whole piece.
Applying Finish
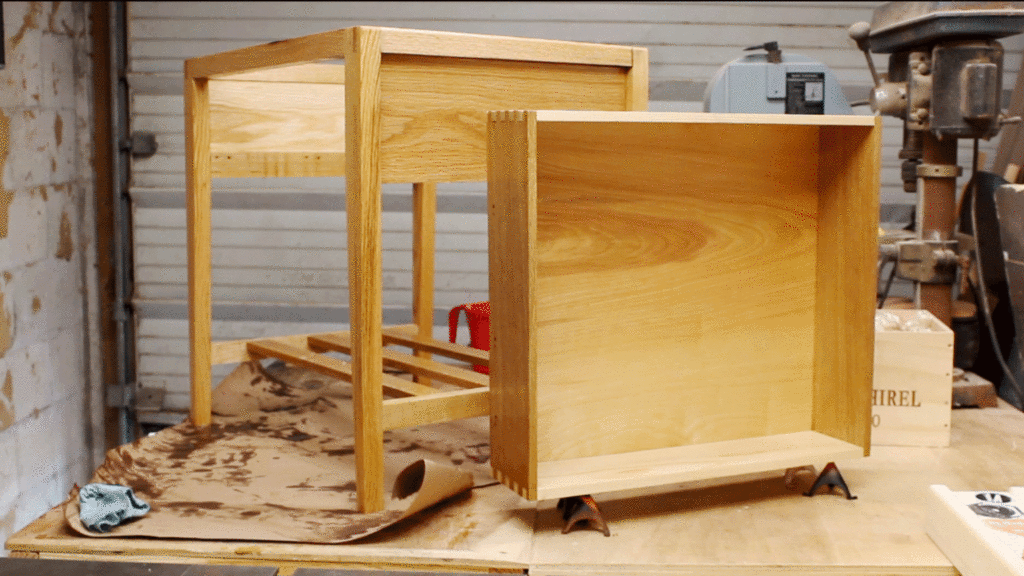
I removed all the hardware to finish the carcass and made the Maloof style finish of equal parts boiled linseed oil, pure tung oil, and wipe on poly (2020 Update: I have since started adding an agent such as mineral spirits or even lacquer thinner to help with penetration, still done in equal parts.). Wiping it on generously and wiping it off to prevent runs and sags. After a few hours, I rubbed another generous coat on to ensure penetration before letting it dry for 24 hours.
For the drawer front I went with walnut and selected the section with the knot to have some unique grain flow. I trimmed this entirely with the track saw before sanding and finishing and mounting with this brushed nickel pull.
Adding Metal To Wood
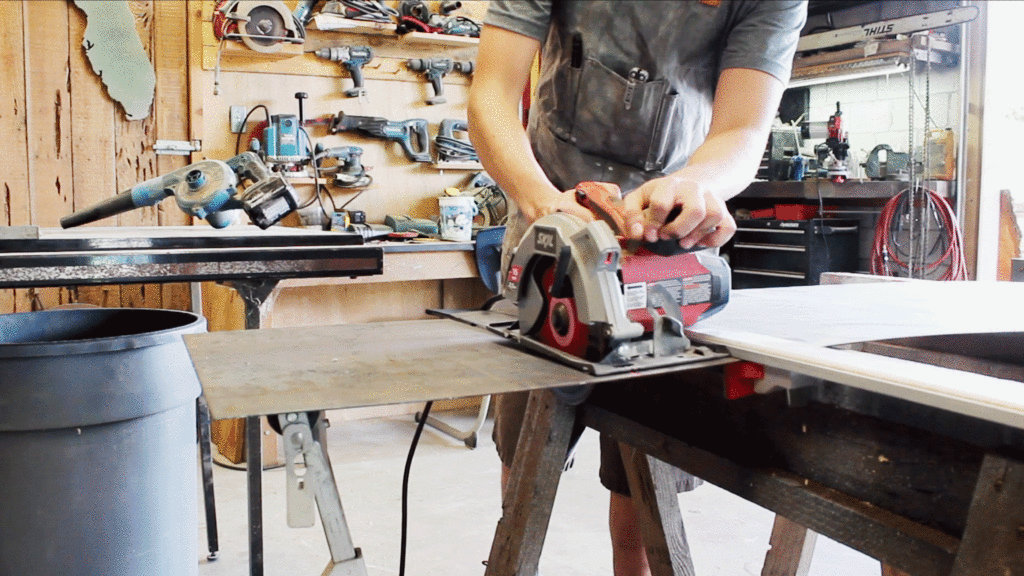
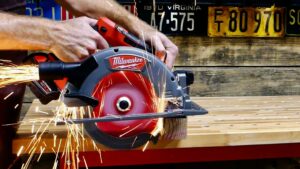
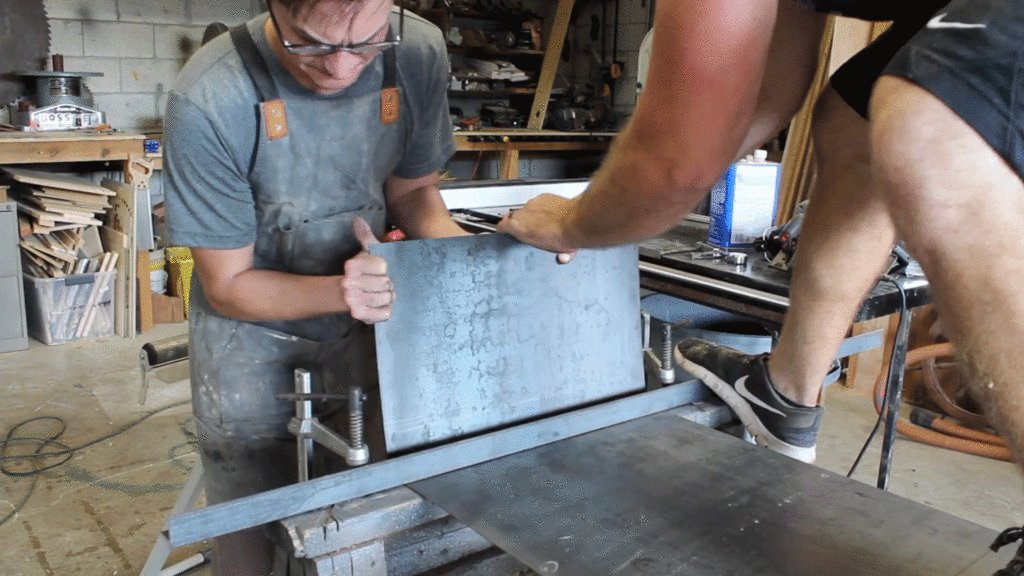
For the plate steel, I used a sheet of 14 gauge hot rolled plate steel. I cut it to size with a ferrous metal cutting blade in a circular saw and straight edge before setting up a fence of angle steel to score the bend points with a cutting disc on the angle grinder. Then we cold bent the steel to a right angle around the fulcrum. As a fun fact, most steel yards will do this for you with a press brake.
Super Charging The Table
I used a hole saw at the charger mounting point to drill a hole through the plate steel and then used a flap disk to soften up all the edges. I then drilled and countersunk holes into the steel and the end table itself and off camera painted the screws black. Then I used stage two of the finish, boiled linseed oil, tung oil, and beeswax to finish the plate steel as well as the rest of the piece inside and out.
If I could time travel back to 2019 (and the end table lives in my house so really I could fix this at any time), I would cut a small wood cover, and maybe even match the steel by blackening it via shou sugi ban or india ink. During the planning process, I realized that wireless charging won’t run through steel, even something as thin as 14 gauge. So, that led me to cutting a hole. It doesn’t look bad and the wireless charger inevitably matches the black steel, but it would be a way to elevate the build further.
~Chris


