Space. The final frontier. No wait… that’s Star Trek… Space… it’s something I need a lot more of because I seem to be hoarding lawn equipment in the corners of my yard. Perfect. That seems to be more accurate.
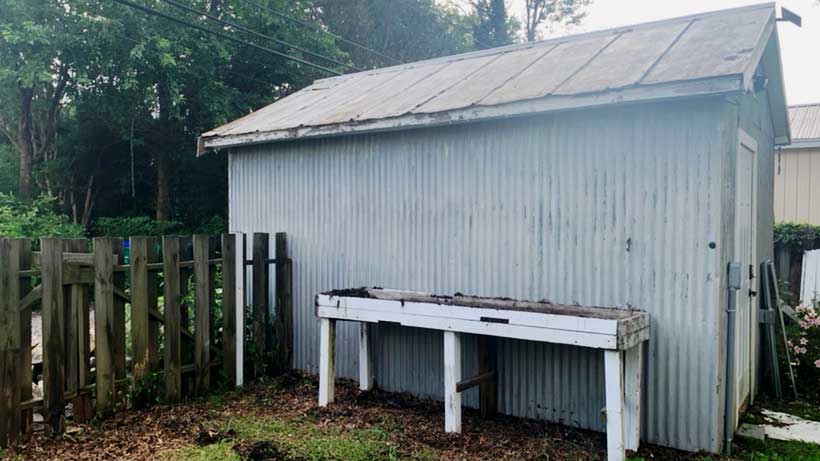
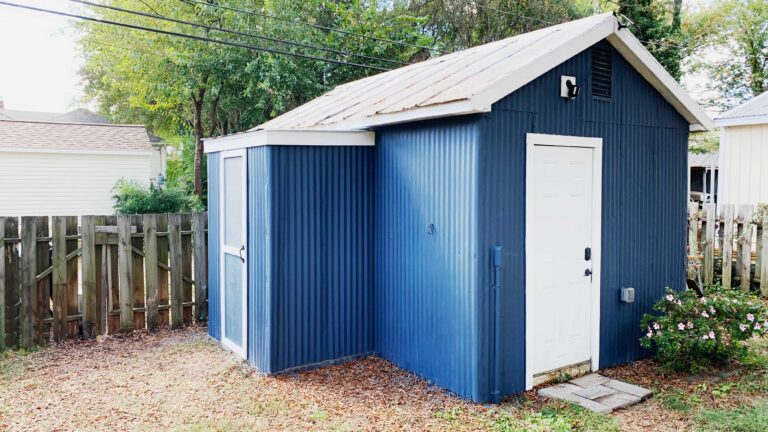
When I took over the 10×16 detached garage in our backyard and turned it into my Workshop it also meant I displaced ALL of our outdoor equipment. That was over four years ago. It’s time for a change. But buying a little shed is expensive these days and I only needed a little bit of space, so I opted to build a lean-to addition to my current shed/shop. If you missed the first part of this series, I teamed up with my friends from The Home Depot Rental to show you all How To Pour A Small Concrete Slab. That’s the literal and physical foundation of this project, so check it out first before you proceed!
*This Post and Project are sponsored by The Home Depot Rental. Affiliate links to follow.
Oh, you’re back or already an avid reader of Lazy Guy DIY? Excellent. Let’s talk about how we made this lean-to build and bonus points for showing you how we brought the whole structure back to life!
Tools & Equipment
Recommended Rentals
Additional Tools & Material
- Miter Saw
- Drill/Driver
- Hammer Drill
- Galvanized Steel Roof Panel
- Galvanized Corrugated Steel Panel
- Foam Inside Closure Strips 5V Crimp Roof
- Galvanized Steel Drip Edge Flashing
- Steel External Hex Head Washer Sharp Point Roofing Screws
- Hex-Head Sleeve Anchors
Watch The Video
Checkout the video above and be sure to subscribe to the Lazy Guy DIY YouTube Channel!
Where To Start
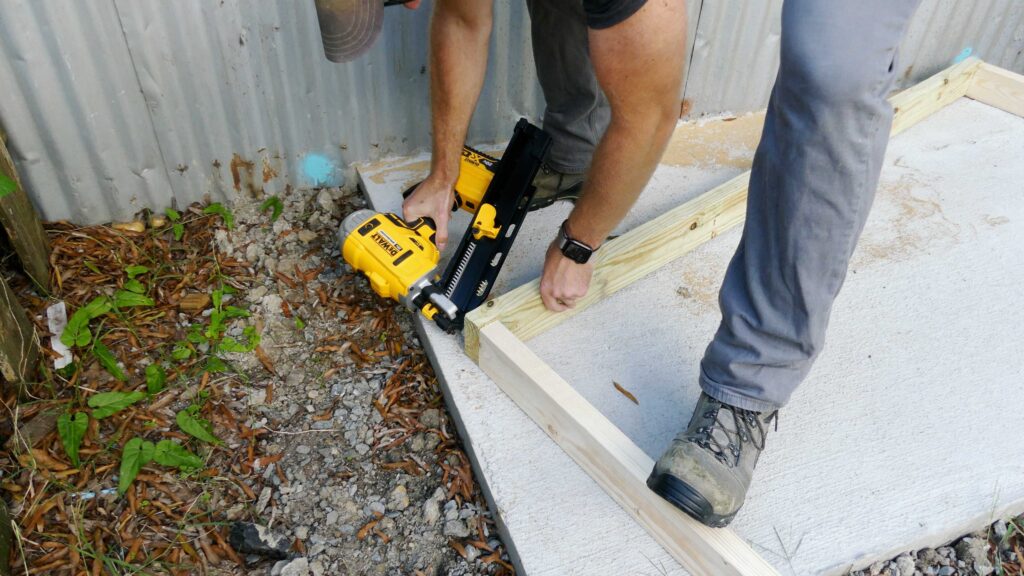
With the concrete base fully cured it was time to build out the framework. I debated whether to use regular construction grade lumber or go with all pressure treated. In the end I ended up using a combination of both. The material that would be in direct contact with the concrete slab (and have the highest chance of getting wet with crazy storms) would be ground rated 2×4’s.
I Was Framed!
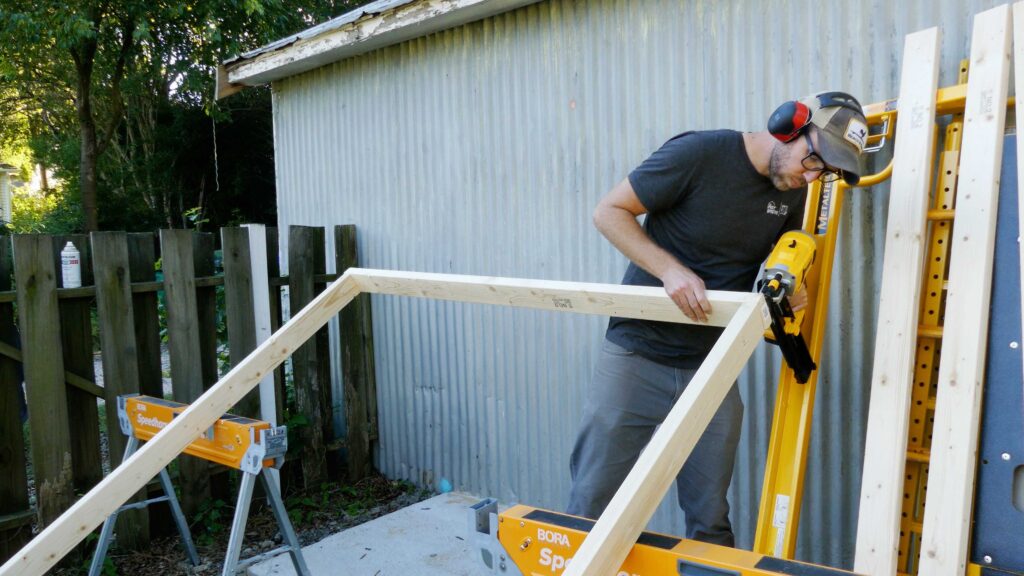
I started with the back frame and assembled it next to the jobsite. For attaching the 2×4’s and assembling the framework I rented the DeWALT Cordless 21° Framing Nailer. I’m a huge fan of battery operated nailers these days. Without a hose, you don’t have to worry about being tethered to a compressor, which means more maneuverability. Especially if you’re on a ladder.
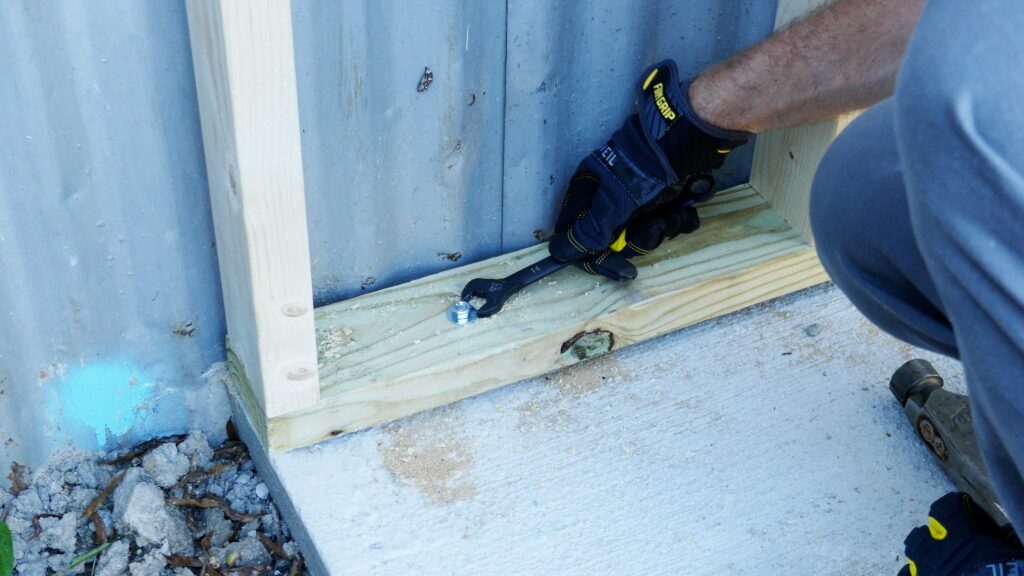
With the frame assembled and in place, I used a hammer drill and pre-drilled a 3/8″ hole through the frame and into the concrete below. I then inserted 3/8″ anchor sleeves and cranked it tight to expand the sleeve and secure the framework to my slab.
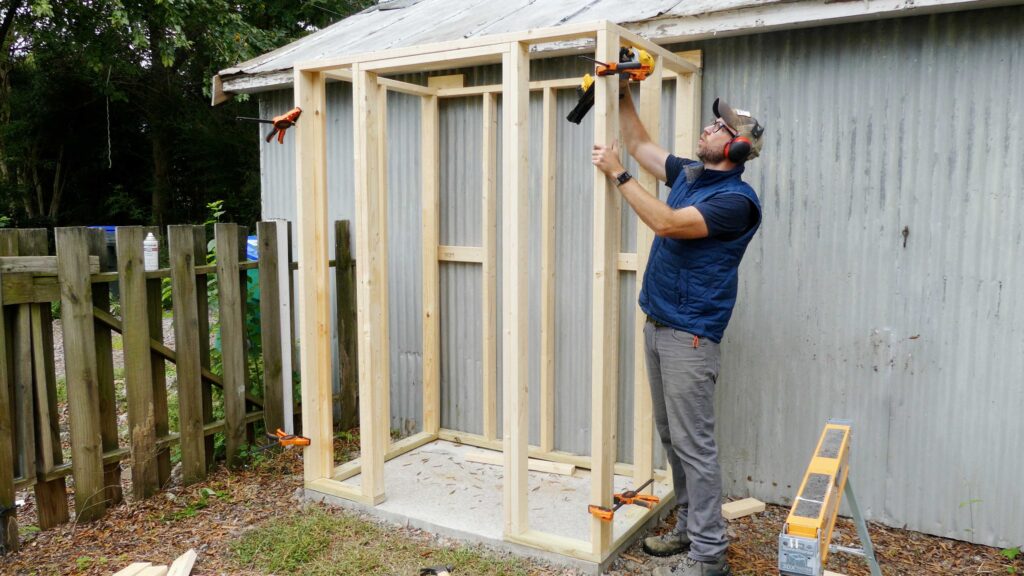
I repeated this process for all four sides of the frame and attached each section to the other with the 21° framing nailer. A pair of speed clamps really comes in handy when short on helpers and you need to tack the studs in place.
Roof Top
For the roof I could have gone traditional assembly with plywood and shingles, but the main roof on the structure is galvanized steel. So I opted to match that as best as I could with 5V Crimp Galvanized Steel Roofing Panels. The big advantage here is metal roofing allows for a less steep grade and I had limited head room to work with.
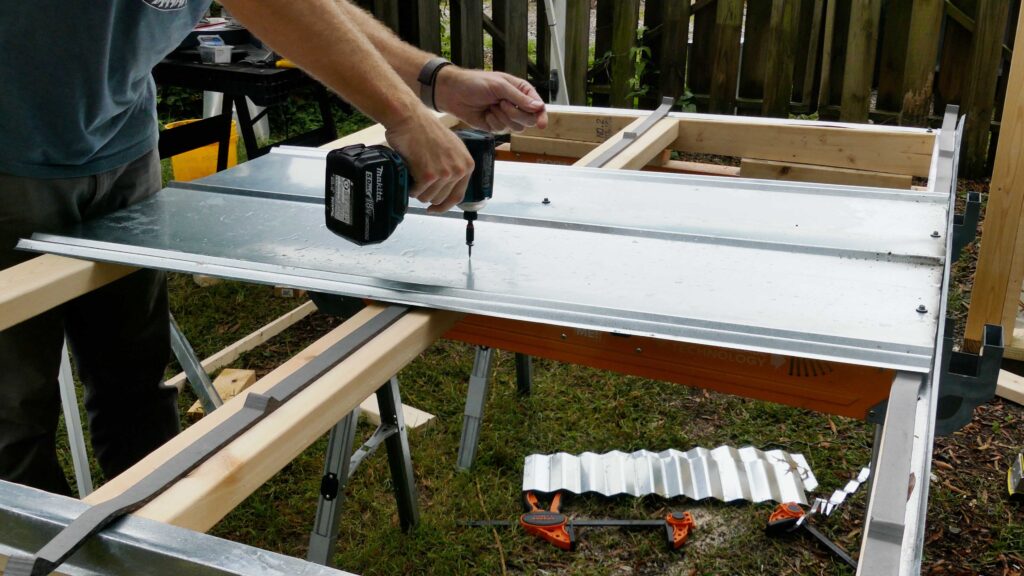
With a simple structure assembled, I attached the Steel Roofing Panels directly to the frame using Hex Head Washer Roofing Screws. Under the panel I placed Foam Inside Closure Strips which use adhesive to attach directly to the frame.
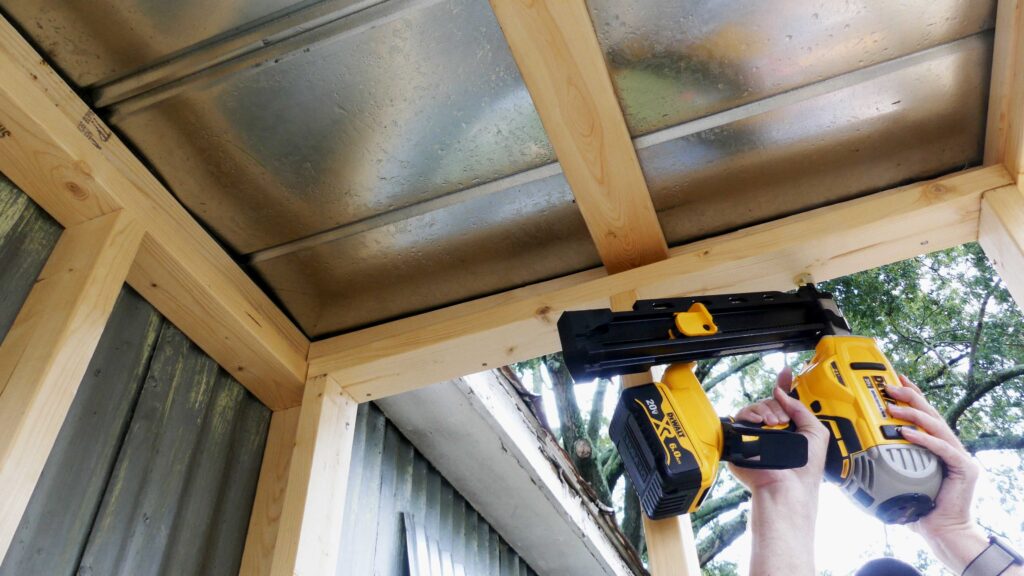
With the section of roof all assembled, I then used the 21° Framing nailer again and attached it directly the framed-out walls. For the roof assembly it’s important to build the structure slightly larger than the framed walls on both the sides and the front. That way you can attach the side panels and still have room for the roof to overhang and install the Steel Drip Edges.
Putting Up Walls
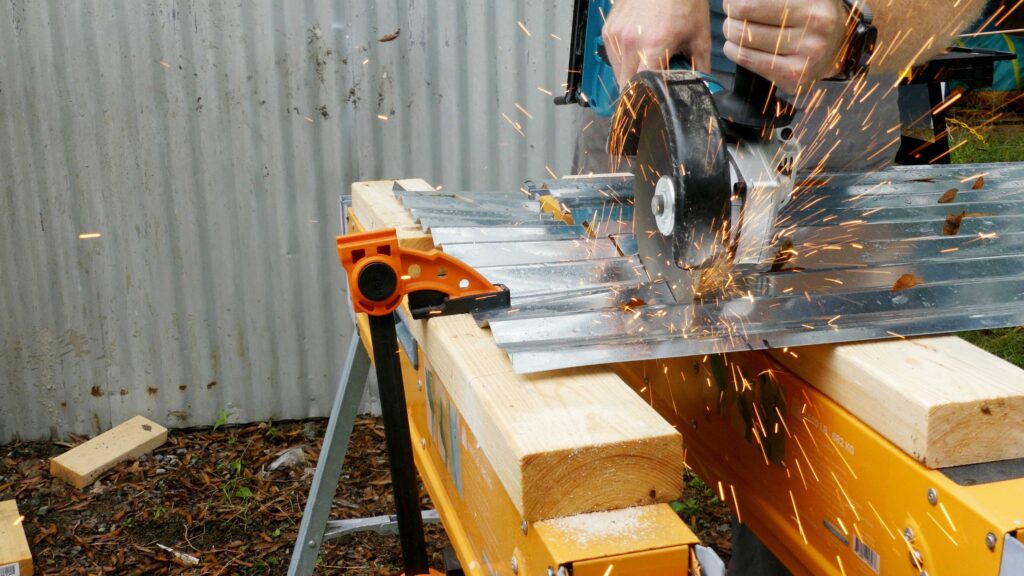
The main structure of the Lean-to in place, it was time to attach the outer walls. The outside walls of my shop are decades old corrugated steel panels. While modern corrugated panels aren’t quite as thick of a gauge, the overall shape is identical.
Using an angle grinder and a cutoff wheel, I cut the Corrugated Steel Panels to length. You can just as easily do this with a pair of metal shears or even a circular saw with a metal cutting blade. The length of the panels should also overlap the concrete slab if possible. I then attached the panels directly to the frame using the same Hex Head Washer Roofing Screws. It’s important to remember you need to allow the panels to overlap and then give yourself enough width to wrap the panels around corners.
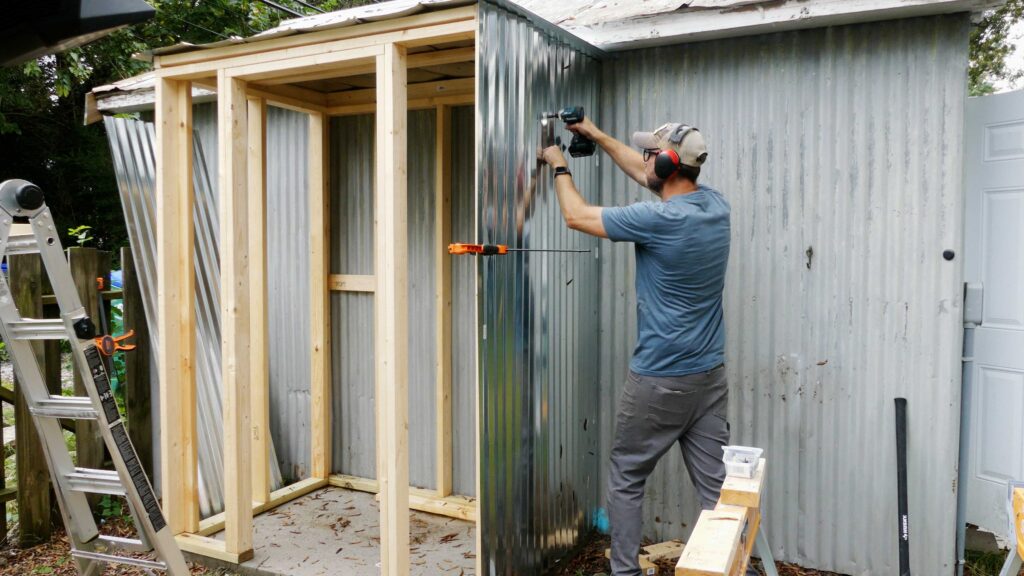
With the sides installed I then pulled out the old paint scraper and started cleaning up the peeling paint from the old trim work… For that I called back my friends from The Home Depot Rental and picked up some Scaffolding so I didn’t have to risk balancing on a ladder.
Paint The Town… Blue
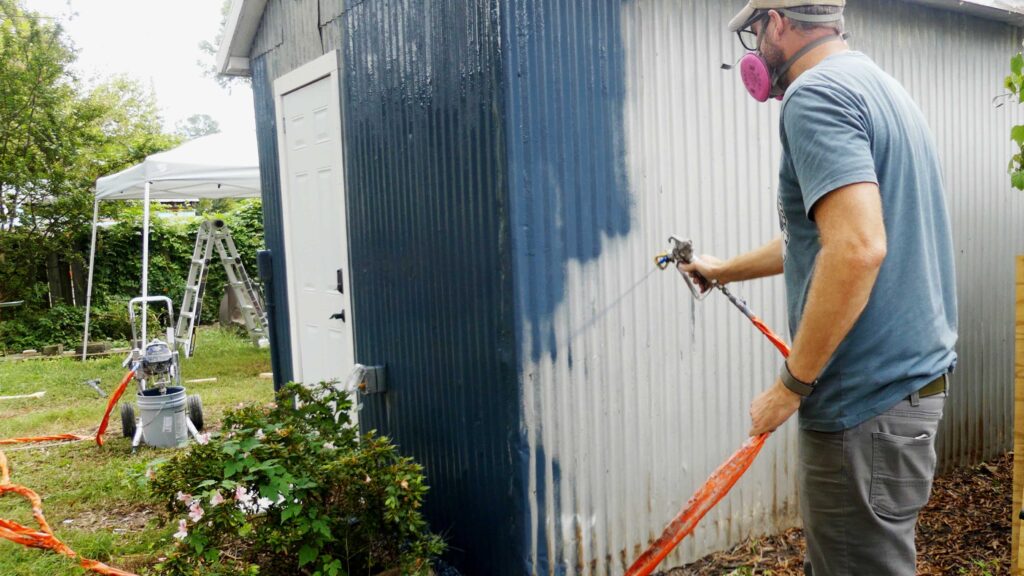
With all the surfaces prepped it was time to bring this ugly old corrugated metal box back to life. To tie the whole room together I went to my local paint store to pick up a retired paint color called “Navy Seawall”. It’s the same color as our house and the Playhouse & Swing Set I recently built in our backyard. But now the question is do I spend hours painting with a brush and a bucket… or do it the fast and fun way?
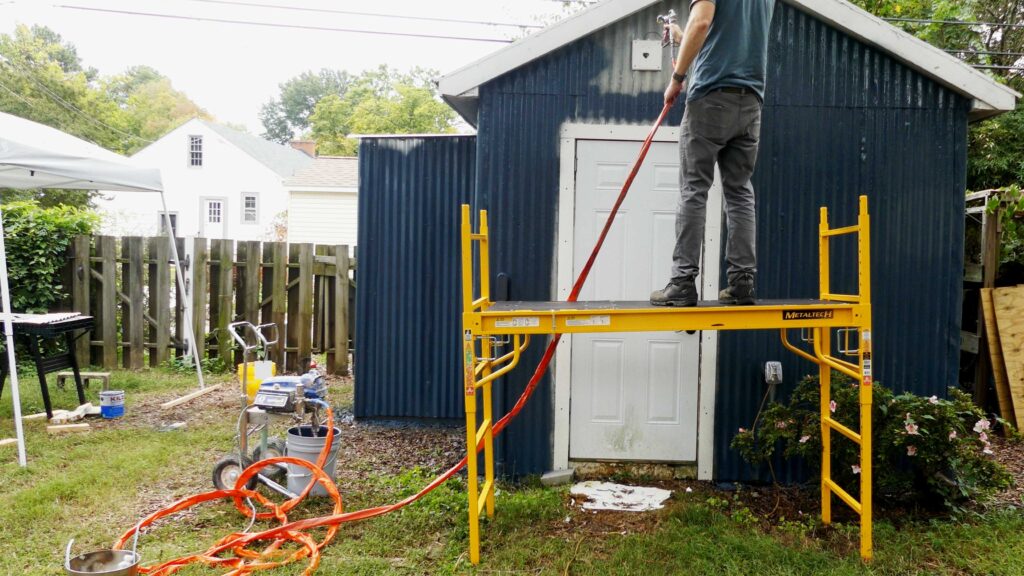
Fast and fun way it is! Again from my friends from The Home Depot Rental I picked up a Graco Pro Paint Sprayer. I’ve used HVLP Paint Sprayers in the past, but they were nothing like this Pro Paint Sprayer. It’s basically a power washer, but with paint. I had the ENTIRE shop painted in probably 30 minutes. Which is amazing considering how long it usually takes me to paint a wall in our house. For the up high spots, I pulled out the Scaffolding I rented and had no issue keeping stable for the final paint application.
Final Touches
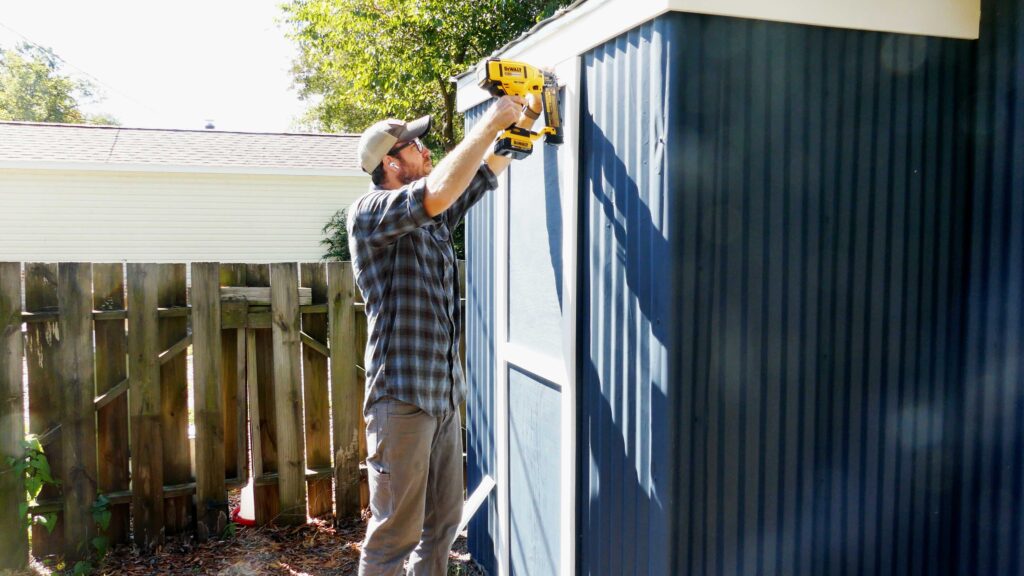
Once the dust settled and the paint dried it was time for final touches. I added trim to the roofline with 1×6’s and then built a door out of pressure treated 3/4″ plywood. With the door painted and trimmed out it was time to organize the inside.
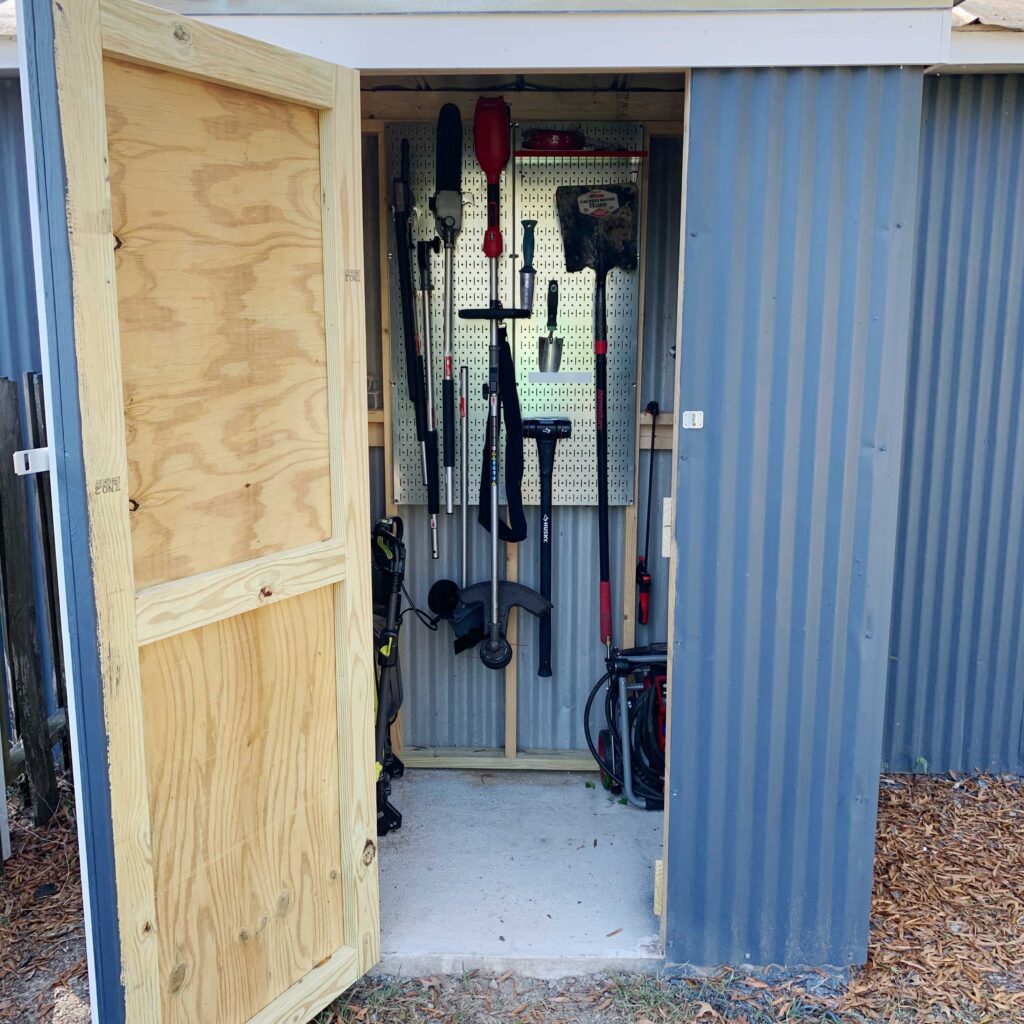
For tool storage inside of the lean-to I picked up some Wall Control Metal Pegboards. I use these all over the inside of my shop but they’re also perfect for all weather applications. So placing them in the shed to store outdoor equipment was a no brainer.
And like that… this two part outdoor project was finished.
~Lazy Guy
*This post and project was sponsored by The Home Depot Rental. I was provided with rental equipment and compensated for my time in exchange for this project and review. My opinion is my own.

