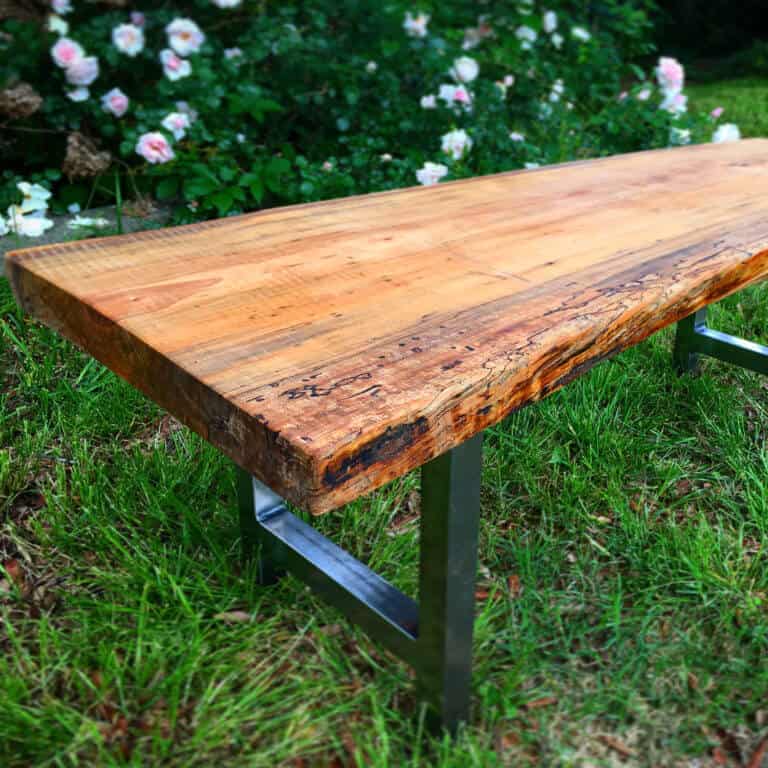
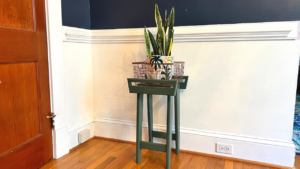
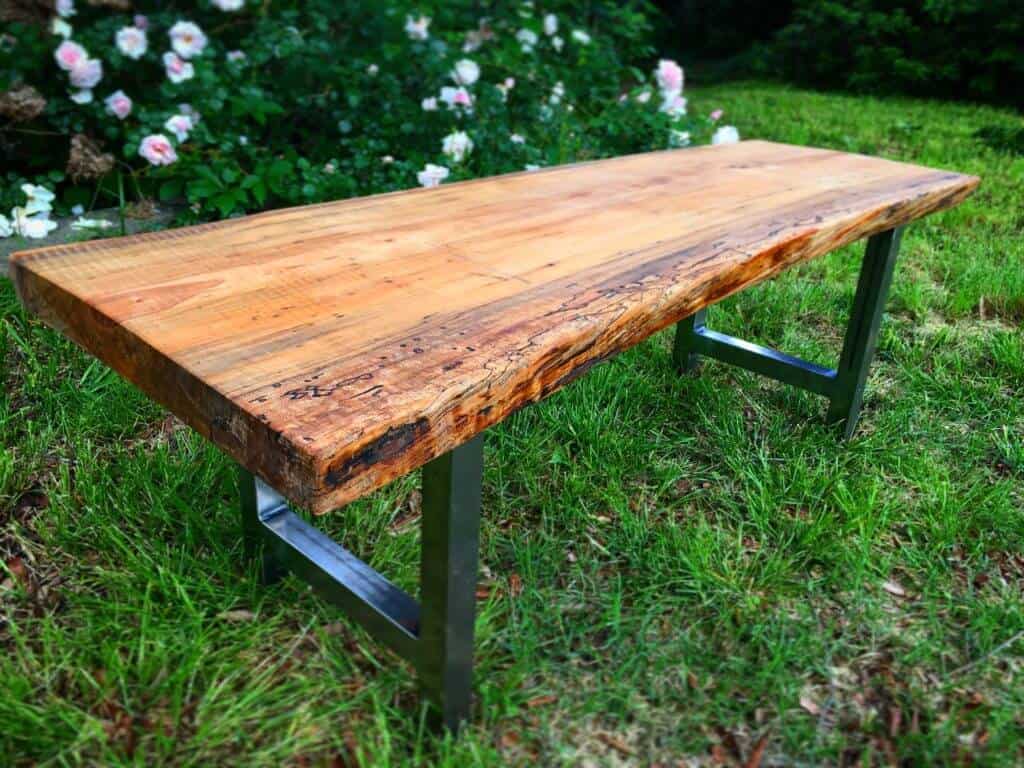
“Grab that net and catch that beautiful butterfly pal! What do you like better, Christmas or Wedding season?” If you’re a woodworker then the answer is clearly both! If you’re a creepy Wedding Crasher then we know your answer… On the business side of things, wedding season gives you a chance as a woodworker to step up and create something that really makes a statement for friends or clients. Whether it’s like the Rustic Wedding Cake Stand I made a few months ago or this beautiful Maple Live Edge Wedding Bench, you really get a chance to showcase your talent in front of a new audience. So if you know someone with a wedding coming up in the next few months, here’s a project that will give them a great keepsake that will last a lifetime.
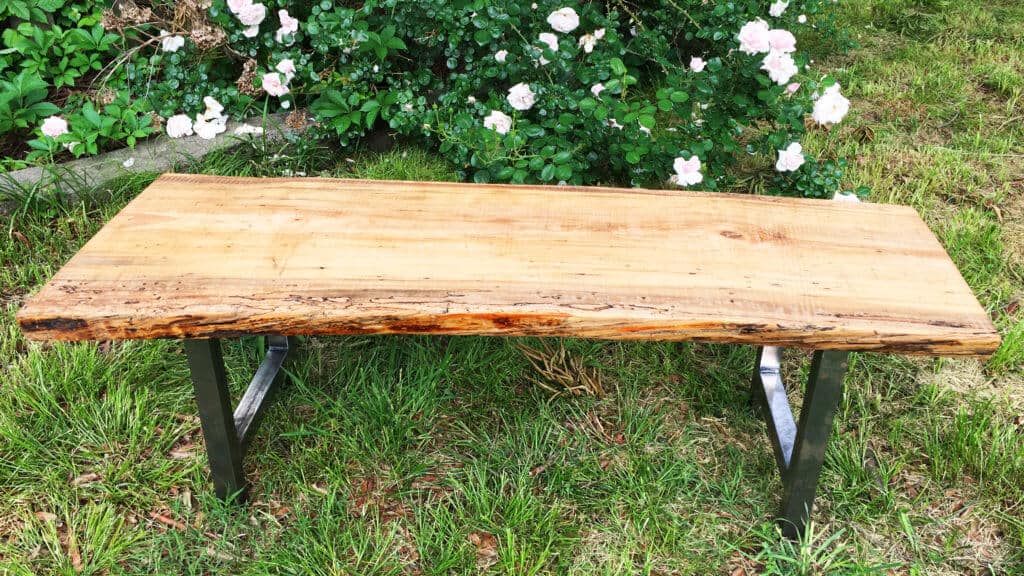
Easy right? You just take a live edge slab and slap some metal legs on it, seal it up and call it a day. You wish! That’s crazy talk right there. If only live edge lumber came ready to use like store bought lumber. No, there’s a little more to it. If you’ve got a good lumber guy like I do, his cuts are pretty straight and you have a fairly decent slab of wood to work with. However, the issue lies in attaching the legs. If your bottom isn’t flat, then your legs aren’t going to attach level and you’re going to be rocking and rolling when you sit on this keepsake wedding bench. That’s no good.
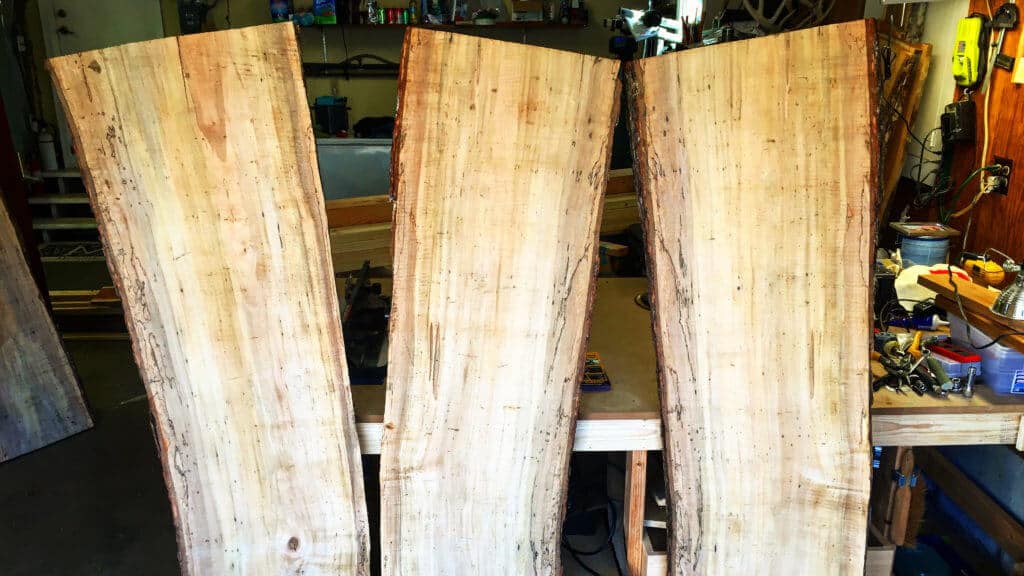
I started with these lovely pieces of local spalted maple, but I had a problem… These suckers were wide. Wider than my thickness planer that only went up to 13″. So If I wanted to get the sides smooth enough to sit on I had a couple of options: I could rip them down smaller so they fit through the planer (and be left with a skinny wedding bench), find a friend with a massive drum sander (you know who you are), use my router sled leveling jig or sand these suckers until I could sand no more.
I ended up going with a combo of using the router and sanders. Because we wanted the top looking more natural for a more rustic wedding bench, especially with some of the beauty that was coming out of the mill marks from the saw blades, I sanded the top. After squaring up and cutting off the ends to the right length with a circular saw, I took my belt sander with a low grit and went to work… for hours. Well it felt like hours. Then I continued with a random orbit sander with progressing grits up to 400 grit for a baby bottom smooth surface. In order to get a truly level bottom for the legs to attach, I used my router jig I built for leveling slabs. Check out that tutorial because it’s a life saver if you get into live edge work with bigger material.
Other than looking like a cool rustic bench and getting it at the wedding, what made this wedding bench so special? Signatures! Rather than a traditional guest book, guests were going to sign the bottom of the bench. Originally the thought was to have guests sign all over the bench, but the more the beauty of this maple wood came out, the more I told the clients we couldn’t do that. If you sign the bottom the memories are still there, but you can easily put the bench anywhere (because sometimes drunken guests write inappropriate things… kind of like “breast wishes” that was in our wedding guest book…).
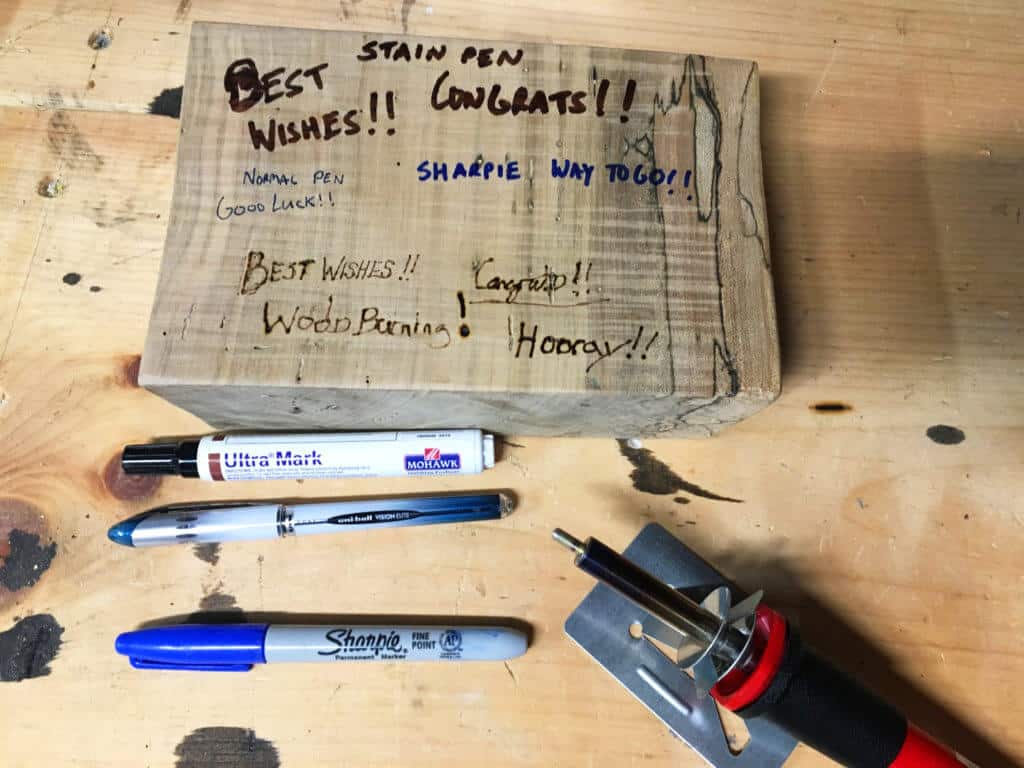
I tried a handful of different options, from normal pens, gel pens, Sharpie’s, wood burning kits and even Mohawk Touch Up Stain Markers. There was a slight concern about how pen ink or Sharpie would hold up once I applied the finish coats of poly to seal the bench up. I already applied Danish Oil to really make the color pop and to add a little protection from the wedding crowd… but once that poly went on post wedding I was having nightmares that messages and signatures from the special day would smudge off. Then the client and I realized that a wood burning kit might not be the best option for a wedding with a fun loving crowd and an open bar. Probably wise. As it turned out, as long as I gave the Sharpie or pens several good days to dry, they were good to go to seal over.
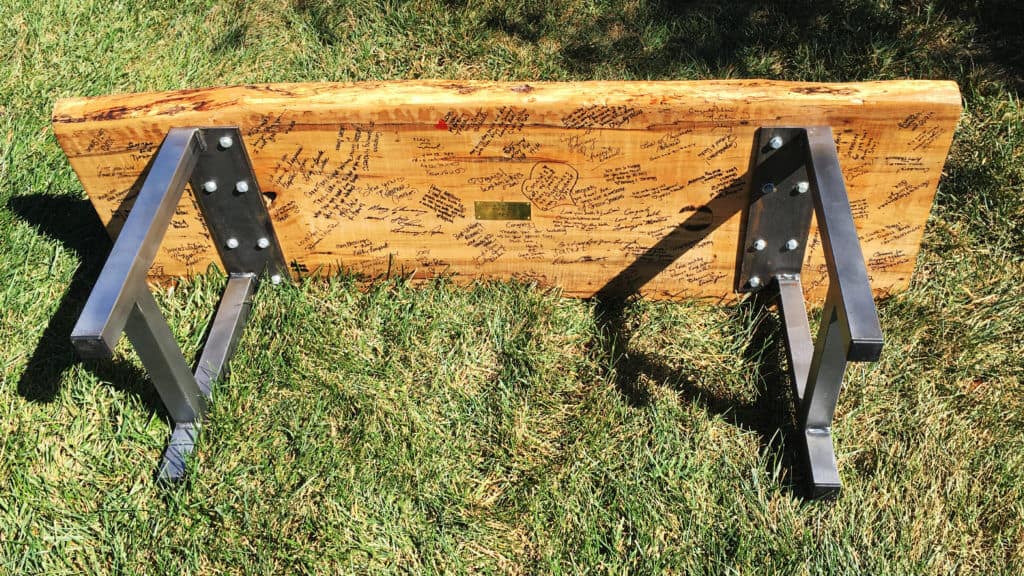
For the legs we opted for a set of H-Frame Metal table legs off of Etsy. Just a warning, fabricated metal anything isn’t cheap. Especially when shipping is involved. I seriously need to learn how to weld. You’re going to drop a couple hundred bucks on legs depending on the size of your project. Plus there is going to be a heck of wait time because they are custom made. You’re usually talking several weeks if you request a size not in stock. A desk I built a while back took 3 months for the legs to come in. Three months!
One last thing to add about the legs, do not attach them to the bottom with screws similar to the screw hole sizes or without washers. So to summarize, smaller screws with washers. You never know if there’s going to be any movement in that piece of wood due to moisture. The extra wiggle room (but tight enough to securely hold the legs in place) will give the wood enough freedom to move slightly as the humidity changes and shouldn’t lead to catastrophic damage.
So as the wedding season rolls around, really pounce on that crowd and get your projects out there. Make sure you drop a handful of business cards off too because you never know where that next big project will come from. And let’s be honest… lots of bad decisions are made during wedding receptions and maybe, just maybe, that bad decision could be to hire you for that next build! Ha!
~Lazy Guy

