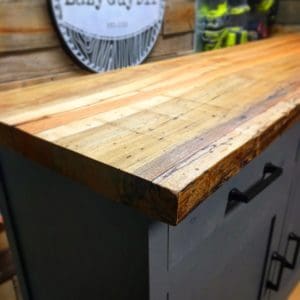
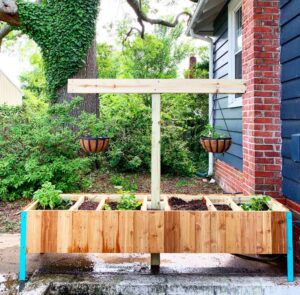
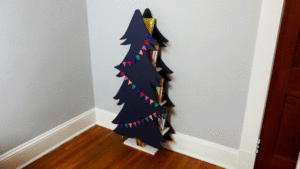
Chris from Cow Dog Craft Works is Back and this time he’s bringing his build along of this Simple Modern Dresser. And by “Simple” he means there are a few types of more advanced joinery, but it’s nothing you can’t handle if you’ve been building along with Lazy Guy DIY all these years! Take it away Chris!
“Simple” Inspiration
This is a modern dresser that was inspired by a few of my favorite creators in our space: Tamar from 3x3Custom, Bob from I Like To Make Stuff, and John from Parilla Works. It’s a modern dresser with industrial feels. However, there’s a lot of cool traditionalist woodworking elements at play here that make it enjoyable for even the most discerning maker.
What You’ll Need

Materials Used:
- White Oak: 6/4 and 4/4
- ¾ Plywood 1-2 sheets for the carcass
- ¾ Plywood 1-2 sheets for the drawers
- ¼ Plywood 1 sheet for drawer bottoms
Tools Used:
- Table saw (with Dado Stack), no stack? Use a router!
- Circular Saw and Straight Edge (or track saw)
- Joining Device or Method (Domino, biscuit, pocket hole, dowel, beadlock… whatever)
- Drawer Pulls
- Drawer Slides (Your Choice of Style)
- Drill and Driver
- Chisels
- Coping Saw
- Clamps (All the clamps)
- Router
- Chamfer Bit, Pattern Bit, Flush Trim Bit
- Sander
- Card Scraper
- Wood Glue (Standard Cure, Quick and Thick, and CA Glue)
- Flush Trim Saw
- Paint and Primer
- Water Based Polyurethane for Floors
- HVLP Sprayer
- India Ink
- Wipe on Poly
Watch The Build Video!
Like this project by Chris? Check out his other builds featured on Lazy Guy DIY!
On To The Dresser Build
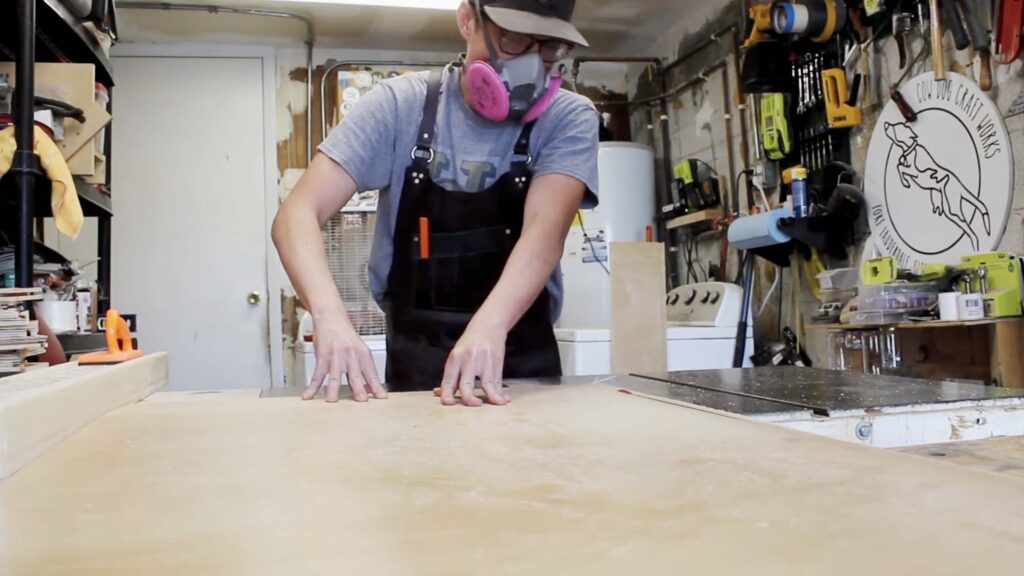
For starters, every large sheet good job starts with breaking everything down to rough size on the track saw. I have a few sheets of plywood here that are mostly leftovers from another job I worked on. The carcass itself can be built with one or two sheets of ¾ inch ply. Afterward, I sure everything up to final dimension on the table saw.
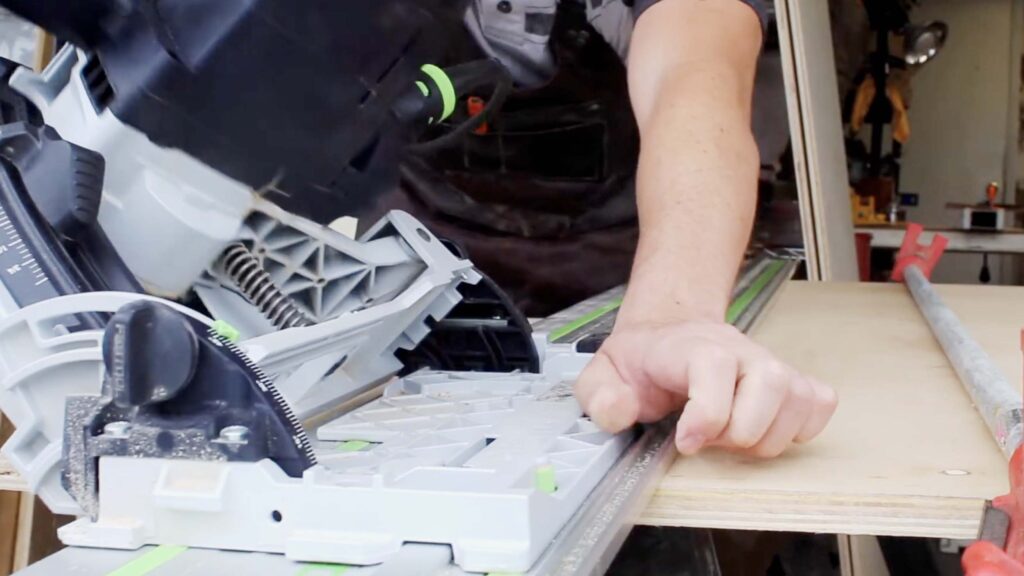
In the interest of efficiency, I clamp my panels side by side so that I can use the track saw to cut 45 degree mitered corners all at once. In an effort to get everything identical, I gang cut my opposing sides so that everything is perfectly matched.
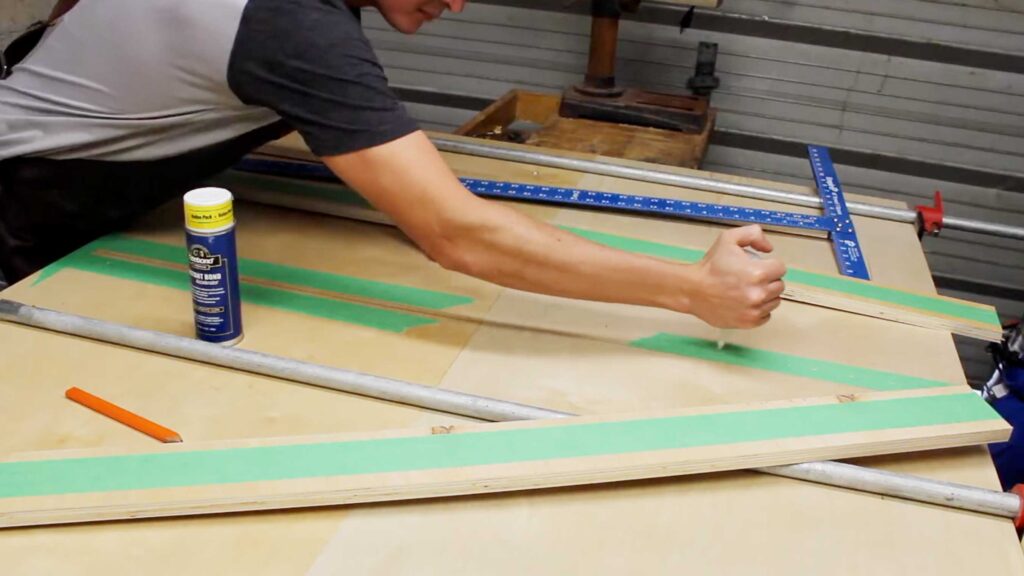
I measured up a stopped dado on the insides of my top and bottom panel and then put down some painters tape which is going to get some CA glue as I build a plywood guide for the pattern bit on my router. I use a cutoff piece to make sure I nail the thickness perfectly for the dado and this dado stops one inch from the front of the carcass to accommodate for the eventual drawer fronts. I use a chisel to knock out the rounded corners left by the pattern bit.
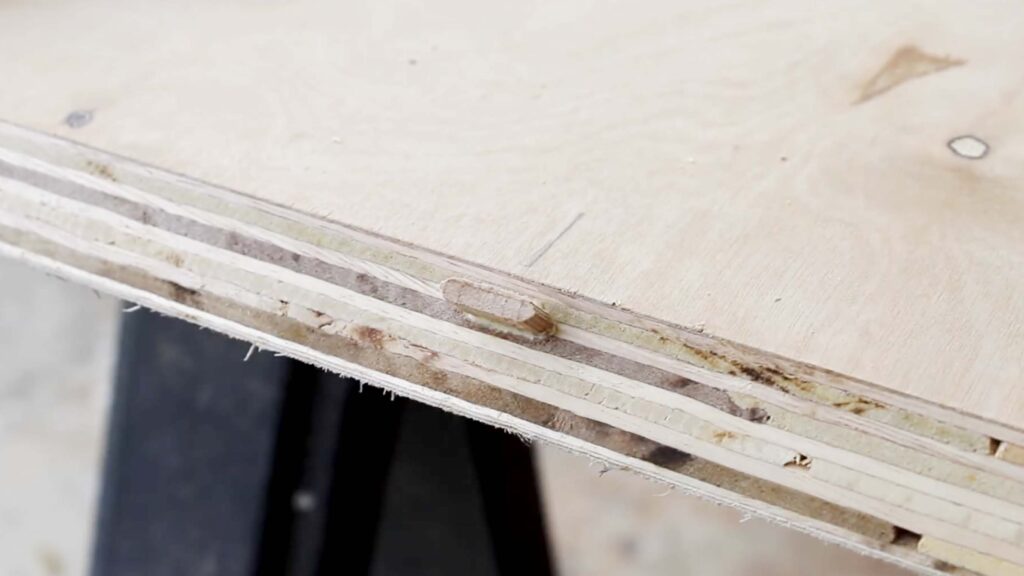
I dry fit everything first so that I can mark out where my domino mortises are going to be in the corners. For that I like to use my DFM tool works small square and work from the inside of the carcass and lay everything out while the carcass is mocked up.
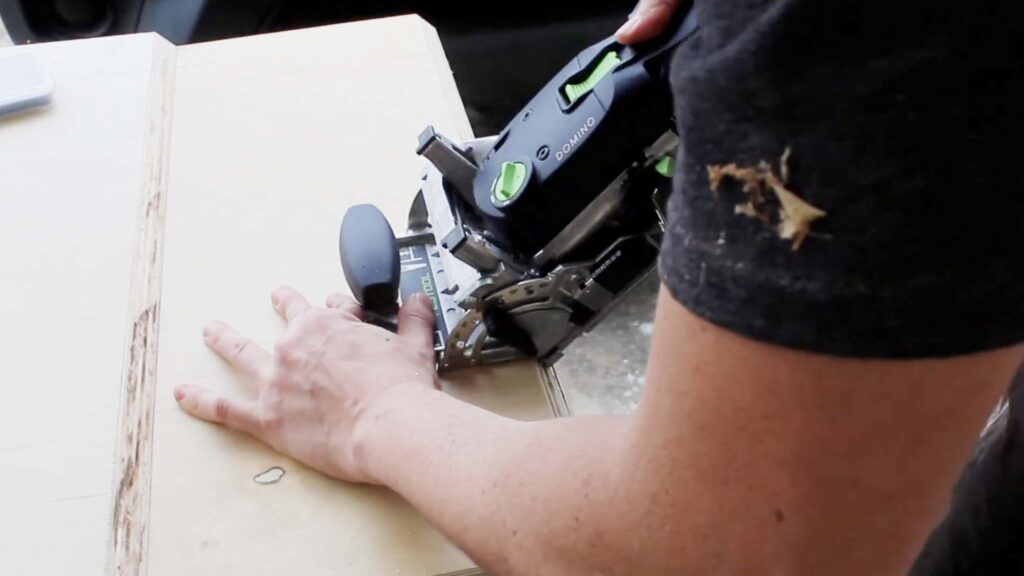
The domino isn’t necessary for this build. Dowels or biscuits can work equally as well. You could even use pocket holes if you so choose from the inside of the carcass. The advantage with the domino is that I can use either a wider mortise setting or actually drill a touch to the left and right of the receiving mortise to give me a bit of wiggle room for ease in alignment without losing strength from the floating tenons.
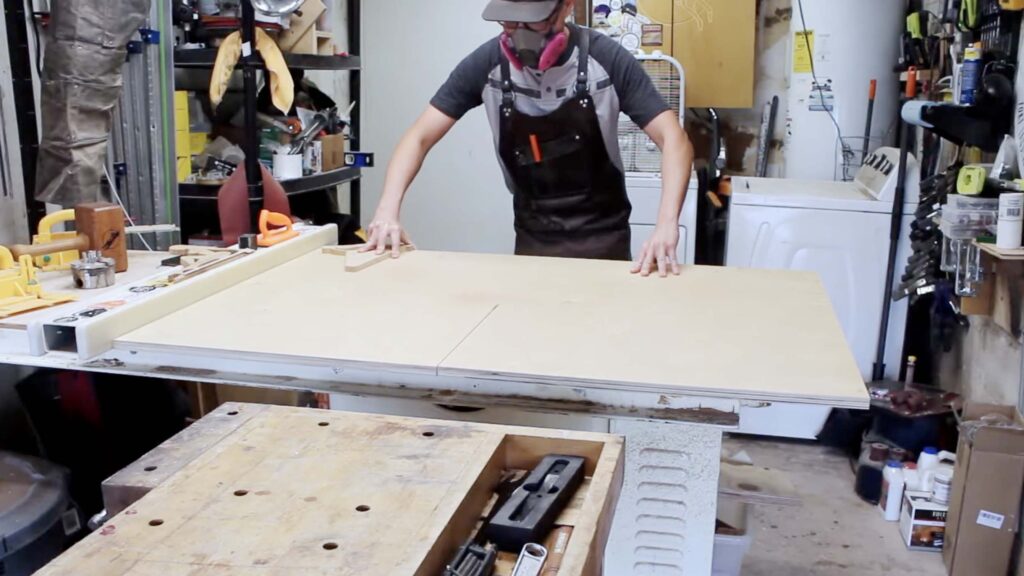
I used a drywall square to figure out the overall length of the center divider in the carcass and cut that panel down on the table saw as well. I also cut some pieces to use as a backer but left the center of the back panel open since this is going to be against a wall. I then marked out where all my dominos were going to be on the backer as well as all the receiving mortises.
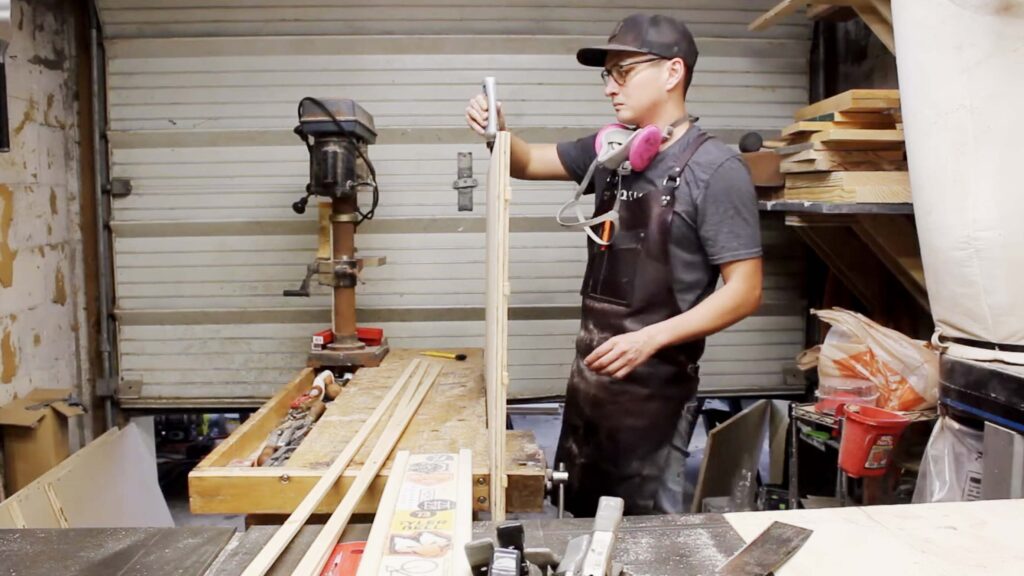
Before gluing up, I edge band the plywood with scrap pine and ripped it into strips before gluing it to the panels on the front side of the carcass. I prefer this a hundred times over than iron on edge banding. I find it easier to use and it holds up better over time. You could shoot a brad nail in to help fix these but I find that just some quick cure glue works fine. I’ll then cut the ends with a Japanese pull saw to match the miter.
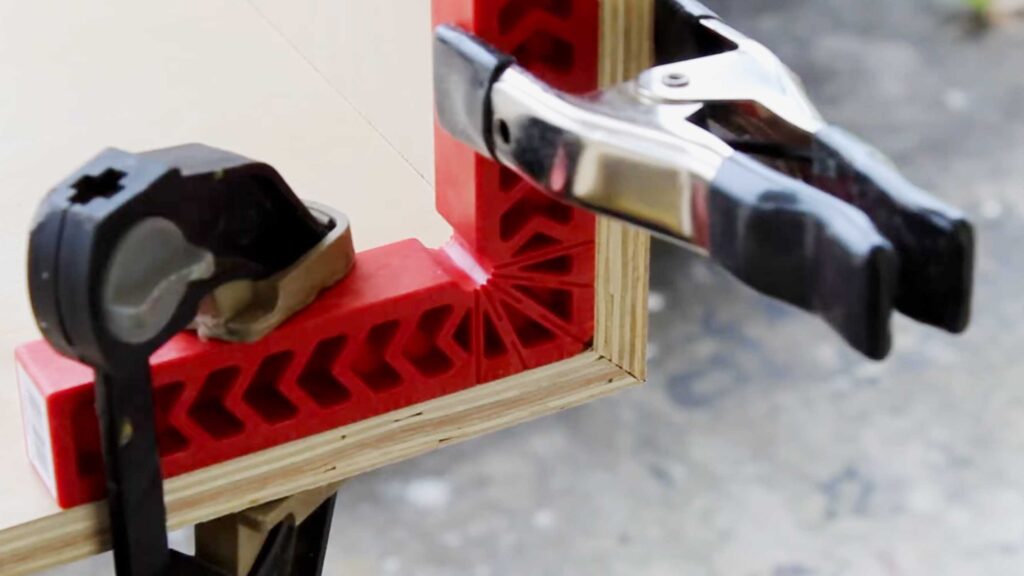
The final glue up is a bit intense because there’s so many components. If I could go back I’d probably do the glue up in sections, starting from the bottom and working my way up and making sure that everything is square before moving on to the next section.
I also find it to be much easier to be diligent about cleaning out squeeze out along the way. That will inevitably help you out on the back end since you won’t have to worry about scraping up dried glue and perhaps ruining your finish surface.
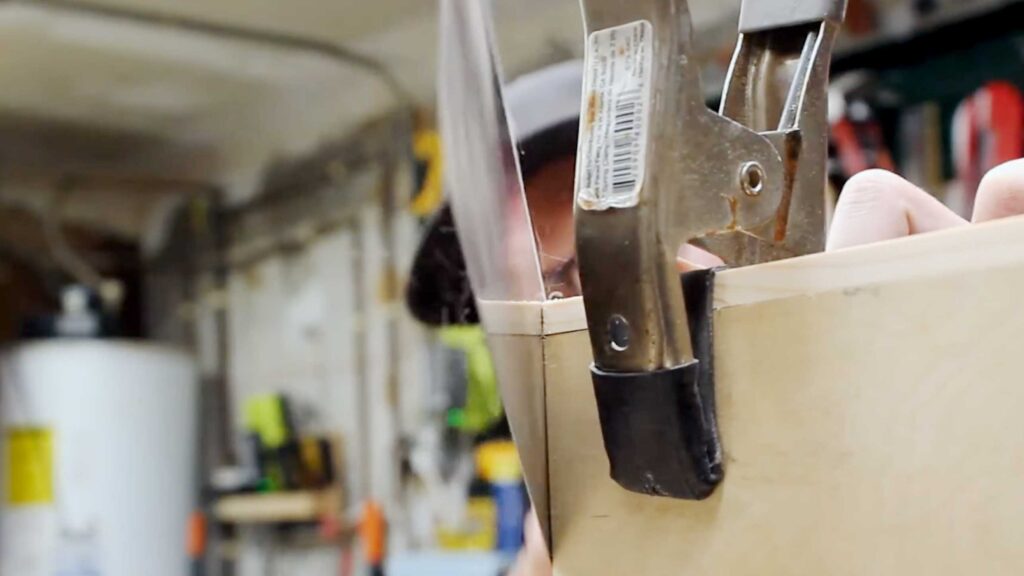
After everything came out of the clamps, I flush trimmed the edge banding which I previously left proud on the outside edge of the carcass and that then left me with finishing the carcass.
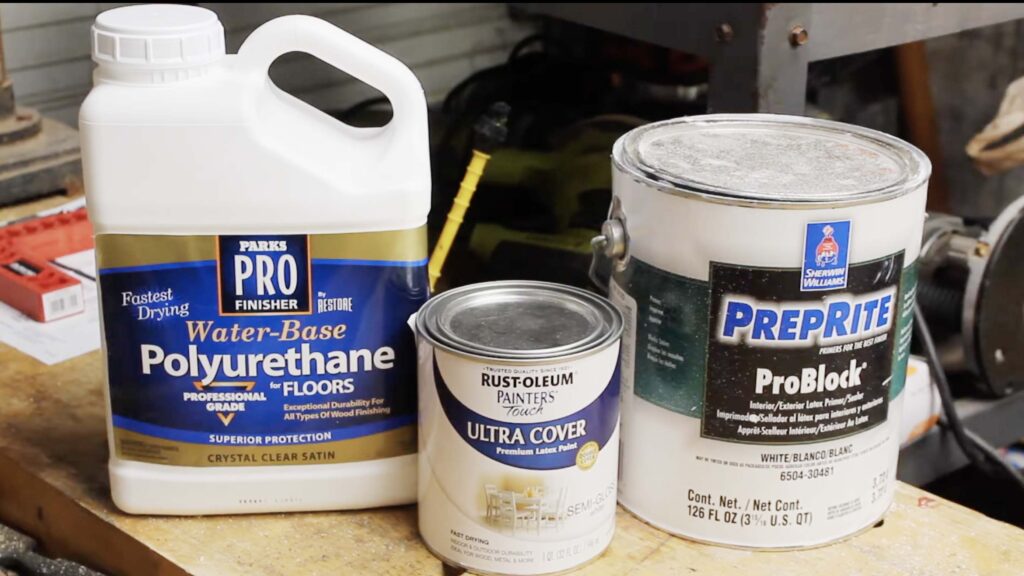
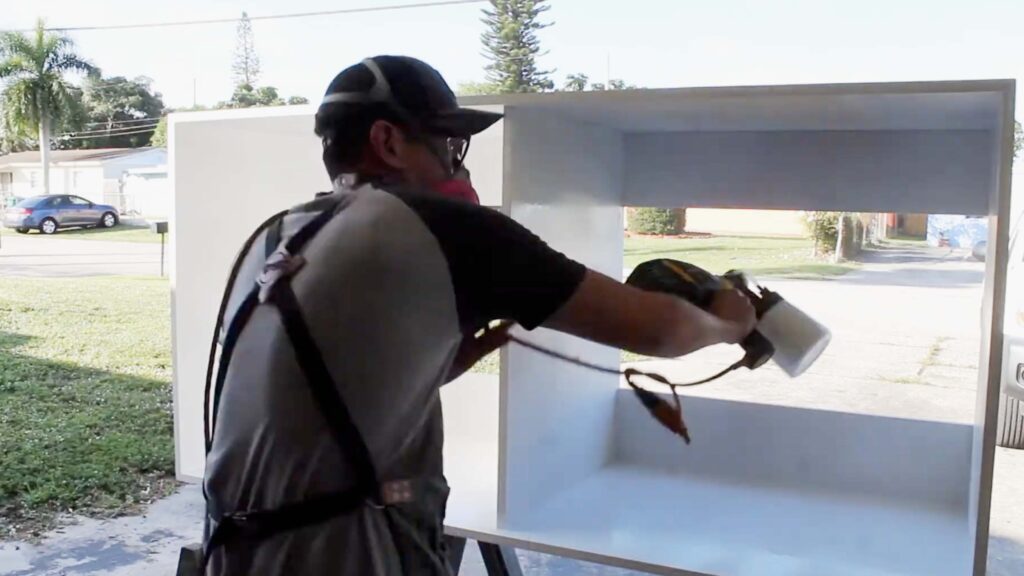
I’m going to go with paint and this water based polyurethane for floors. To make life easier, I’m going to prime the whole thing first. Again, hindsight is 20/20 and I probably could have used melamine ply or primed-plywood to make my workload a lot lighter. I’m a fan of spraying finishes and paint so I’m going to use a small HVLP sprayer which you can get at any big box store for about fifty to sixty bucks.
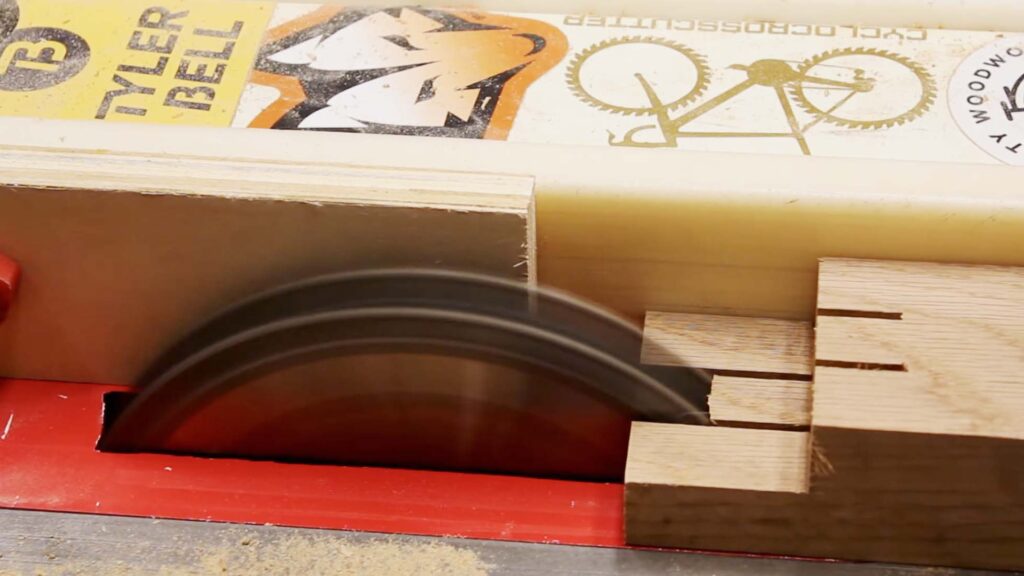
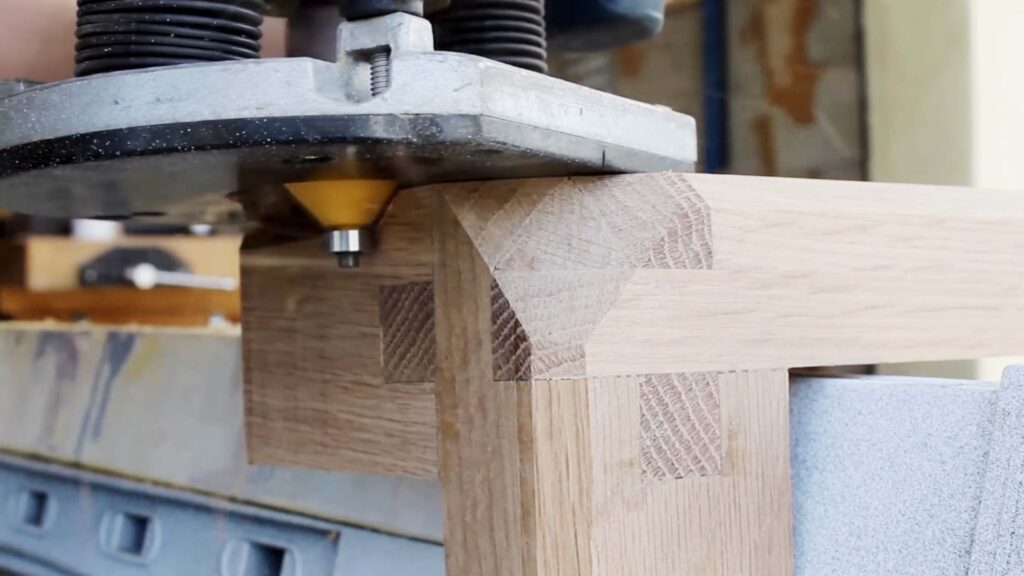
For the base, I’m going with six quarter white oak. The joint is essentially a three board joint, that is a hybrid between a lap joint and a bridle joint, with interlocking components. The long stretchers stand tall whereas the rails from front to back run short and wide. This ends up giving you a lot of lateral strength where the weight is going to ride and prevents the need for any additional supports other than the four corner joints.
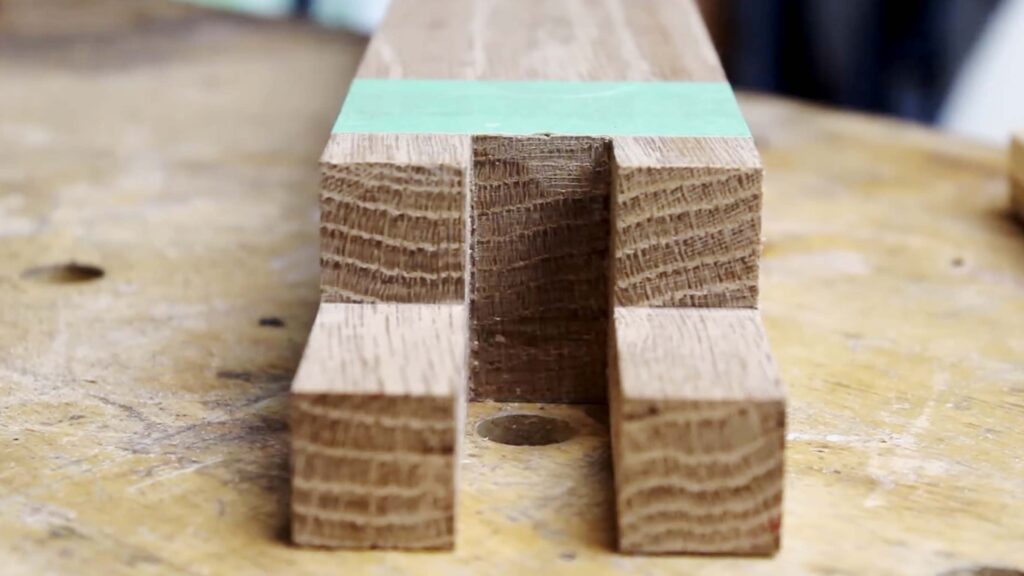
Check out Tamar from 3×3 Custom’s video for a further detailed explanation. I went through a lot of experiments on how to cut these in my shop, especially since I couldn’t stand the five foot long boards up in my shop to hog out the material for the bridle joint portion. I set up a stop with the dado stack to get a lot of the material out working flat. However, a good bandsaw could probably clear a lot of the material our or even a router table.
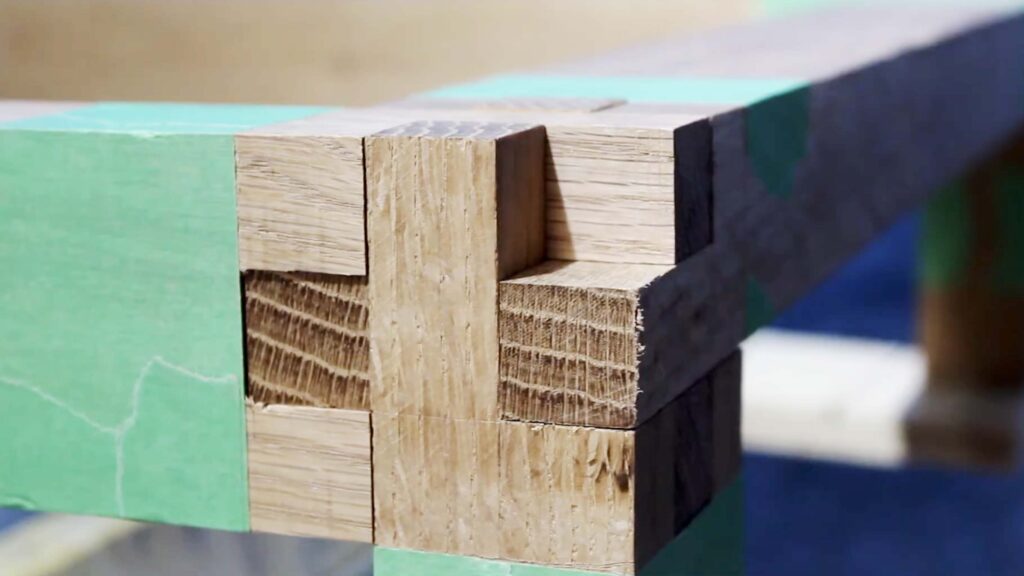
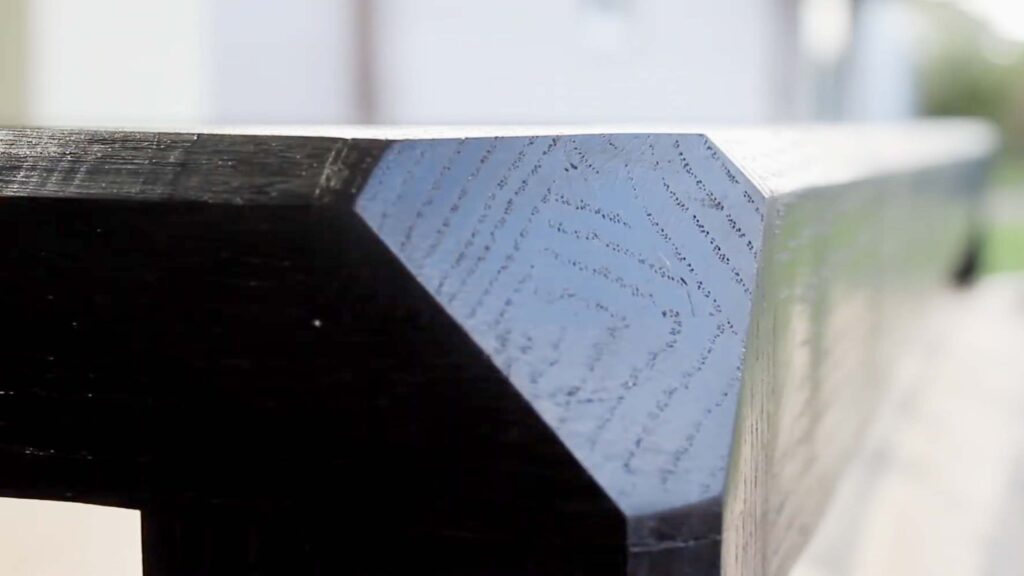
I’m left with a little pyramid of material at the seat of the joint, so I’m going to take that out with a coping saw and then I used chisels to clean everything up and get to my baseline. I also hit everything with a pretty heavy chamfer because I wanted to lighten the overall look of the base. I really liked the fact that the chamfer also gave it a floating reveal of sorts.
I finished with india ink and then went over the top with wipe on poly. This speedball india ink has shellac in it to begin with which helps fill pores. India ink is great and easy to use, but keep some lacquer thinner handy in the event it dries too quick on you and you end up with sags and runs.
For wood clips to attach the base, I used some scrap oak and made a lap which was then cross cut into bite size chunks. To install, stick the skinny end in your mortise and screw the top in to your carcass.
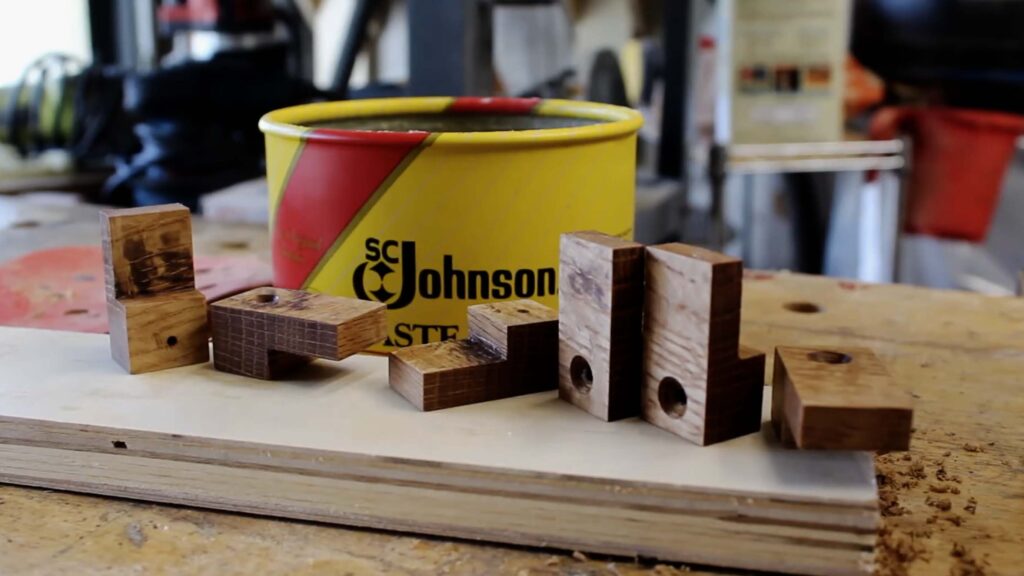
You can also use these for table tops too and they are more or less the equivalent of z-clips or figure eight fasteners.
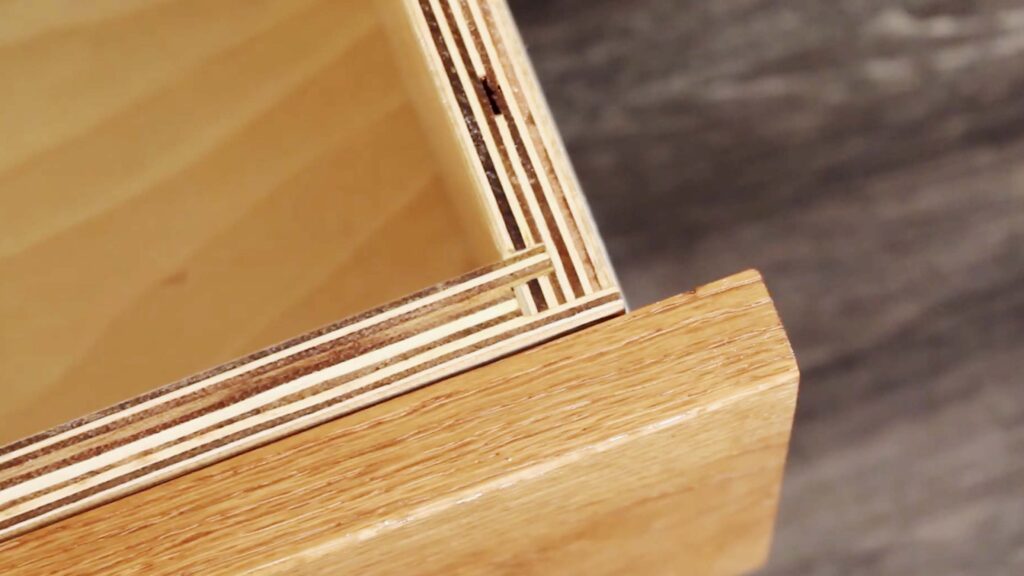
For the drawers themselves I’m going to build them with a half blind lock joint. My buddy John from Parilla Works, another South Florida friend has a video on these. Check that out for a detailed explanation. I’m using pre-finished plywood and I’m going to leave the ply exposed for that more industrial feel.
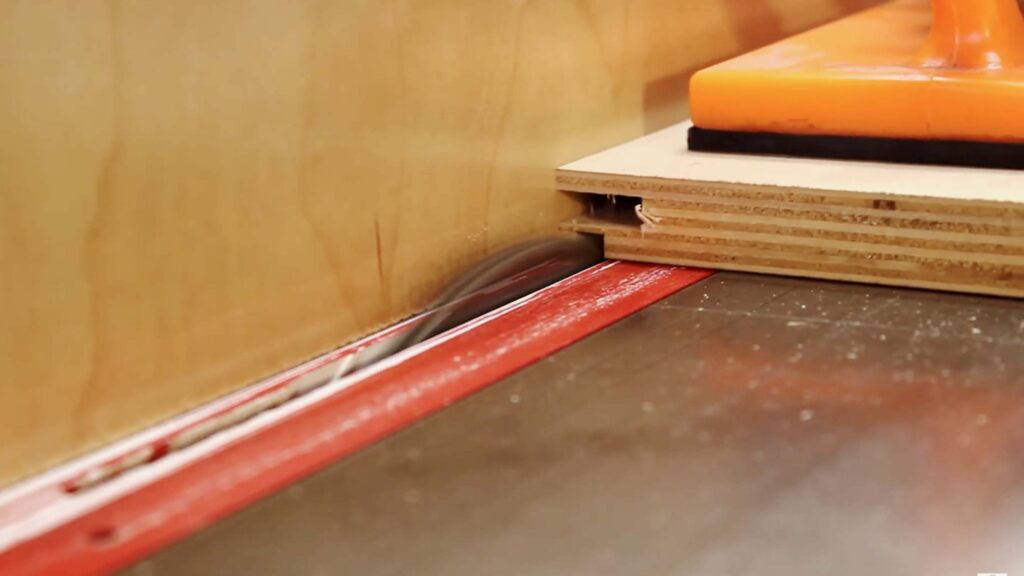
This joint is all about fence positioning and doing a thousand test cuts. Then once it’s dialed in, it’s pretty repeatable with an easy work flow. I also used the dado stack to cut a dado for the drawer bottoms which is going to be ¼ inch ply. I also don’t leave the edges totally unfinished, I hit them with a bit of an oil and wax mixture after a light sand. Then everything got glued up and mounted once dry.
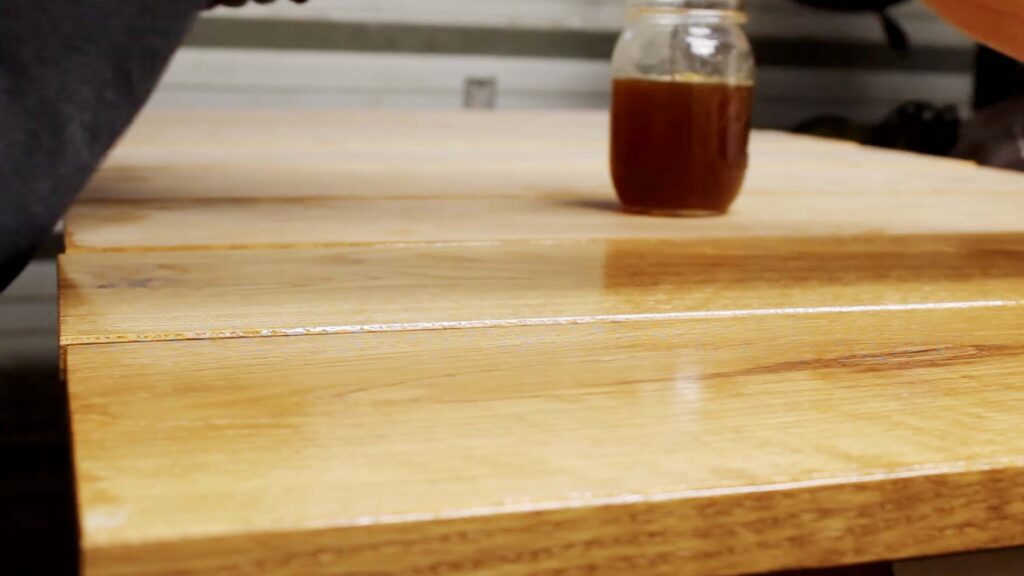
For the drawer fronts I’m using more white oak. One of the boards had one hell of a hook in it so I cut it to rough size and used handplanes to flatten before final sizing. I also used a block plane to hit everything with a small chamfer and then test fit on the carcass using this card game for spacing. I also repeated this step on the board that didn’t have the hook. I placed them accordingly to make sure I had a grain match and any major trimming for size occurred on the outside ends to keep the material waste minimal on the inside for maximum grain continuity. I then finished everything with a blend of boiled linseed oil, pure tung oil, mineral spirits, and wipe on poly.
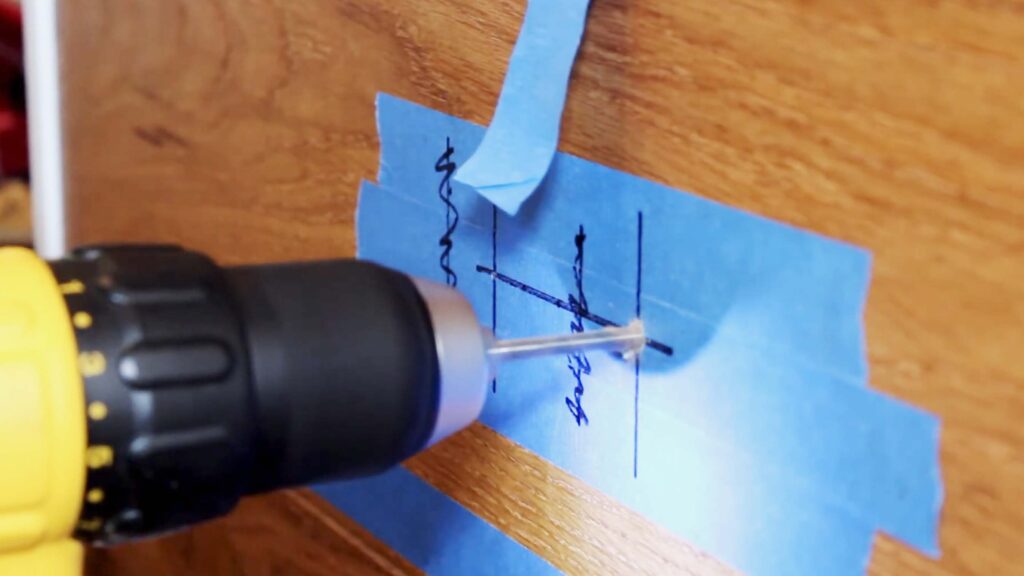
To assist in mounting the drawer fronts I’m using fast cap speed tape which is a semi-permanent double stick tape. I used generous amounts before clamping the fronts on. I also pre-drilled and fired a screw into the back to secure.
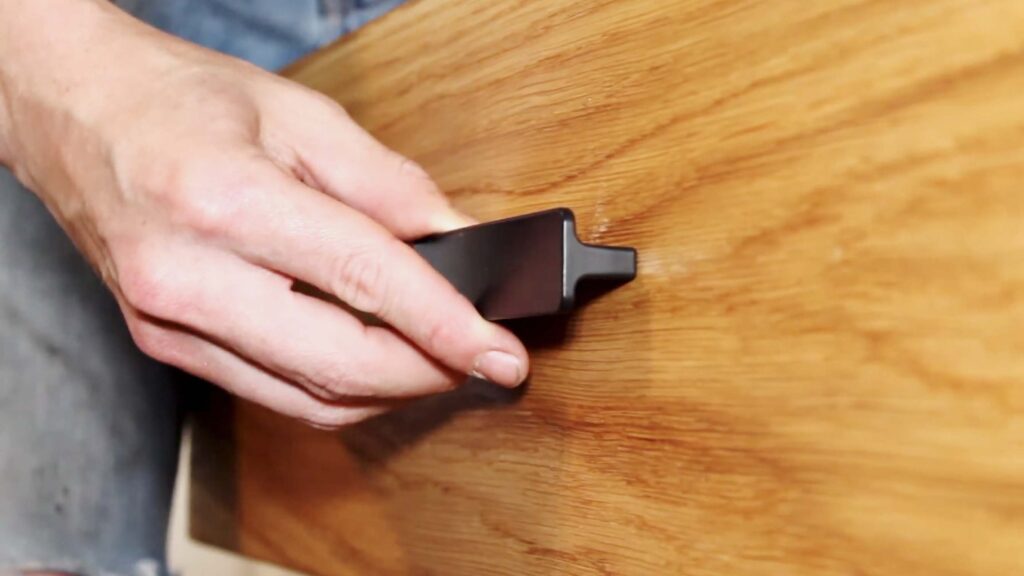
To attach the pulls, I marked out my locations on blue tape, doing a little math and making sure everything was even across the entire face of the dresser. I then attached these black ikea pulls. With the pulls on, I’m finished.
This was a pretty robust build for a box with legs. The base joinery as well as the drawer joinery took a lot of planning and test work to make sure everything came together correctly.
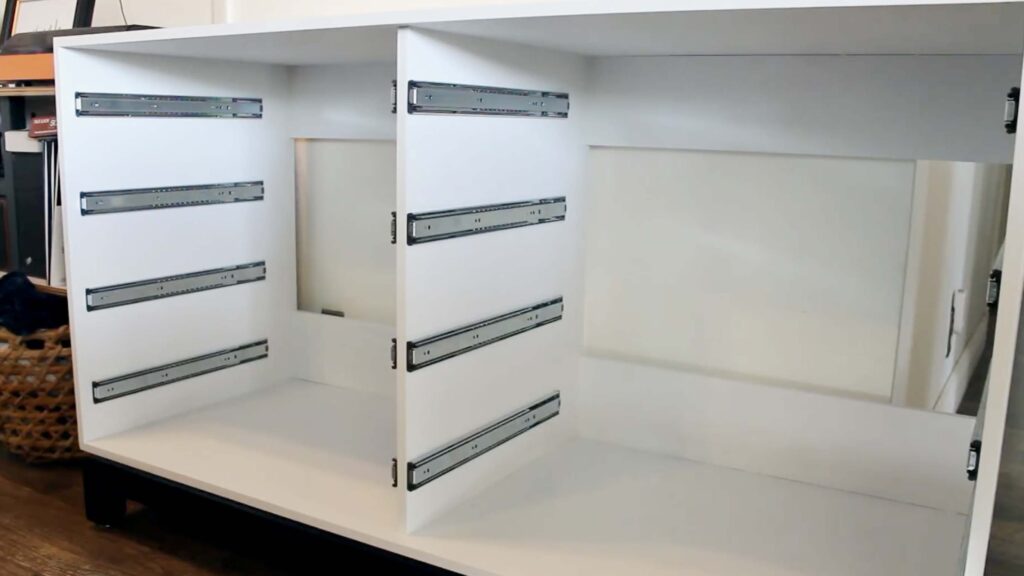
The drawer slides took a lot of testing as well. The continuous grain fronts with the ombre coloring was a nice unexpected touch.
I’m pretty happy with this one but certainly encourage you to give this a try and tag me in your iterations. The carcass can be done in any size and the base is really open to interpretation as well. If you’ve got any questions, feel free to reach out to me and let me know in the comments below.
~Chris


